
Beauty Unlocked
How to Connect an AirTag Without the Tab: Step-by-Step Guide
Jul
So, you have an AirTag, but the little pull tab is already gone. Maybe you tossed the packaging too fast, bought a used AirTag, inherited one from a family member, or simply opened it with the enthusiasm of someone unboxing a tiny spaceship. Now your iPhone is staring back at you like, “And what exactly do you want me to do with this coin?”
Good news: you can usually connect an AirTag without the tab. The tab is not a magical Apple fairy wand. It is simply a battery insulator that prevents the AirTag from turning on before you are ready to use it. Once the tab is removed, the AirTag should power on when the battery makes proper contact. If it does not connect automatically, you can still pair it through the Find My app, reseat the battery, replace the battery, or reset the AirTag.
This step-by-step guide explains how to connect an AirTag without the pull tab, what to check before pairing, how to reset an AirTag that will not connect, and how to avoid common battery mistakes that make a perfectly good AirTag act like a tiny silver paperweight.
What Does the AirTag Tab Actually Do?
The AirTag pull tab sits between the battery and the internal contact point. Its job is simple: stop the battery from powering the AirTag while it is sitting in the box. When you pull the tab, the battery touches the contact, the AirTag plays a small sound, and your iPhone or iPad can detect it nearby.
If the tab is already removed, the AirTag may already be active. That does not mean it is broken. It simply means you need to confirm three things: the battery is installed correctly, the AirTag is not already tied to someone else’s Apple Account, and your iPhone or iPad has the right settings turned on.
Before You Start: What You Need
Before trying to connect an AirTag without the tab, get the basics in place. AirTag setup works best when your device and settings are ready, because Apple’s Find My system is not fond of guesswork.
- An iPhone or iPad with a supported version of iOS or iPadOS
- Bluetooth turned on
- Location Services turned on
- Find My location access enabled
- A strong Wi-Fi or cellular connection
- An Apple Account with setup completed
- Only one AirTag near your device during setup
For original AirTag models, you need iOS or iPadOS 14.5 or later. For AirTag 2, Apple requires iOS or iPadOS 26.2.1 or later. If your device is behind on updates, update first. It is not glamorous, but neither is yelling at a tracker that cannot speak English.
How to Connect an AirTag Without the Tab
Step 1: Hold the AirTag Near Your iPhone or iPad
Place the AirTag close to your unlocked iPhone or iPad. Give it a few seconds. If the AirTag is powered and ready to pair, a setup animation should appear on the screen. Tap Connect, choose a name such as Keys, Backpack, Wallet, Luggage, Bike, or Custom Name, then follow the prompts to link it to your Apple Account.
If the animation appears, congratulations. You have just defeated the missing-tab drama in under a minute. Attach the AirTag to your item and move on with your life, preferably with fewer lost keys.
Step 2: Use the Find My App Manually
If the pop-up does not appear, open the Find My app. Tap Items, tap the Add button, then choose Add AirTag or Add AirTag or Other Item, depending on your iOS version. Keep the AirTag close to your device and follow the onscreen instructions.
This manual route is especially useful when the automatic setup card disappears or refuses to appear. Think of it as knocking on the front door instead of waiting for the AirTag to ring the bell.
Step 3: Put Your iPhone to Sleep and Wake It Again
If the setup animation vanished, press the side button or Sleep/Wake button to put your iPhone or iPad to sleep. Then wake it, unlock it, and wait about 15 seconds with the AirTag nearby. Apple recommends this simple refresh because the setup prompt can reappear after the screen wakes.
Step 4: Check That Only One AirTag Is Nearby
If you are setting up several AirTags, separate them. Apple notes that if more than one AirTag is detected at the same time, setup can become confused. Your iPhone is smart, but it does not want to host a tiny AirTag family reunion during pairing.
Step 5: Listen for the Battery Connection Sound
An AirTag should make a sound when the battery connects properly. If you hear nothing, the battery may be loose, drained, installed incorrectly, or incompatible. This is one of the most common reasons an AirTag without a tab will not connect.
How to Reseat the AirTag Battery
Reseating the battery often fixes an AirTag that will not connect after the tab is gone. Here is how to do it safely:
- Turn the AirTag so the polished stainless steel battery cover faces up.
- Press down on the cover and rotate it counterclockwise until it stops.
- Remove the cover and take out the battery.
- Check that the battery is a CR2032 lithium 3V coin battery.
- Place the battery back in with the positive side facing up.
- Press down gently until you hear a sound.
- Align the three cover tabs with the three AirTag slots.
- Press down and rotate the cover clockwise until it stops.
After reseating the battery, hold the AirTag near your iPhone again. If the setup animation appears, continue pairing. If nothing happens, move to the reset process.
How to Reset an AirTag Without the Tab
If your AirTag still will not connect, resetting it can make it ready to pair again. This is especially helpful if the AirTag was previously linked to another Apple Account and removed while out of Bluetooth range.
Reset Steps for the Original AirTag
- Press down on the stainless steel battery cover and rotate it counterclockwise.
- Remove the cover and battery.
- Put the battery back in and press until you hear a sound.
- When the sound finishes, remove and replace the battery again.
- Repeat the process four more times.
- You should hear five sounds total. The fifth sound should be different, which means the AirTag is ready to pair.
- Replace the cover and rotate it clockwise until it locks.
Reset Steps for AirTag 2
For AirTag 2, the reset process is similar, but Apple’s current guidance includes a waiting period. Remove the cover and battery, replace the battery, press down until you hear the sound, continue pressing briefly, then remove the battery and wait 12 seconds. Repeat until you hear five total sounds. The fifth sound should be different, indicating the AirTag is ready for pairing.
After the reset, open Find My, go to Items, tap the Add button, and try adding the AirTag again.
What If the AirTag Belongs to Someone Else?
If the AirTag is used, borrowed, gifted, or bought secondhand, it may still be linked to another person’s Apple Account. An AirTag can only be registered to one Apple Account at a time. If it is still tied to the previous owner, you cannot simply bully it into becoming yours with extra tapping.
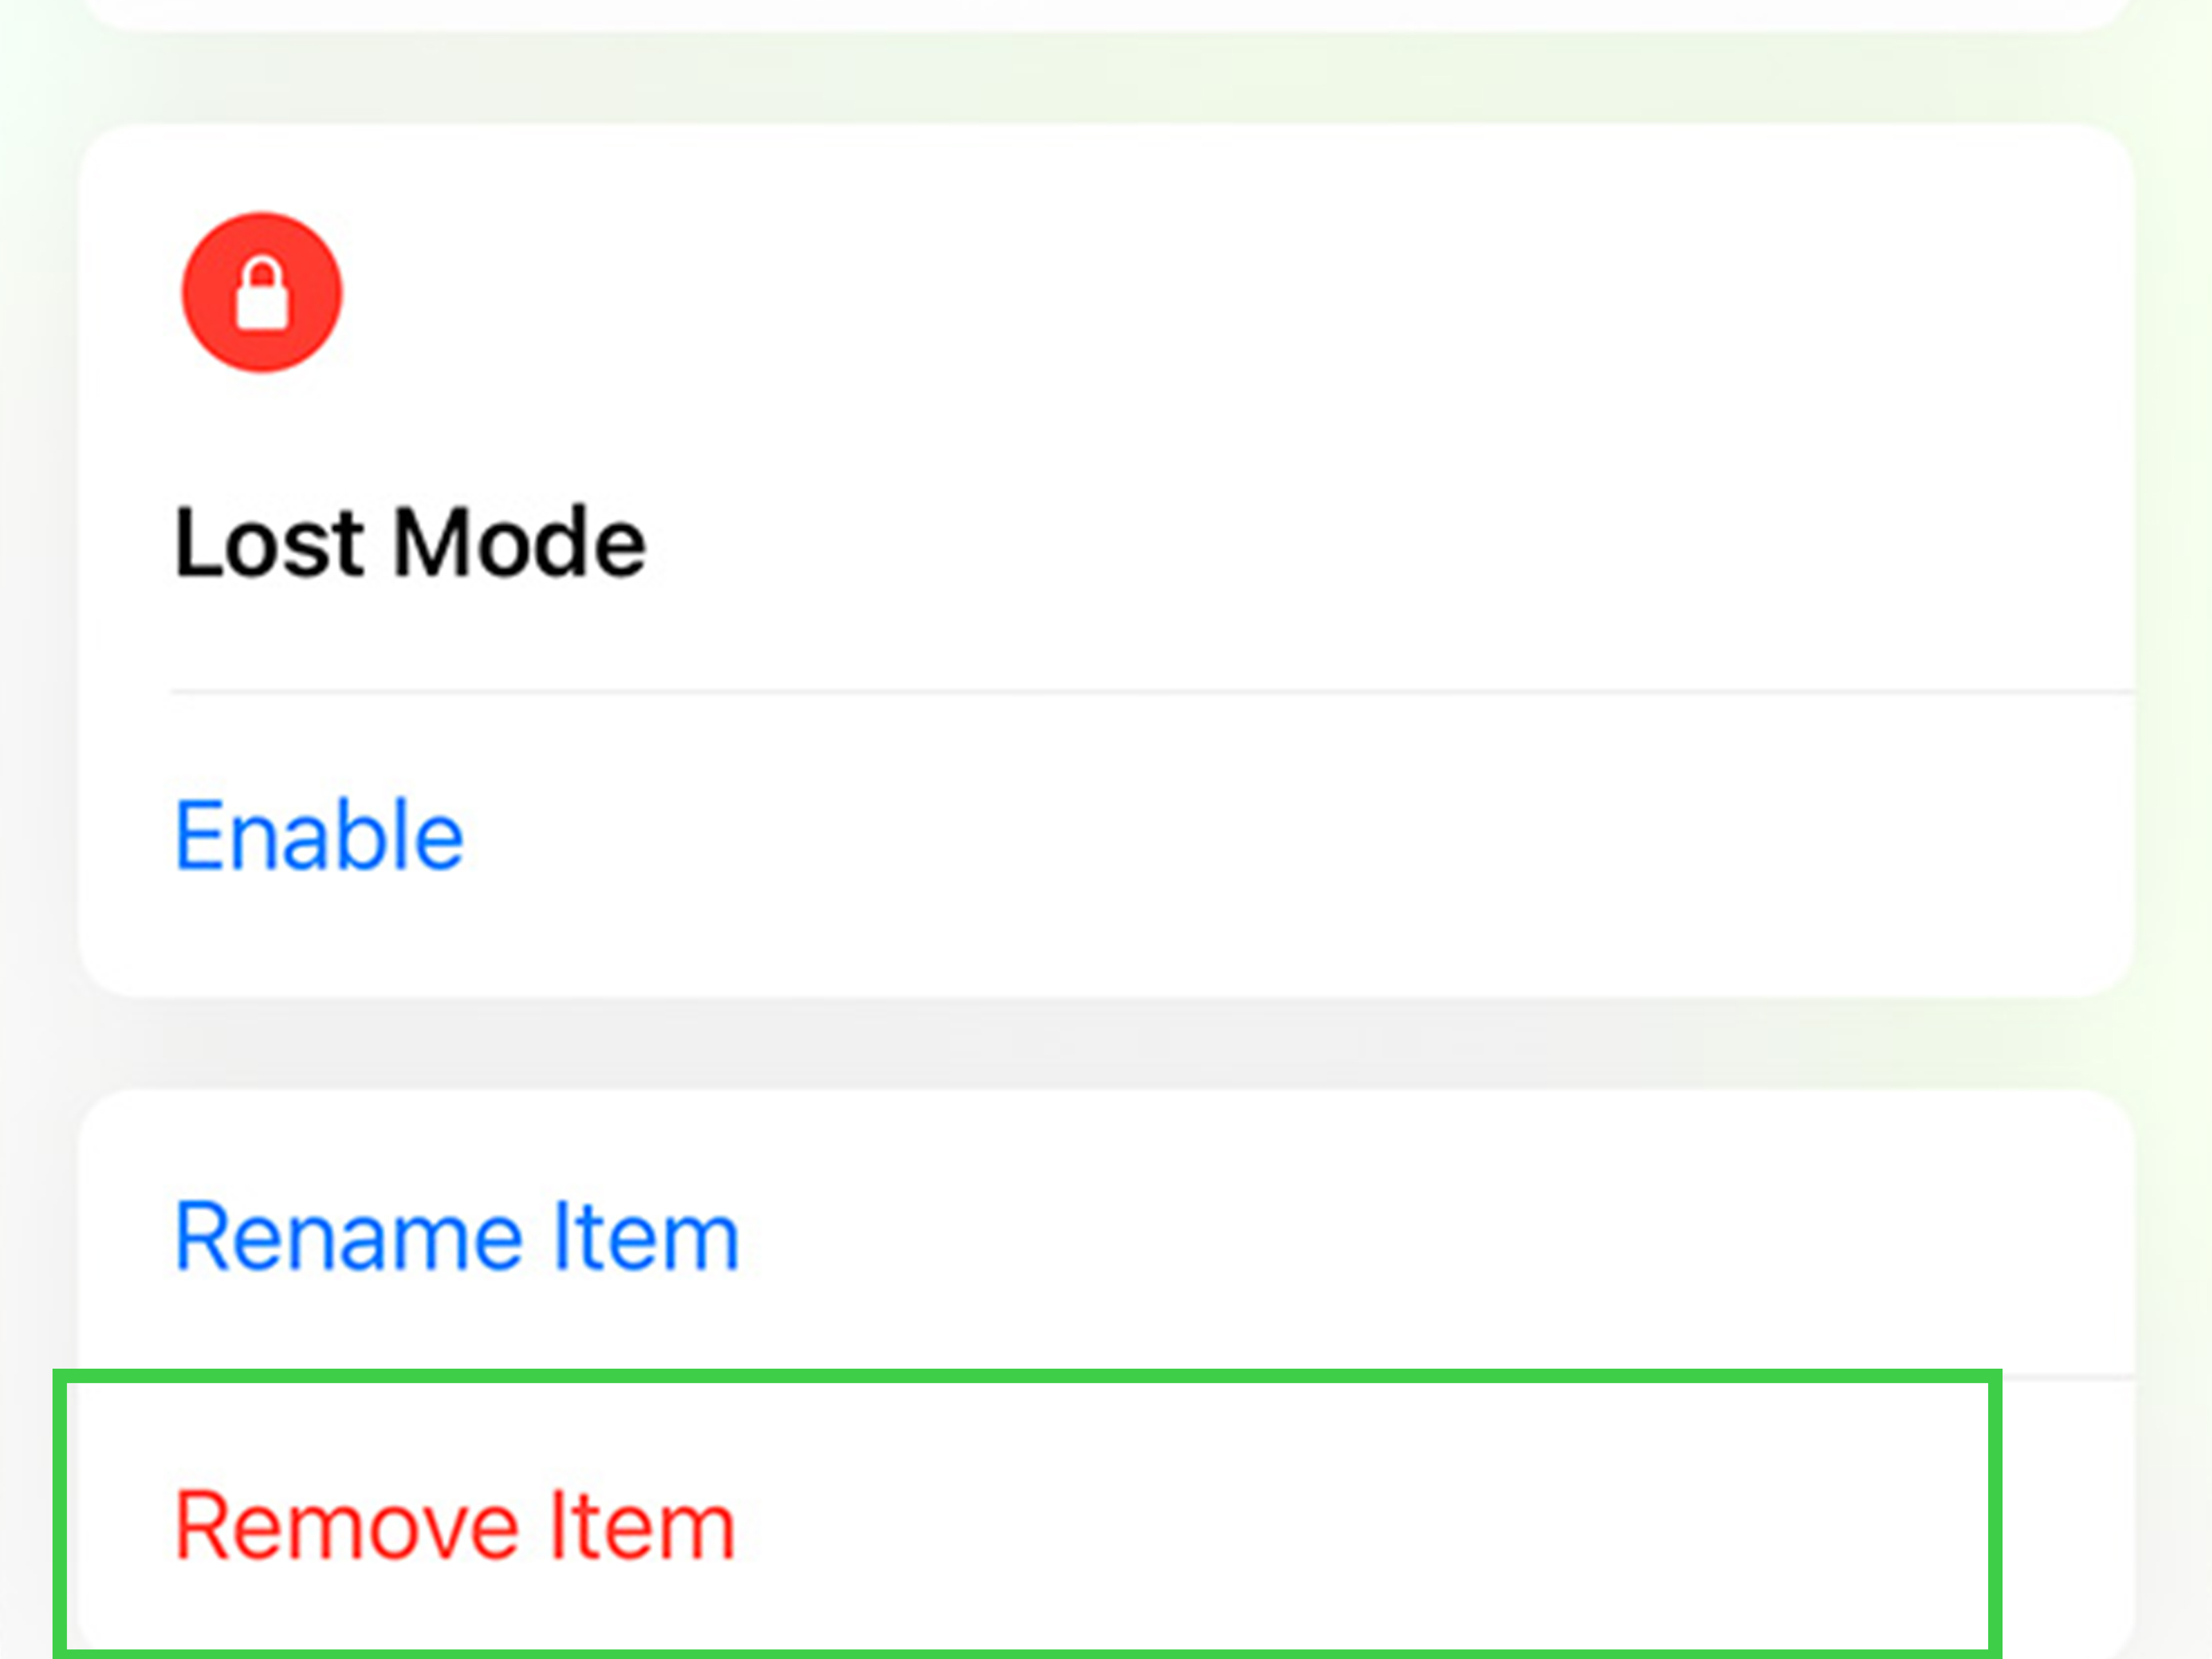
The previous owner must remove the AirTag from Find My. On their iPhone, they should open Find My, tap Items, choose the AirTag, then tap Remove Item. If the AirTag is not near their device when they remove it, the AirTag may also need to be physically reset before you can register it.
If a seller cannot or will not remove the AirTag from their account, do not rely on it. Return it if possible. A locked AirTag is not a bargain; it is a very small lesson in buying used tech carefully.
Battery Problems That Stop AirTag Pairing
The Battery Is Dead
AirTag batteries are not rechargeable. They use a replaceable CR2032 lithium 3V coin battery. Apple says AirTag battery life is designed to last more than a year under typical use, but storage time, temperature, and usage can affect real-world results.
If the tab is missing and the AirTag has been sitting around for a long time, the battery may simply be drained. Replace it with a fresh CR2032 battery and try pairing again.
The Battery Is Upside Down
The positive side of the CR2032 battery should face up. If the battery is upside down, the AirTag will not power correctly. This is an easy mistake, especially if you are moving quickly or working over a cluttered desk full of receipts, cables, and one mysterious screw that belongs to something important.
The Battery Has a Bitterant Coating
Some CR2032 batteries have a bitter coating designed to discourage children from swallowing them. That safety idea is good, but some bitterant-coated batteries may not work properly with AirTag because the coating can interfere with the battery contacts. Apple recommends looking for packaging that says the battery is compatible with Apple AirTag.
Always keep coin batteries away from children. AirTag, the battery cover, and the battery can be choking hazards or cause injury if handled improperly by small children.
Why Your AirTag Still Will Not Connect
If the AirTag has power but still refuses to connect, work through these fixes in order:
- Update iOS or iPadOS: AirTag setup depends on current system support.
- Turn Bluetooth off and on: Then try pairing again.
- Check Location Services: Go to Settings, Privacy & Security, then Location Services.
- Enable Find My location access: Find My should have location permission, and Precise Location should be on for best results.
- Restart your iPhone or iPad: It is basic, but basic fixes are famous for working while pretending they are not impressive.
- Use a strong network connection: Wi-Fi or cellular data should be stable.
- Move away from other AirTags: Setup one tracker at a time.
- Reset the AirTag: Use the five-sound reset process described above.
How to Confirm the AirTag Is Connected
Once setup finishes, open the Find My app and tap Items. Your AirTag should appear in the list with the name you selected. Tap it to view details, play a sound, get directions, enable Lost Mode, or check whether the battery is low.
If your iPhone supports Precision Finding, you may see an option such as Find Nearby when the AirTag is within range. Precision Finding uses Ultra Wideband support to guide you with distance and direction. If the button does not appear, your device may not support the feature, Location Services may need adjustment, or the AirTag may be out of range.
Best Places to Use an AirTag
AirTags are best for personal items that commonly wander off like they have tiny legs. Popular examples include keys, backpacks, luggage, wallets, camera bags, bicycles, purses, and tool bags. They are especially useful for travel because the Find My network can help update an item’s approximate location when nearby Apple devices detect its Bluetooth signal.
However, AirTags are not magic GPS satellites. They do not constantly broadcast location by themselves. They rely on Bluetooth and the Find My network. In a busy airport, that can work beautifully. In the middle of an empty field, the AirTag may sit there quietly, pondering nature.
Privacy and Safety Notes
AirTags are designed for tracking your own personal items, not people. Do not use an AirTag to track another person without consent. Apple includes unwanted tracking alerts, sound alerts, and privacy protections to discourage misuse. If you ever find an unknown AirTag traveling with you, follow the safety instructions on your phone and remove the battery to disable it if necessary.
For shared items such as family car keys or a shared suitcase, use Apple’s AirTag sharing features when available. Sharing avoids unnecessary tracking alerts and lets trusted people locate the item through Find My.
Common Mistakes When Connecting an AirTag Without the Tab
Assuming the Missing Tab Means the AirTag Is Broken
The tab is only an insulator. If it is gone, the AirTag may still work perfectly. Start with the battery and pairing steps before assuming the device is dead.
Trying to Pair Multiple AirTags at Once
Set them up one at a time. If several AirTags are sitting next to your iPhone, the setup process may not know which tiny disc deserves attention first.
Skipping the Reset
If an AirTag has been used before, reset it. This clears pairing confusion after the item has been removed from a previous account.
Using the Wrong Battery
Use a CR2032 lithium 3V coin battery with the positive side facing up. If the AirTag does not chime after installation, try another compatible battery.
Real-World Experience: Connecting an AirTag Without the Tab
In real life, connecting an AirTag without the tab usually falls into one of three stories. The first story is the easy one: the tab was removed, the battery is still good, and the AirTag pairs as soon as it is held near an iPhone. This is the dream version. The setup animation appears, you tap Connect, name it “Keys,” and immediately feel like the kind of organized person who probably folds fitted sheets correctly.
The second story is more common. The tab is gone, but the AirTag does not appear. The owner opens Find My, taps Items, tries to add it manually, and still gets nothing. In many cases, the fix is simply opening the AirTag and reseating the battery. The battery may have shifted, the contact may not be firm, or the cover may not be fully locked. Once the battery is removed and reinserted with the positive side facing up, the AirTag chirps and setup works. It is not dramatic, but it is satisfying in the same way as getting a stubborn zipper unstuck.
The third story involves used AirTags. Someone buys a secondhand AirTag because it looks clean, costs less, and seems like an easy win. Then setup fails because the tracker is still linked to the seller’s Apple Account. This is where many people get stuck. Resetting the AirTag can help only after the previous owner removes it from their Find My account. If they do not remove it, the AirTag remains locked to them. The lesson is simple: when buying used, ask the seller to remove the AirTag from Find My before you pay. Better yet, test pairing in person if possible.
Battery replacement is another real-world troublemaker. Many users replace the battery with a CR2032 cell and assume all CR2032 batteries are equal. They are not always equal in AirTag land. Some bitterant-coated batteries may fail to make proper contact. The AirTag may not chirp, may connect inconsistently, or may appear dead. Choosing packaging that clearly states AirTag compatibility can save time, money, and several unnecessary sighs.
Another practical tip: do setup in a calm environment. Place the AirTag on a table, keep only one tracker nearby, unlock your iPhone, and make sure Bluetooth and Location Services are on. Avoid trying to set it up while walking through an airport, juggling luggage, and emotionally negotiating with a boarding group number. AirTags are simple, but pairing still appreciates a few quiet seconds.
After setup, test the AirTag immediately. Open Find My, tap the item, and use Play Sound. If your iPhone supports nearby finding, test that too. This confirms the AirTag is not just listed in your account but actually responsive. It is much better to discover a battery issue at your kitchen table than when your suitcase is doing a solo tour of Terminal B.
Finally, label your AirTag clearly in Find My. “Backpack,” “Car Keys,” and “Blue Suitcase” are more useful than “AirTag 1,” “AirTag 2,” and “The Round One.” Good names matter when you own more than one tracker. Future you will appreciate present you’s rare moment of discipline.
Conclusion
Connecting an AirTag without the tab is usually straightforward. The missing tab does not mean the AirTag is ruined; it only means the battery insulator has already been removed. Start by holding the AirTag near your iPhone or iPad, then try adding it manually through Find My. If it does not appear, reseat or replace the battery, check your device settings, restart your iPhone, and reset the AirTag if needed.
If the AirTag is used, make sure the previous owner removed it from their Apple Account. If the battery is the problem, use a compatible CR2032 lithium 3V coin battery and be careful with bitterant-coated versions. Once connected, test the AirTag in Find My, play a sound, and attach it to something you actually lose. Keys are a classic. Remote controls are emotionally tempting, but less practical unless you enjoy explaining your tracker strategy to guests.
In short, the AirTag tab is helpful, but it is not required forever. With the right steps, your AirTag can still connect, pair, chirp, and start doing its tiny tracking job like nothing ever happened.
SEO Tags

