
Body Care
How To Make DIY Bathroom Cleaner
Aug
Bathrooms are tiny moisture factories. They produce soap scum, toothpaste freckles, mysterious sink stains, hard-water spots, and that one hairball in the drain that somehow appears to have its own mailing address. The good news is that you do not need a cabinet packed with neon bottles to keep the room clean.
A simple DIY bathroom cleaner can handle everyday grime with affordable ingredients you may already own. The trick is choosing the right cleaner for the right job, rather than throwing baking soda, vinegar, bleach, lemon juice, dish soap, and blind optimism into one bottle and hoping for the best.
This guide explains how to make effective homemade bathroom cleaners for sinks, tubs, tile, shower doors, toilets, and mirrors. It also covers the surfaces you should avoid, common DIY cleaning mistakes, and practical routines that make bathroom cleaning feel less like a weekend punishment.
Why Make Your Own Bathroom Cleaner?
Making a DIY bathroom cleaner gives you more control over what goes into your cleaning routine. You can skip overpowering fragrances, reduce unnecessary packaging, and mix only the amount you need. It can also save money, especially if you regularly clean multiple bathrooms or have a household where the shower somehow gets dirty five minutes after being cleaned.
However, homemade does not automatically mean harmless, stronger, greener, or better for every surface. Vinegar is acidic, baking soda is mildly abrasive, and some materials are surprisingly dramatic about what touches them. Natural stone, unsealed grout, old caulk, polished marble, limestone, and certain specialty finishes need gentler care.
The smartest DIY bathroom cleaning strategy is simple: use mild soap and water for regular cleaning, use baking soda for scrubbing, and reserve vinegar for compatible non-stone surfaces with mineral buildup or soap scum.
The Best Basic DIY Bathroom Cleaner Recipe
This is the most useful homemade bathroom cleaner for everyday wiping and light grime. It is mild enough for many common bathroom surfaces and does not rely on harsh fumes.
Gentle All-Purpose Bathroom Spray
Ingredients:
- 2 cups warm water
- 1 teaspoon mild liquid dish soap
- Optional: 3 to 5 drops of essential oil for scent only
- Reusable spray bottle
Instructions:
- Add warm water to a clean spray bottle.
- Add the dish soap.
- Add essential oil only if you enjoy the fragrance. It is optional and does not turn the cleaner into a superhero.
- Gently swirl the bottle instead of shaking it like a cocktail shaker. Too much shaking creates a foam party inside the bottle.
- Label the bottle clearly.
Use this DIY bathroom cleaner on vanity tops, sinks, faucets, toilet exteriors, bathtub edges, shower walls, cabinet fronts, and many glazed tile surfaces. Spray lightly, wipe with a microfiber cloth or soft sponge, then rinse or wipe with clean water if soap residue remains.
This recipe is especially useful for daily or every-other-day maintenance. It removes body oils, splashes, makeup residue, toothpaste, and surface dirt before they have time to become crusty little monuments to procrastination.
DIY Vinegar Cleaner for Soap Scum and Hard-Water Spots
White vinegar can help loosen mineral deposits and soap scum on compatible surfaces. It is particularly useful on glass shower doors, chrome fixtures, glazed ceramic tile, porcelain, and removable showerheads.
Vinegar and Water Bathroom Spray
Ingredients:
- 1 cup distilled white vinegar
- 1 cup warm water
- Spray bottle
Instructions:
- Combine equal parts white vinegar and warm water in a spray bottle.
- Spray the solution onto soap scum or hard-water spots.
- Let it sit for 5 to 10 minutes.
- Wipe with a microfiber cloth or non-scratch sponge.
- Rinse the surface with clean water and dry it thoroughly.
Drying matters more than most people realize. Water droplets left on shower glass or chrome fixtures can leave new mineral spots behind, which is deeply rude considering you just cleaned them.
Where You Should Not Use Vinegar
Do not use vinegar on marble, limestone, travertine, granite with an unknown sealer, quartzite, natural stone countertops, stone tile, or delicate grout. Vinegar can dull, etch, weaken, or damage certain stone surfaces and finishes over time.
Also avoid using vinegar on surfaces with visible cracks, deteriorating grout, damaged caulk, or surfaces where the manufacturer specifically warns against acidic cleaners. When in doubt, test the cleaner in a small hidden area first.
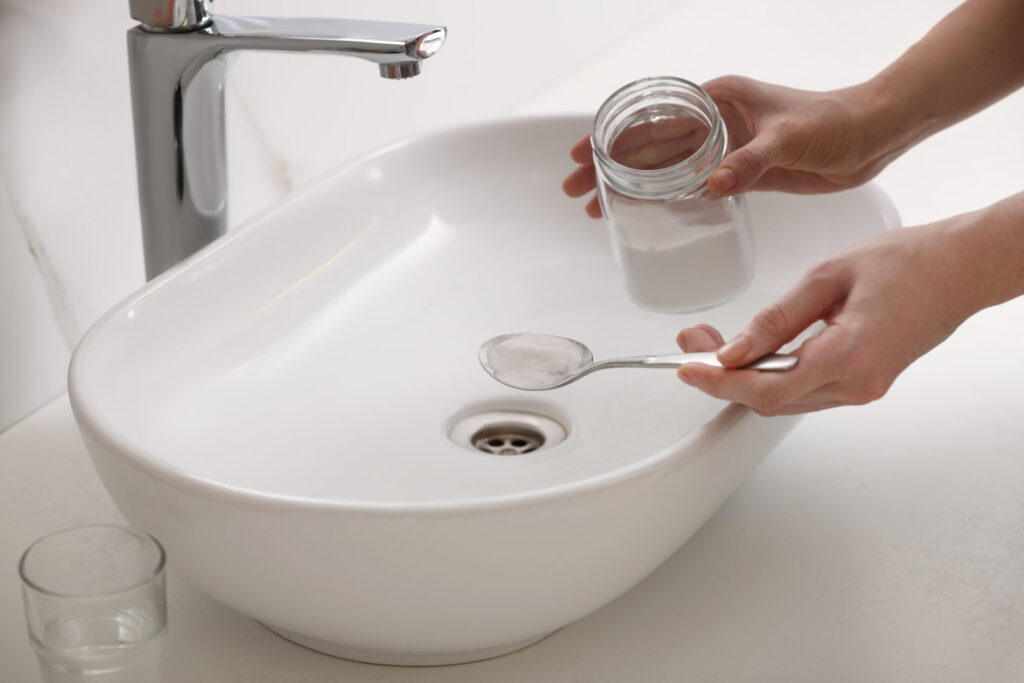
DIY Baking Soda Scrub for Tubs, Tile, and Grout
When grime needs a little elbow grease, baking soda is the bathroom equivalent of calling in a reliable friend with a scrub brush. It is useful for stubborn sink rings, bathtub residue, tile grime, and some grout stains.
Baking Soda Paste Cleaner
Ingredients:
- 1/2 cup baking soda
- Warm water, added slowly
- Small bowl
- Soft sponge or soft-bristled cleaning brush
Instructions:
- Place baking soda in a bowl.
- Add a small amount of warm water until it forms a thick, spreadable paste.
- Apply the paste to the dirty area.
- Let it sit for 5 to 10 minutes.
- Scrub gently with a soft sponge or brush.
- Rinse thoroughly and wipe dry.
Use this DIY bathroom scrub on porcelain sinks, ceramic tile, fiberglass tubs, and many shower surfaces. Avoid aggressive scrubbing on acrylic tubs, polished stone, or glossy surfaces that may scratch. The goal is clean, not “I accidentally sanded the bathtub.”
Should You Mix Baking Soda and Vinegar Together?
Baking soda and vinegar fizz dramatically when combined, which makes them look like the stars of a middle-school science fair. The bubbling can help loosen debris in a drain or lift some surface grime, but mixing them into a stored cleaner is not especially useful. Once the fizzing stops, much of their separate cleaning power has been neutralized.
For best results, use them separately. Scrub with a baking soda paste first, rinse, then apply a vinegar-and-water spray only on surfaces that can safely tolerate vinegar. This approach gives each ingredient a chance to do its actual job instead of canceling the other one out in a bottle.
How To Make a DIY Toilet Bowl Cleaner
The toilet bowl deserves its own cleaner, mostly because it has earned the privilege through years of difficult behavior. A simple baking soda treatment can freshen the bowl and help loosen rings and residue.
Simple Baking Soda Toilet Bowl Cleaner
Ingredients:
- 1/2 cup baking soda
- Toilet brush
- Optional: 1/2 cup white vinegar for a separate follow-up treatment
Instructions:
- Sprinkle baking soda around the inside of the toilet bowl.
- Let it sit for 10 to 15 minutes.
- Scrub thoroughly with a toilet brush, paying attention to the waterline and under the rim.
- Flush the toilet.
For mineral buildup, you can apply vinegar separately after the baking soda treatment has been rinsed away. Let the vinegar sit briefly, scrub again, then flush. Never add bleach or a commercial toilet cleaner to this routine unless the bowl has been fully rinsed and you are following that product’s label directions.
If a toilet has heavy rust stains, severe mineral scale, recurring odor, or persistent mold-like staining, a DIY cleaner may not be enough. Use a cleaner designed for the specific problem or consider whether there is a plumbing issue hiding behind the porcelain curtain.
DIY Shower Cleaner for Daily Maintenance
The easiest way to avoid a massive shower-cleaning project is to make buildup less welcome in the first place. A simple daily shower spray can reduce the residue left behind by soap, shampoo, conditioner, and hard water.
Daily Shower Spray
Ingredients:
- 1 cup water
- 1 cup distilled white vinegar
- Spray bottle
Spray the solution lightly onto compatible shower walls and glass doors after the shower is used. Do not rinse immediately. The spray works best on ceramic tile, porcelain, glass, and chrome fixtures that are safe for vinegar.
Do not use this cleaner on natural stone tile, marble, limestone, travertine, or stone shower surrounds. For those surfaces, use the gentle dish soap and water spray instead, then dry with a microfiber cloth or squeegee.
A squeegee is not glamorous, but neither is scrubbing soap scum for forty minutes on Saturday. Use it after showering, and future-you may write present-you a thank-you note.
DIY Mirror and Glass Cleaner
Bathroom mirrors collect toothpaste mist, fingerprints, hairspray, and mysterious dots that appear overnight. A low-soap, low-residue cleaner works best.
Simple Glass and Mirror Spray
Ingredients:
- 1 cup distilled water
- 1 cup white vinegar
- Clean microfiber cloth
Spray the mixture onto a microfiber cloth rather than directly onto the mirror. Wipe from top to bottom, then buff dry with a second clean cloth. Spraying directly onto mirror edges can allow moisture to seep behind the glass, especially on older mirrors.
If vinegar leaves streaks in your home because of hard water or heavy residue, use the gentle dish soap cleaner first, wipe with clean water, and then buff dry with microfiber.
Bathroom Cleaning Tools That Make DIY Cleaners Work Better
A good homemade cleaner is only half the equation. The right tools determine whether you are gently lifting dirt or simply moving wet grime from one side of the sink to the other.
- Microfiber cloths: Great for mirrors, counters, fixtures, and final polishing.
- Non-scratch sponge: Useful for tubs, tile, and shower walls.
- Soft-bristled brush: Helpful for grout, faucet bases, and textured surfaces.
- Toilet brush: Reserve it for the toilet bowl only.
- Squeegee: Excellent for reducing shower glass spots and soap scum.
- Old toothbrush: Useful for drain edges, faucet seams, and other tiny places where grime likes to rent property.
DIY Bathroom Cleaner Safety Rules
Homemade cleaning recipes are not chemistry-free just because the ingredients came from the pantry. Follow these rules every time:
- Never mix bleach with vinegar, ammonia, rubbing alcohol, hydrogen peroxide, or other cleaners.
- Do not combine commercial cleaners unless the product labels specifically say it is safe.
- Label every homemade cleaner with its ingredients and date.
- Keep cleaning products away from children and pets.
- Use ventilation when cleaning small bathrooms, especially when using vinegar or commercial disinfectants.
- Test a DIY cleaner in an inconspicuous spot before using it on a large area.
- Do not store baking soda and vinegar together in a sealed bottle. The fizz can create pressure and cause a very unpleasant cleaning-supply surprise.
- Use a commercial EPA-registered disinfectant when true disinfection is needed.
A Simple Weekly Bathroom Cleaning Routine
You do not need to deep-clean every bathroom surface every day. A small routine works better than waiting until the shower resembles an archaeological site.
Daily or Every Other Day
- Wipe sink splashes with the gentle dish soap spray.
- Squeegee shower glass and walls after use.
- Hang towels so they can dry properly.
- Run the exhaust fan during and after showers.
Weekly
- Clean the sink, vanity, faucet, toilet exterior, and mirror.
- Scrub the toilet bowl.
- Clean the shower walls, tub, and fixtures.
- Wash bath mats and replace hand towels.
- Wipe the floor around the toilet and vanity.
Monthly
- Clean the showerhead for mineral buildup.
- Wash or replace the shower curtain liner if needed.
- Inspect grout, caulk, and drains for damage or mildew.
- Wipe cabinet interiors and clean ventilation covers.
Practical Experiences With DIY Bathroom Cleaner
The biggest lesson from using homemade bathroom cleaners is that “simple” usually beats “dramatic.” It is tempting to make one powerful-looking bottle packed with vinegar, baking soda, dish soap, lemon juice, essential oils, and a level of confidence normally reserved for competitive barbecue. In practice, the best results usually come from using fewer ingredients with a clear purpose.
For example, the gentle dish soap and water spray becomes the workhorse cleaner. It is the one you reach for after brushing your teeth, after a child creates a toothpaste constellation around the sink, or after you notice that the faucet has fingerprints all over it. Because it is mild, you are more likely to use it often. That is important because frequent light cleaning prevents the kind of buildup that later requires a brush, a podcast, and a suspicious amount of shoulder strength.
Vinegar works best when used strategically rather than emotionally. It can be very helpful on shower glass, chrome, porcelain, and glazed tile with hard-water spots. But it is not a universal bathroom cleaner. A lot of people learn this after using it on natural stone and noticing dull patches that were definitely not part of the original interior design plan. Checking the material before spraying saves time, money, and awkward conversations with countertop installers.
Baking soda is another useful tool when you treat it like a scrub rather than a magic spell. A small paste can make a bathtub, sink, or tile edge feel noticeably cleaner because it gives you a little extra friction without reaching immediately for a harsh abrasive. Still, pressure matters. A soft sponge and patient scrubbing will usually outperform frantic scouring. Bathroom cleaning is not a wrestling match, even when the soap scum appears personally insulting.
One practical habit that makes a dramatic difference is drying surfaces after cleaning. A faucet can look spotless after vinegar or soap treatment, but if water dries on it, the mineral spots return like they had a reservation. A quick buff with a dry microfiber cloth often creates the polished result people expect from a more expensive cleaner.
Another useful experience is learning when not to DIY. If you have a serious mold problem, a recurring sewage smell, damaged caulk, a leaking toilet base, rust that keeps returning, or a drain that stays clogged despite basic maintenance, the problem is probably not your cleaner. It may be ventilation, plumbing, moisture intrusion, or damaged materials. Homemade bathroom cleaner is great for routine care, but it cannot negotiate with a hidden leak behind the wall.
Finally, the most effective bathroom-cleaning method is the one you will actually repeat. Keep a labeled spray bottle, microfiber cloth, scrub brush, and toilet cleaner in a small bathroom caddy. When supplies are easy to reach, a five-minute cleanup becomes realistic. When they are scattered across three closets and one mystery drawer, the bathroom somehow stays dirty until guests announce they are “only five minutes away.”
Final Thoughts
Learning how to make DIY bathroom cleaner is less about finding one magical recipe and more about building a small, practical toolkit. Mild dish soap and water handle daily messes. Baking soda paste adds gentle scrubbing power. Vinegar can tackle mineral buildup on compatible surfaces. A microfiber cloth and regular routine make everything work better.
Keep the formulas simple, avoid unsafe combinations, respect your bathroom materials, and clean a little before grime becomes a full-time resident. Your bathroom may never clean itself, but with the right DIY cleaners, it can at least stop acting like a part-time science experiment.

