Hair Care
How to Make a Volcano for Kids: Materials & Process (Pictures)
May
Few kids can resist a homemade volcano. It bubbles, foams, spills over the sides, and makes everyone in the room shout, “Do it again!” That is basically the scientific method wearing a party hat. The classic baking soda and vinegar volcano is one of the easiest hands-on science activities for children because it uses common household materials, creates a safe chemical reaction, and turns a regular afternoon into a mini Earth science adventure.
This guide explains how to make a volcano for kids using simple materials, step-by-step instructions, picture ideas, safety tips, and a kid-friendly explanation of what is actually happening. You can build it for a school project, a rainy-day STEM activity, a science fair demonstration, or a weekend experiment when everyone needs a break from screens and the couch has started judging you.
The best part? You do not need fancy lab equipment. A plastic bottle, baking soda, vinegar, dish soap, food coloring, and a little creativity can create an eruption that looks dramatic without being dangerous. Add paper, clay, play dough, cardboard, or aluminum foil, and your volcano can go from “kitchen experiment” to “mini Mount Awesome.”
What Kids Learn From a Homemade Volcano
A DIY volcano is not just a fizzy mess in disguise. It introduces children to chemistry, geology, observation, measurement, cause and effect, and basic engineering. When baking soda and vinegar mix, they create carbon dioxide gas. That gas forms bubbles, builds pressure in the liquid mixture, and pushes foam up through the volcano opening. It is not real lava, of course, but it gives kids a fun model of how gases and fluids can move through a vent.
Real volcanoes are openings in Earth’s crust where lava, ash, steam, rock fragments, and gases can escape. Some eruptions are gentle and runny, while others are explosive. The difference often depends on the thickness of magma and how easily gases can escape. In a kid-friendly volcano, the “eruption” is much simpler, but the idea is similar enough to spark curiosity: gas wants out, and when it finds a path, the volcano puts on a show.
Materials Needed to Make a Volcano for Kids
Here is a simple materials list for one medium-sized homemade volcano. You can scale it up or down depending on your container, patience level, and willingness to clean red foam off the table.
Basic Volcano Structure
- 1 small plastic bottle, about 12 to 20 ounces
- Cardboard tray, baking pan, plastic tray, or cookie sheet
- Aluminum foil, air-dry clay, modeling clay, or play dough
- Tape
- Construction paper or newspaper, optional
- Paint, markers, or craft decorations, optional
Eruption Ingredients
- 3 to 4 tablespoons baking soda
- 1/2 cup white vinegar
- 1 teaspoon dish soap
- Red, orange, or yellow food coloring
- Warm water, optional
- A small funnel or folded paper
- Measuring spoons and measuring cup
Safety and Cleanup Supplies
- Safety goggles for children
- Apron or old T-shirt
- Paper towels or washable cloths
- Trash bag or table covering
- Adult supervision
Important safety note: Never seal the bottle during this activity. The gas needs an open path to escape. This volcano should bubble out of an open top, not build pressure inside a closed container.
Picture Guide: Volcano Setup Ideas
If you are publishing this article with pictures, the following image prompts can help readers understand each step clearly. Use real photos of your own project whenever possible.


How to Make a Volcano for Kids: Step-by-Step Process
Step 1: Choose the Right Work Area
Start by picking a mess-friendly location. Outdoors is ideal, but a kitchen table covered with newspaper or a plastic tablecloth works too. Place the volcano on a baking pan, tray, or cookie sheet to catch overflow. This is not the moment to test whether your dining table enjoys vinegar. Spoiler: it does not.
Step 2: Attach the Bottle to the Base
Place the plastic bottle in the center of the tray and tape it down so it does not wobble during the eruption. The bottle becomes the volcano’s main chamber. Make sure the opening stays clear because that is where the ingredients will go in and the foam will come out.
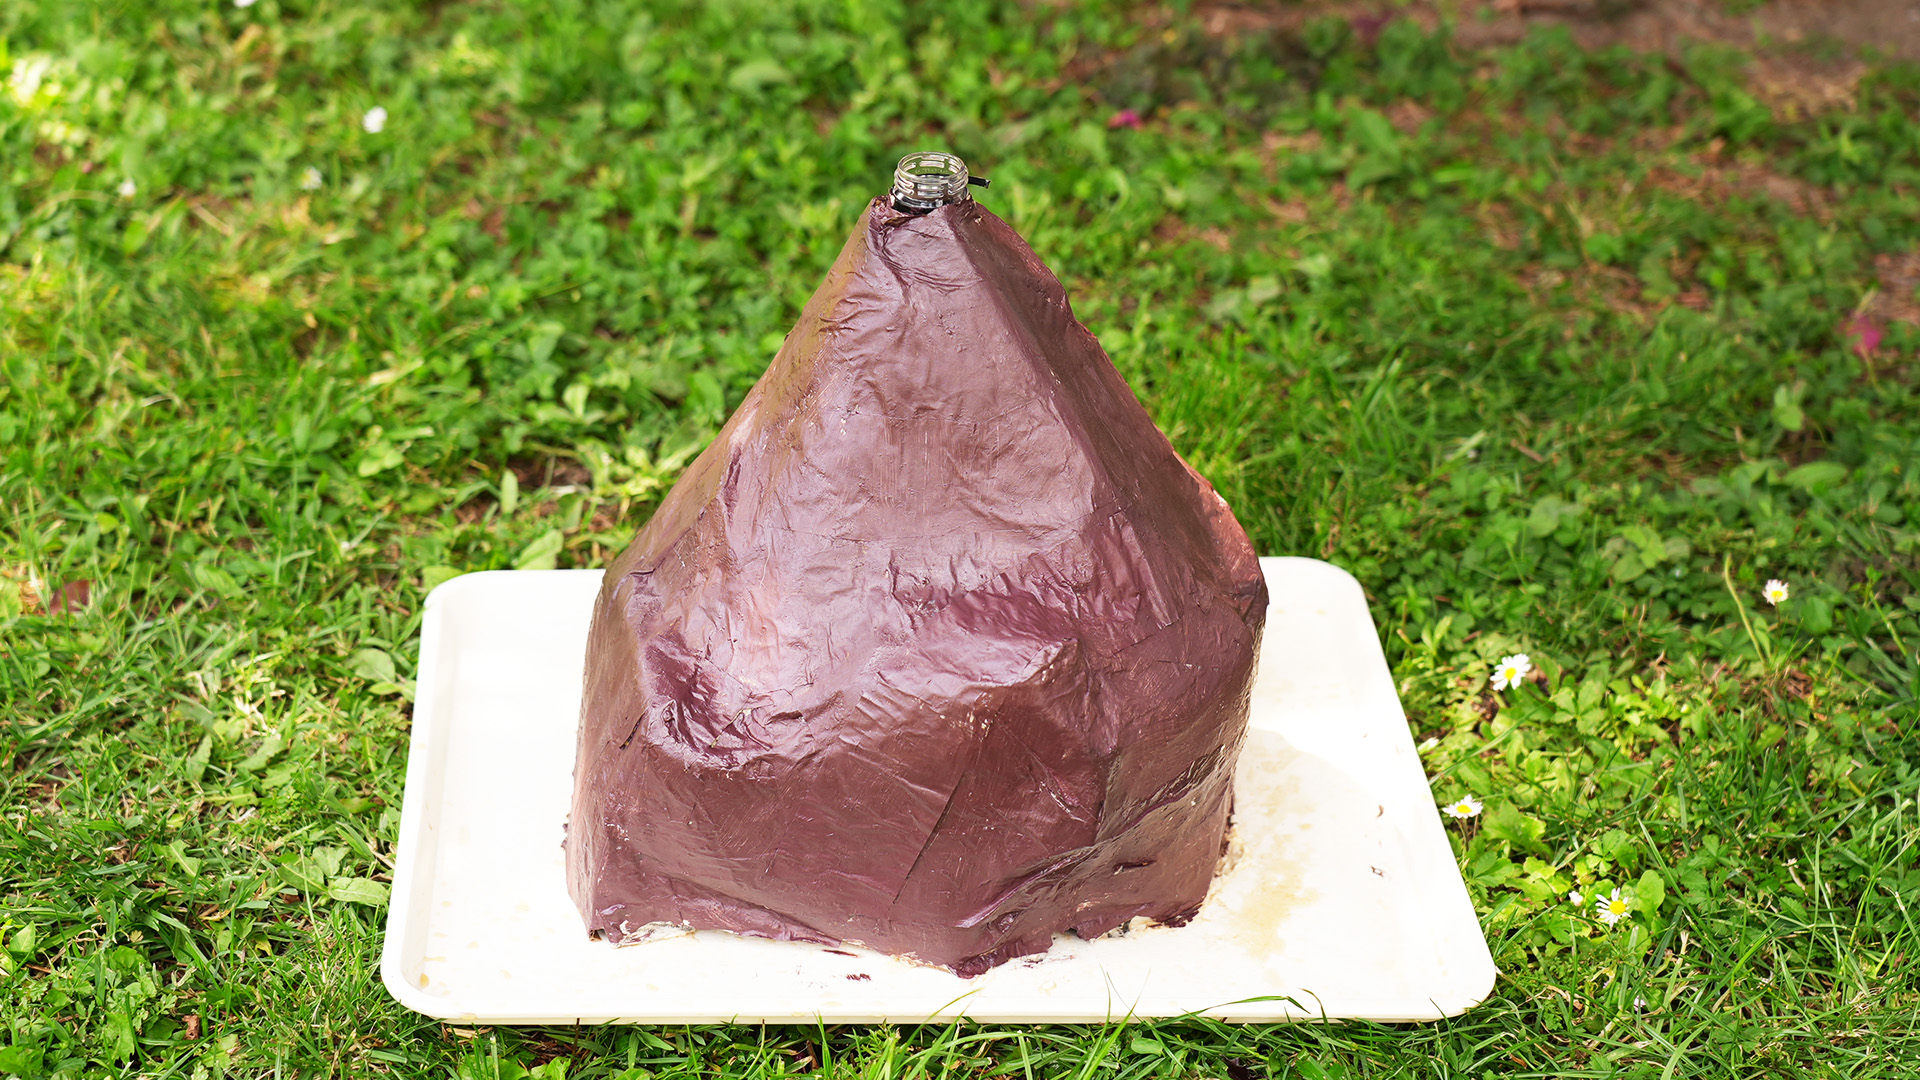
Step 3: Build the Volcano Shape
Use aluminum foil, clay, play dough, or crumpled paper covered with tape to shape a mountain around the bottle. Slope the sides downward so the “lava” can flow naturally. Keep the top open. If kids are using clay or play dough, they can press ridges, cracks, and channels into the surface to guide the foam.
For a quick version, wrap aluminum foil around the bottle and pinch it into a cone shape. For a more artistic version, cover the foil with air-dry clay, let it dry, and paint it brown, gray, or black. Add paper trees, toy dinosaurs, or tiny cardboard houses if you want a full dramatic scene. The volcano does not need to be perfect. Real mountains are not winning beauty contests either.
Step 4: Add Baking Soda
Put 3 to 4 tablespoons of baking soda into the bottle. A funnel makes this easier, especially for younger kids. If you do not have a funnel, roll a piece of paper into a cone and use it as a simple pouring tool.
Step 5: Add Dish Soap and Food Coloring
Add about 1 teaspoon of dish soap to the bottle. Dish soap makes the eruption foamier and slower, which helps the “lava” crawl down the volcano instead of disappearing instantly. Add several drops of red, orange, or yellow food coloring. Red is the classic choice, but orange and yellow mixed together can make a lava-like color that looks great in photos.
Step 6: Pour in the Vinegar
Measure about 1/2 cup of vinegar. When everyone is ready, slowly pour the vinegar into the bottle. The reaction begins almost immediately. Foam will rise, spill out of the opening, and run down the sides of the volcano. Kids may cheer. Adults may pretend they are calm. The tray will do its heroic duty.
Step 7: Observe, Discuss, and Repeat
Ask kids what they noticed. Did the foam come out quickly or slowly? Did it flow down one side more than the other? What happened when more vinegar was added? A good volcano experiment becomes even better when children make predictions, test changes, and compare results.
To erupt again, add more baking soda and pour in more vinegar. You can usually repeat the reaction several times before the mixture becomes too diluted. Empty and rinse the bottle if the foam starts looking tired. Even volcanoes need a refresh.
The Science Behind the Eruption
The homemade volcano works because baking soda and vinegar react with each other. Baking soda is a base, and vinegar contains acetic acid. When they mix, they form carbon dioxide gas. Those gas bubbles expand and push the liquid upward. Dish soap traps some of the bubbles, creating thicker foam that looks like lava flowing from the volcano.
This experiment is a simple model, not a real volcanic eruption. Real volcanoes involve melted rock, heat, pressure, gases, and changes inside Earth. Still, the activity helps children understand that gases can create movement and pressure. It also gives them a concrete way to think about vents, lava flows, and eruption paths.
Easy Variations to Try
1. The Mini Cup Volcano
Use a small paper cup instead of a plastic bottle. Wrap it in foil, place it on a paper plate, and use smaller amounts: 1 tablespoon baking soda and 2 tablespoons vinegar. This version is great for classrooms because each child or group can make a small volcano.
2. The Play Dough Layer Volcano
Use different colors of play dough to represent different lava flows. After each eruption, add a new colored layer down the side of the volcano. Later, cut or peel back part of the model to show how repeated eruptions build layers over time. This adds a geology lesson to the chemistry fun.
3. The Lemon Volcano
Cut a lemon in half, loosen the inside with a fork, add a few drops of food coloring, and sprinkle baking soda on top. The lemon juice reacts with the baking soda and creates fizz. This version is smaller, fresh-smelling, and perfect when you want science without building a mountain.
4. The Snow Volcano
If you have snow, pack it around a bottle to create an instant volcano shape. Add baking soda, food coloring, and vinegar. The bright foam against white snow makes excellent pictures. Just remind kids that vinegar can irritate eyes, so pouring should be slow and supervised.
5. The Measurement Challenge
Turn the volcano into a real experiment by changing one variable at a time. Try different amounts of baking soda, different vinegar temperatures, or different bottle openings. Have children record which version creates the tallest foam, longest flow, or most dramatic eruption.
Tips for a Better Volcano Eruption
Use a narrow bottle opening for a stronger upward push. Add dish soap for thicker foam. Use warm vinegar if you want the reaction to happen a little faster. Pour slowly if you want a longer eruption, or pour quickly if you want a sudden burst of foam. For better pictures, place the volcano in bright natural light and use bold food coloring.
Do not overfill the bottle before adding vinegar. Leave space for bubbles to form. Also, avoid using too much food coloring if you are indoors, especially on light-colored surfaces. Red “lava” looks exciting until it becomes a modern art installation on the carpet.
Common Mistakes to Avoid
The most common mistake is forgetting the tray. The second most common mistake is using a bottle that is too large for the amount of baking soda and vinegar. If the bottle is huge, the reaction may look underwhelming. A smaller bottle often produces a better visual effect.
Another mistake is adding the vinegar before the kids are ready to watch. Once the vinegar meets the baking soda, the show begins quickly. Make sure cameras are ready, goggles are on, and everyone is standing back before the final pour.
Finally, do not turn this into a sealed pressure experiment. A homemade volcano should remain open. The goal is safe fizzing foam, not surprise projectiles. Keep the activity simple, supervised, and age-appropriate.
Cleanup: The Unsung Hero of Volcano Science
Cleanup is easy if you prepare ahead. Most of the mixture is baking soda, vinegar, dish soap, water, and food coloring. Wipe up spills with paper towels or cloths, rinse the tray, and wash hands afterward. If you used clay or play dough, remove it from the bottle before rinsing. If you used paper decorations, throw away soggy pieces before they become mysterious science sludge.
For classroom use, give each group a tray and pre-measured ingredients. This prevents chaos, reduces spills, and keeps the activity moving. For home use, let kids help clean up. It teaches responsibility, and it reminds them that every great eruption has an after-party called “wiping the counter.”
Experience Notes: What Actually Works Best With Kids
After trying this activity with kids of different ages, one thing becomes obvious: the eruption is only half the fun. The building stage matters just as much. Younger children usually enjoy shaping the volcano, choosing lava colors, and decorating the scene. Older kids often become more interested in making the eruption bigger, slower, taller, or more realistic. That means the best version of this project is flexible. Give children enough structure to succeed, but enough freedom to test their own ideas.
For preschool and early elementary kids, keep the process simple. A plastic bottle, foil mountain, baking soda, vinegar, dish soap, and food coloring are enough. Let them pour pre-measured ingredients with help. Their main learning comes from seeing that mixing two materials can create something new: bubbles, foam, movement, and gas. Ask simple questions like, “What do you think will happen?” and “Why did the bubbles come out?” Their answers may be wildly creative, and that is part of the charm. One child may confidently explain that the volcano is “burping lava.” Honestly, not the worst metaphor.
For older kids, add measurement and comparison. Have them test one tablespoon of baking soda versus three tablespoons. Try cold vinegar and warm vinegar. Compare a bottle with a narrow opening to a cup with a wide opening. Encourage them to write down predictions before each test. This turns a fun demonstration into a real experiment because they are changing variables and observing results.
The biggest practical tip is to prepare the work area before excitement takes over. Once kids see the vinegar bottle, patience drops by about 87 percent. Put the volcano on a tray first, keep towels nearby, and explain the order of steps before adding the eruption ingredients. Safety goggles make the project feel official, and they also protect eyes from accidental splashes.
Another helpful experience: dish soap makes a big difference. Without soap, the reaction can fizz quickly and disappear. With soap, the bubbles become foamy and more lava-like. Food coloring also matters for visual impact. Red alone works, but red plus a little yellow or orange creates a warmer, more realistic lava color. If you are taking photos, avoid a cluttered background and shoot from a low angle so the volcano looks taller.
Finally, let kids repeat the eruption. Adults often think one eruption is enough, but children usually learn more the second or third time because they start noticing details. They may ask why the reaction slowed down, why the foam took a different path, or why adding more vinegar caused another burst. That curiosity is the real win. The volcano is messy, loud, colorful, and slightly ridiculousbut it makes science feel alive.
Conclusion
Learning how to make a volcano for kids is one of the easiest ways to bring science into everyday life. With baking soda, vinegar, dish soap, and a simple bottle, children can explore chemical reactions, gas formation, eruption models, and basic Earth science in a way that feels more like play than homework. The project is affordable, flexible, and exciting enough to repeat several times.
Whether you build a quick foil volcano, a painted clay mountain, a lemon volcano, or a snow volcano, the key is to keep the activity safe, hands-on, and curious. Ask questions. Make predictions. Change one thing at a time. Take pictures. Laugh when the lava goes sideways. That is how a simple kitchen experiment becomes a memory kids actually keep.
Note: The image paths in this HTML are placeholders. Replace them with original photos before publishing for the best user experience and SEO value.
