Hair Care
How to Make a Dobby Costume: 15 Steps
Jun
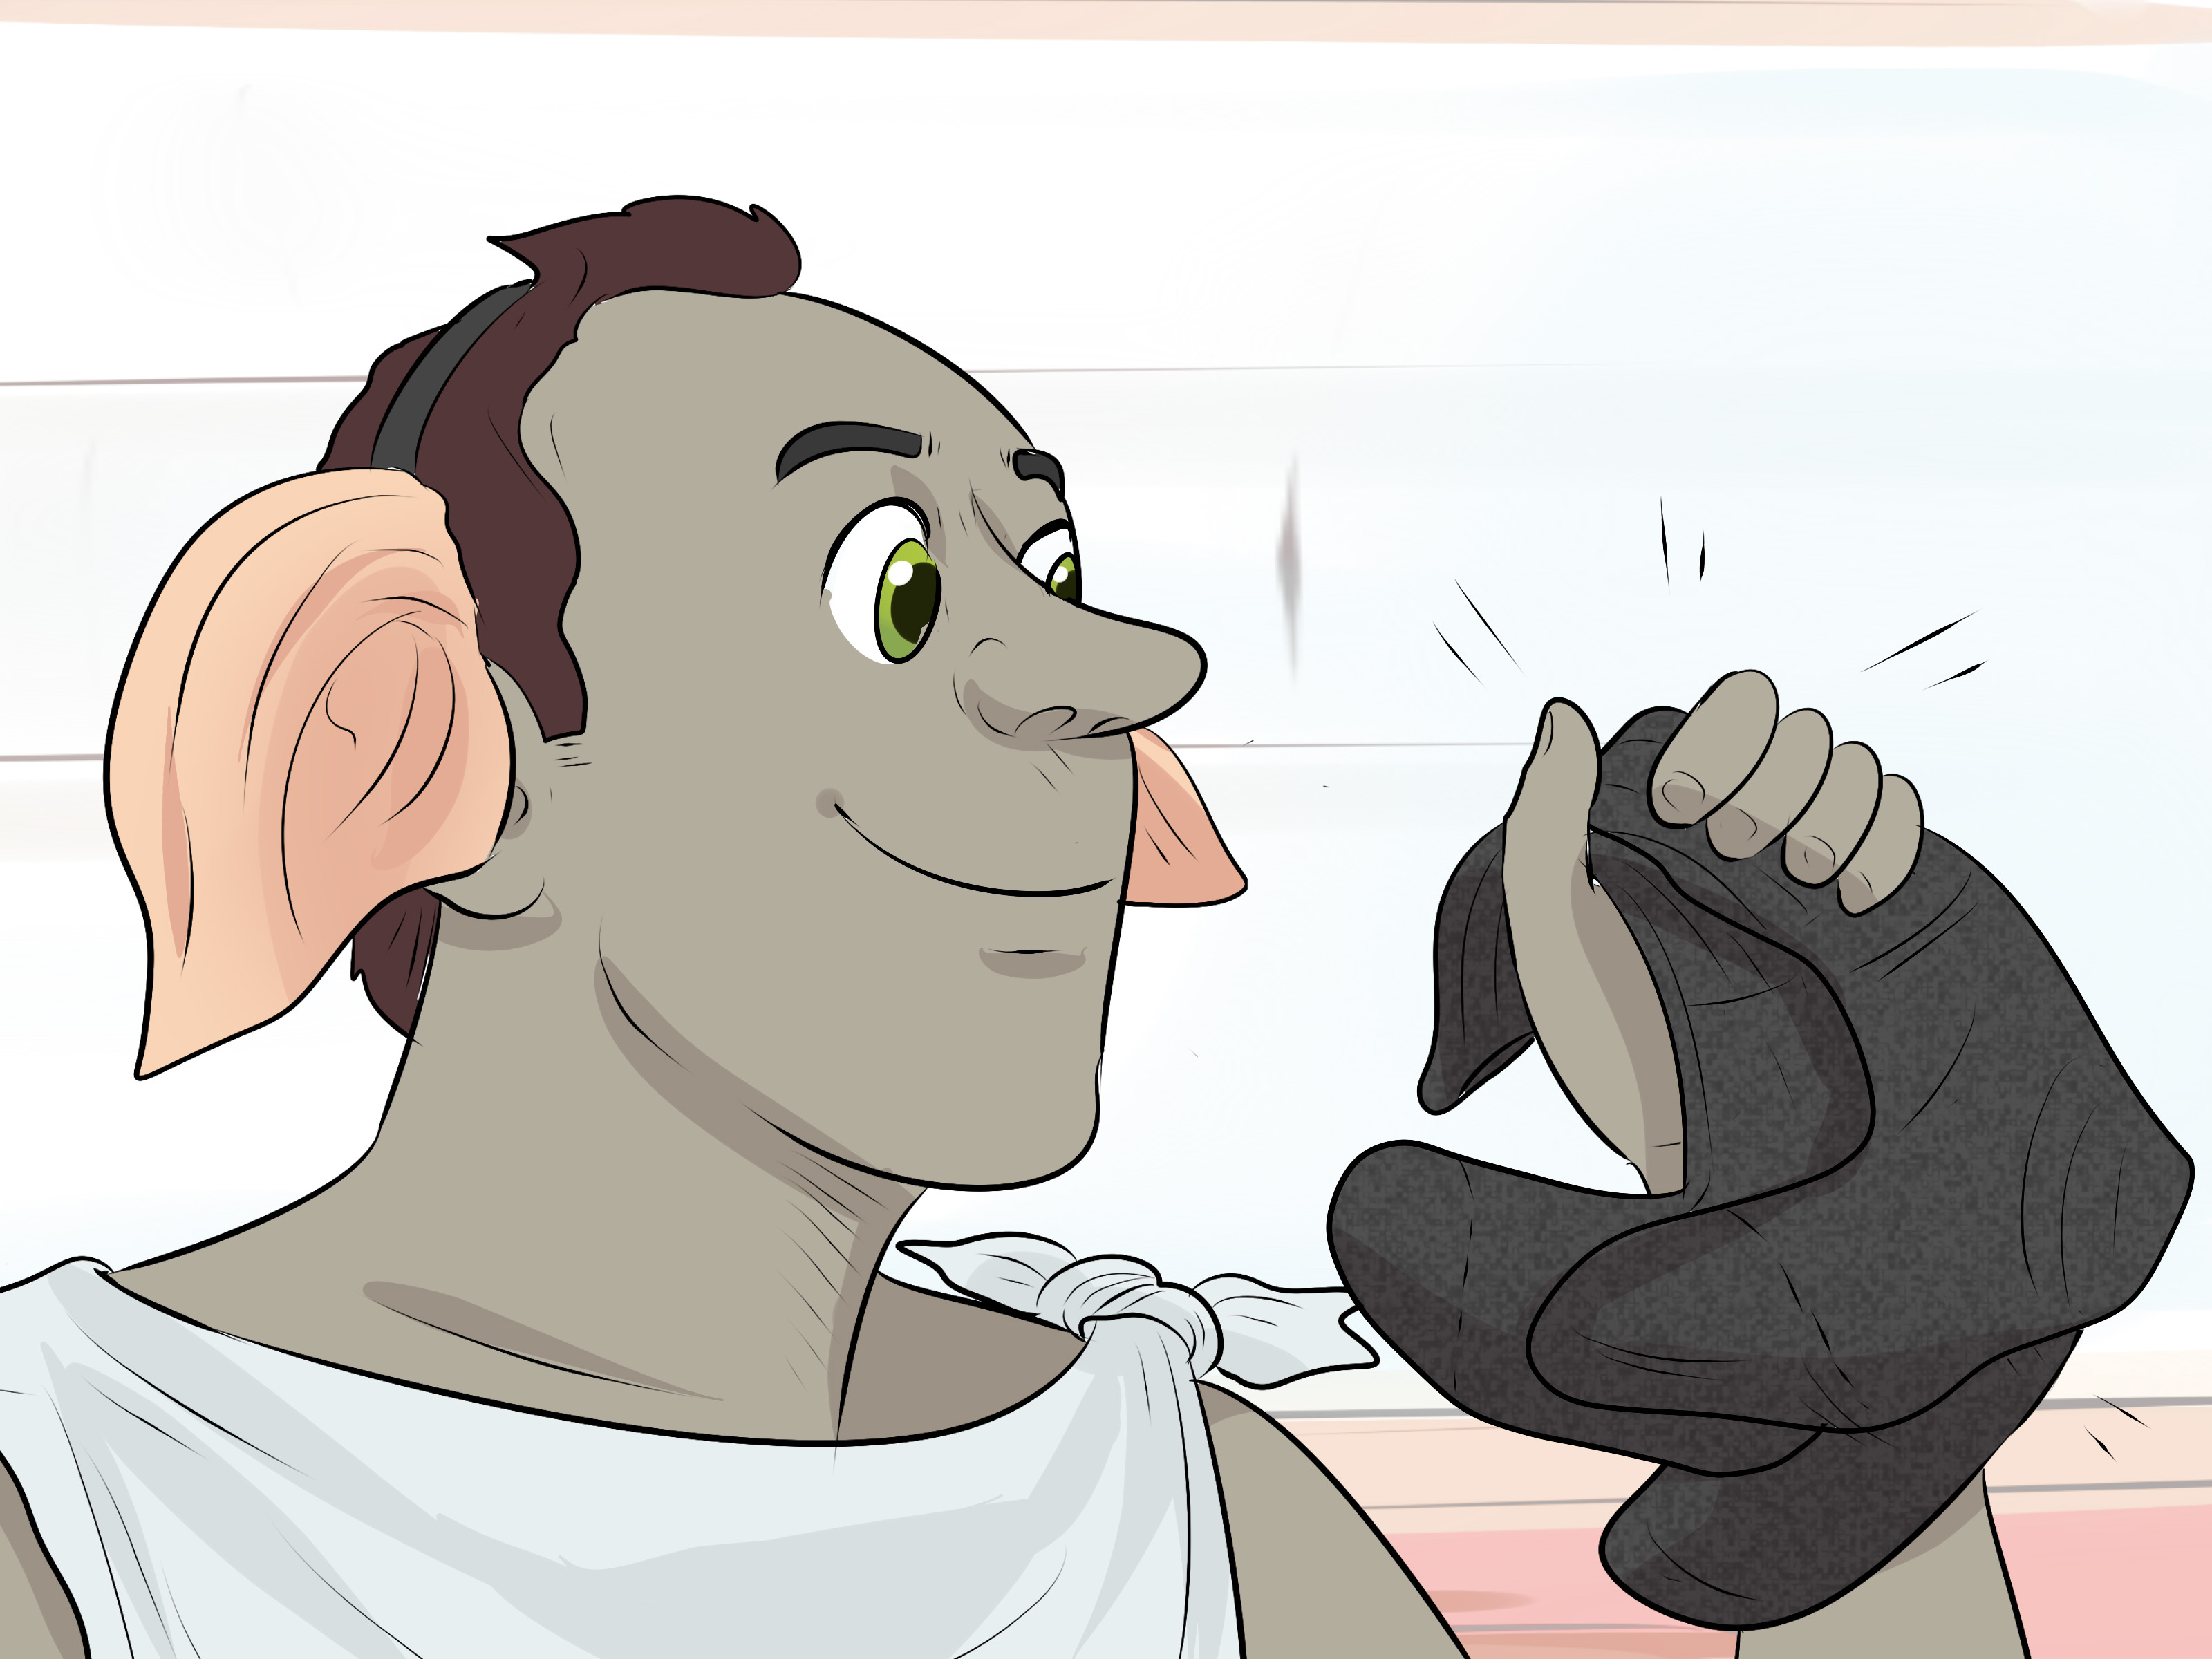
Dobby may not have an enormous wardrobe, but he has everything a memorable costume needs: giant ears, expressive eyes, a dramatically humble tunic, and one extremely important sock. Better yet, you do not need house-elf magic or a Gringotts-size budget to recreate his look.
This DIY Dobby costume uses inexpensive materials such as a pillowcase, felt, a headband, body-safe makeup, and clothing you may already own. The basic version can be completed without sewing, while a few optional upgrades can make it convincing enough for a Halloween party, school event, cosplay convention, or Harry Potter group costume.
The secret is not complicated prosthetics. It is getting Dobby’s recognizable silhouette right: a bald-looking head, wide pointed ears, a long nose, thin neutral-colored clothing, and a sock carried as proudly as a trophy. Follow these 15 steps to build a comfortable, funny, and instantly recognizable Dobby costume.
What You Need for a DIY Dobby Costume
Gather your supplies before cutting anything. Most of the costume can be made from household items and basic craft materials.
- One white, beige, or light-gray pillowcase
- Tan, beige, or light-brown felt or craft foam
- A plain headband
- A fitted beige cap, wig cap, or bald cap
- Body-safe beige, taupe, gray, and brown face paint
- A brown eyeliner pencil or skin-safe makeup pencil
- Fabric scissors
- Fabric glue, tacky glue, or a low-temperature glue gun
- Cardstock or thin cardboard for ear supports
- Safety pins, hook-and-loop tape, or basic sewing supplies
- Beige leggings, shorts, or fitted pants
- Neutral shoes or sandals
- One clean, preferably mismatched sock
- Optional tea bags or diluted fabric dye for aging the tunic
Children should have adult help when using scissors, hot glue, dyes, or adhesives. Choose a costume length that does not drag across the ground, and keep the ears positioned so they do not block side vision.
How to Make a Dobby Costume in 15 Steps
Step 1: Choose Your Version of Dobby
Start by deciding whether you want a simple Halloween costume or a detailed cosplay version. A basic Dobby outfit needs only a rough tunic, pointed ears, a neutral cap, and a sock. A more elaborate interpretation can add facial contouring, sculpted ears, a prosthetic nose, weathered fabric, and house-elf-style poses.
Consider where you will wear the costume. Lightweight felt ears and ordinary makeup are ideal for walking around a neighborhood. Larger foam ears and heavier prosthetics may look impressive in photographs but can become uncomfortable during a long event. Dobby is loyal, brave, and dramatic, but he probably would not recommend spending six hours trapped under a sweaty rubber nose.
Step 2: Find a Suitable Pillowcase or Fabric
Dobby’s simple garment is one of the easiest parts of the costume. Use an old pillowcase in white, cream, beige, or pale gray. A standard pillowcase may work for a young child, while an adult will probably need a king-size pillowcase, an old sheet, or one to two yards of lightweight fabric.
Avoid material that is transparent, stiff, or likely to unravel aggressively. Cotton-blend fabric is easy to cut, although any costume material should be kept away from candles and open flames. For nighttime events, consider adding a small strip of reflective tape along the back or hem where it will not interfere with the rustic appearance.
Step 3: Measure the Tunic Before Cutting
Hold the pillowcase against the wearer’s body and mark the approximate locations of the neck, shoulders, arms, and lower hem. The tunic should fit loosely without becoming so oversized that it causes tripping.
For an adult Dobby costume, aim for a length around the upper thigh or knee, depending on what will be worn underneath. For a child, make sure the lower edge stays several inches above the shoes. Mark all cutting lines with washable chalk or a pencil before making permanent changes.
Step 4: Cut the Neck and Armholes
Cut a curved opening at the closed end of the pillowcase for the neck. Begin with a small opening and enlarge it gradually. A neckline can always become wider; persuading missing fabric to grow back is a more advanced branch of magic.
Next, cut an armhole on each side. Keep the openings large enough for comfortable movement but not so deep that the tunic falls apart. Test the garment over a T-shirt before continuing. Smooth or trim any sharp corners that scratch the skin.
Step 5: Shape the Tunic
Dobby’s garment should appear rough and slightly asymmetrical rather than tailored. Trim the bottom into an uneven line, making a few shallow curves or small notches. Do not create long dangling strips because they can catch on furniture, shoes, or outdoor decorations.
For a cleaner no-sew finish, turn the raw edges inward and secure them with fabric glue. You can also use a simple running stitch or narrow hem. The garment should look old, but it should not shed threads across the party like a nervous fabric monster.
Step 6: Age the Fabric
A bright white pillowcase can look more like hotel bedding than house-elf clothing. To soften the color, steep several tea bags in hot water, allow the liquid to cool, and test it on a hidden section of fabric. Soak or dab the material until it develops a light, uneven beige tone.
Another option is diluted washable fabric dye. Concentrate darker color near the seams, neckline, and lower edge, where natural wear would be most visible. Rinse and dry the tunic completely before wearing it. Do not apply coffee grounds, loose dirt, or strongly scented substances directly to the finished costume.
Step 7: Create an Ear Template
Dobby’s ears are long, pointed, and angled outward. Draw one ear on paper before cutting the final material. An adult ear can measure roughly 8 to 12 inches from base to tip, while a child’s version should be smaller and lighter.
The upper edge may curve gently before tapering into a point. The lower edge should be slightly fuller. Once the shape looks right, cut out the paper template, flip it over, and trace a mirrored ear. This produces a balanced pair instead of two ears that appear to be arguing about geography.
Step 8: Cut and Reinforce the Ears
Trace each ear twice onto beige felt, giving you four felt pieces. Cut two slightly smaller support shapes from cardstock, thin cardboard, or flexible craft foam. Sandwich one support between two felt pieces and glue around the edges.
Leave the base flexible enough to wrap around the headband. For extra dimension, draw a subtle inner-ear line with brown fabric marker or attach a smaller layer of pinkish-beige felt. Keep the shading soft; Dobby’s ears should look expressive, not as though they have been outlined with a permanent marker during a power outage.
Step 9: Attach the Ears to a Headband
Place the headband on the wearer and mark where the ears should sit. They generally look best slightly above and behind the natural ears. Angle them outward and a little downward.
Wrap the base of each felt ear around the band and secure it with fabric glue, tacky glue, or low-temperature hot glue. Hold each piece until the adhesive begins to set, then allow the headband to dry completely. Cover visible attachment points with extra felt.
Test the headband by turning and tilting your head. The ears should remain stable without pressing painfully behind the natural ears.
Step 10: Create Dobby’s Bald Head
The simplest option is a fitted beige wig cap, swimming cap, or costume cap. Tuck all hair underneath and place the ear headband over it. Choose a cap close to the wearer’s skin tone or makeup color so the transition looks intentional.
A professional bald cap can create a smoother result, but it requires careful application and skin-safe adhesive. Beginners and children are usually better served by a soft fabric cap. You can dab a little matching body makeup along the visible edge, but never use craft glue, household adhesive, or paint intended for paper on the skin.
Step 11: Apply Safe Dobby Makeup
Use makeup or face paint specifically labeled for cosmetic use. Test a small amount on the inner arm before the event, especially when working with sensitive skin. Craft paint may be described as “non-toxic,” but that does not make it suitable for a face.
Apply a thin layer of beige, taupe, or light-brown color to the face and neck. Use a slightly darker shade beneath the cheekbones, around the temples, beside the nose, and under the jaw. Blend thoroughly so the shadows resemble natural contours rather than racing stripes.
Add a few fine lines across the forehead and around the eyes with a brown makeup pencil. Keep products away from the waterline of the eyes, and skip glitter entirely. Dobby has many admirable qualities, but sparkling eyelids are not essential to the plot.
Step 12: Suggest Dobby’s Large Eyes and Long Nose
You do not need full prosthetics to suggest Dobby’s distinctive features. Apply light-colored makeup beneath the eyes and darker contour around the outer edges to make the eyes appear larger. A soft brown line beneath each lower lash line can add definition without creating a heavy beauty-makeup effect.
To lengthen the nose visually, highlight a narrow line down the center and shade both sides. Extend the darker contour slightly below the natural tip. A lightweight costume nose is optional, but it must not interfere with breathing or vision. Secure accessories only with products designed for cosmetic use.
Step 13: Choose Comfortable Base Clothing
Wear beige leggings, fitted pants, shorts, or thermal clothing beneath the pillowcase tunic. This provides coverage, warmth, and freedom of movement. Neutral colors work best because bright athletic wear may peek out and announce that Dobby has recently joined a fitness club.
Bare feet may match the character, but they are rarely practical or safe. Choose tan shoes, brown sandals, slip-on footwear, or fitted shoe covers. For outdoor trick-or-treating, sturdy, well-fitting shoes are more important than perfect screen accuracy.
Step 14: Add the Famous Sock
A Dobby costume is not complete without a sock. Carry one in your hand, tuck it into the tunic, or attach it loosely to a small fabric pouch. A striped, brightly colored, or deliberately mismatched sock stands out well against the neutral outfit.
Make sure the sock is clean. Authentic-looking does not need to mean biologically adventurous. For a photo prop, you can also wrap the sock around a lightweight book-shaped piece of cardboard, referencing the object connected to Dobby’s freedom without carrying a heavy hardcover all evening.
Step 15: Practice the Character and Test the Costume
Put on every part of the costume at least one day before the event. Walk, sit, turn your head, climb a few stairs, and raise both arms. Shorten the tunic if it catches under the wearer’s shoes. Adjust the headband if the ears block peripheral vision or wobble excessively.
To sell the character, use small careful steps, clasp your hands, widen your eyes, and tilt your head when listening. Dobby’s personality combines nervous energy, sincerity, courage, and enthusiastic loyalty. One recognizable pose can make a homemade costume more convincing than an expensive mask.
Easy Upgrades for a More Realistic Dobby Costume
Once the basic outfit is finished, a few small upgrades can improve the overall effect without rebuilding everything.
- Add ear veins: Draw faint branching lines with a pink-brown makeup pencil or fabric marker.
- Create fabric patches: Glue uneven scraps of slightly darker fabric onto the tunic.
- Shade the bald cap: Use body-safe makeup to blend the cap with the face and neck.
- Make lightweight wrinkles: Add subtle contour lines around the forehead, mouth, and eyes.
- Carry multiple socks: Mismatched socks are especially appropriate for a free and fashion-conscious Dobby.
- Coordinate a group costume: Pair Dobby with Harry, Hermione, Ron, or other wizarding-world characters.
Common Dobby Costume Mistakes to Avoid
Making the Ears Too Heavy
Large ears attract attention, but thick cardboard and multiple layers of glue can make a headband painful. Use lightweight foam or thin cardstock and reinforce only the center. Comfortable ears will stay on longer and look better because the wearer will not remove them every seven minutes.
Cutting the Pillowcase Too Quickly
Neck openings often become much larger than expected. Cut a small curve, test the fit, and enlarge it gradually. The same rule applies to armholes.
Using Unsafe Paint on the Skin
Only use cosmetics and body paints made for human skin. Follow the label, perform a patch test, and remove the product gently after the event. Avoid applying makeup over irritated or broken skin.
Ignoring Mobility and Visibility
An accurate costume is not successful if the wearer cannot see, breathe, walk, or sit comfortably. Keep the hem short, choose stable shoes, and position the ears away from the eyes. Use battery-operated lights around costumes rather than open flames.
Practical Experiences and Lessons from Making a Dobby Costume
One of the most common experiences with a homemade Dobby costume is discovering that the simplest materials often produce the strongest result. People sometimes begin the project expecting to need expensive prosthetics, professional makeup, and complicated sewing. Once the pillowcase tunic and oversized ears are in place, however, the character usually becomes recognizable immediately. The sock finishes the visual joke. Everything beyond those elements is an enhancement rather than a requirement.
The ears usually require the most experimentation. A paper template may look perfectly proportioned on a table but surprisingly enormous when held next to a person’s head. Testing the shape with ordinary printer paper saves felt and prevents the finished costume from resembling a small aircraft. Makers also learn that ear angle matters almost as much as ear size. Ears placed straight up can resemble fantasy-animal horns, while ears positioned too low may disappear behind the shoulders. A gentle outward and downward angle creates the familiar house-elf silhouette.
Another useful lesson involves fabric aging. It is tempting to stain the tunic heavily because Dobby’s clothing is supposed to look old. In practice, subtle discoloration photographs better than large dark patches. A light tea wash, unevenly applied around the neckline and hem, creates depth without making the costume look genuinely dirty. It is also wise to age the pillowcase before cutting it. Wet fabric can shrink or distort, and discovering that the neck opening has changed shape after construction is an unpleasant surprise.
Comfort becomes increasingly important the longer the costume is worn. A headband that feels slightly tight during a two-minute fitting may become distracting after an hour. The same applies to heavy face paint and stiff fabric. Successful costumes use thin cosmetic layers, breathable base clothing, and lightweight ear supports. Carrying a small repair kit with safety pins, makeup wipes, and extra adhesive tabs can rescue the outfit when a felt ear begins developing independent political ambitions.
Group costumes provide another memorable experience. Dobby’s pale neutral outfit contrasts well with dark Hogwarts robes, scarves, and wands, so the character remains visible in photographs. The person playing Dobby does not need elaborate dialogue. A tilted head, clasped hands, wide eyes, and proud presentation of the sock communicate the idea instantly. Humor comes naturally from the contrast between Dobby’s modest clothing and his enormous emotional commitment to everything happening around him.
Photos are usually most effective when taken at a slightly higher camera angle, which helps the wearer appear smaller and emphasizes the eyes and ears. Soft front lighting reveals facial contouring without exaggerating every makeup line. Before taking pictures, smooth the cap, check that both ears point in roughly the same direction, and make sure modern clothing is not visible beneath the tunic.
The final lesson is that homemade charm suits Dobby particularly well. Perfect seams and expensive materials are unnecessary for a character known for wearing humble, mismatched clothing. A few irregular edges can make the costume more believable. The goal is not to reproduce every digital detail from the films. It is to capture the instantly recognizable combination of large ears, earnest expression, simple tunic, and triumphant sock. When those pieces work together, the costume feels completeand the household sewing machine may remain a free appliance.
Conclusion
Learning how to make a Dobby costume is mostly an exercise in creative simplicity. Begin with a loose pillowcase tunic, add lightweight felt ears, cover the hair with a neutral cap, and use subtle body-safe makeup to suggest Dobby’s eyes, wrinkles, and long nose. Comfortable base clothing and secure shoes make the finished outfit practical, while the sock provides the unmistakable final detail.
Test everything before the event, prioritize visibility and movement, and keep the accessories light. A successful DIY Dobby costume does not require advanced sewing or professional special effects. It needs a recognizable shape, a little weathering, expressive body language, and the confidence to carry one ordinary sock as though it is the greatest treasure in the wizarding world.
Note: This is an unofficial fan-made costume guide. Harry Potter and Dobby are associated with their respective copyright and trademark owners. Children should receive adult supervision when using scissors, heated glue tools, dyes, or costume makeup.
