Beauty Tools & Accessories
How to Fit a Tow Bar to Your Car: 13 Steps
May
Note: This guide is for general educational purposes. Tow bar and trailer hitch installation varies by vehicle, hitch type, wiring system, and local regulations. Always follow your vehicle owner’s manual and the manufacturer’s installation instructions. When drilling, modifying bumpers, working near airbags, or connecting vehicle wiring, professional installation is the safest choice.
Introduction: A Tow Bar Is Small, but It Has a Big Job
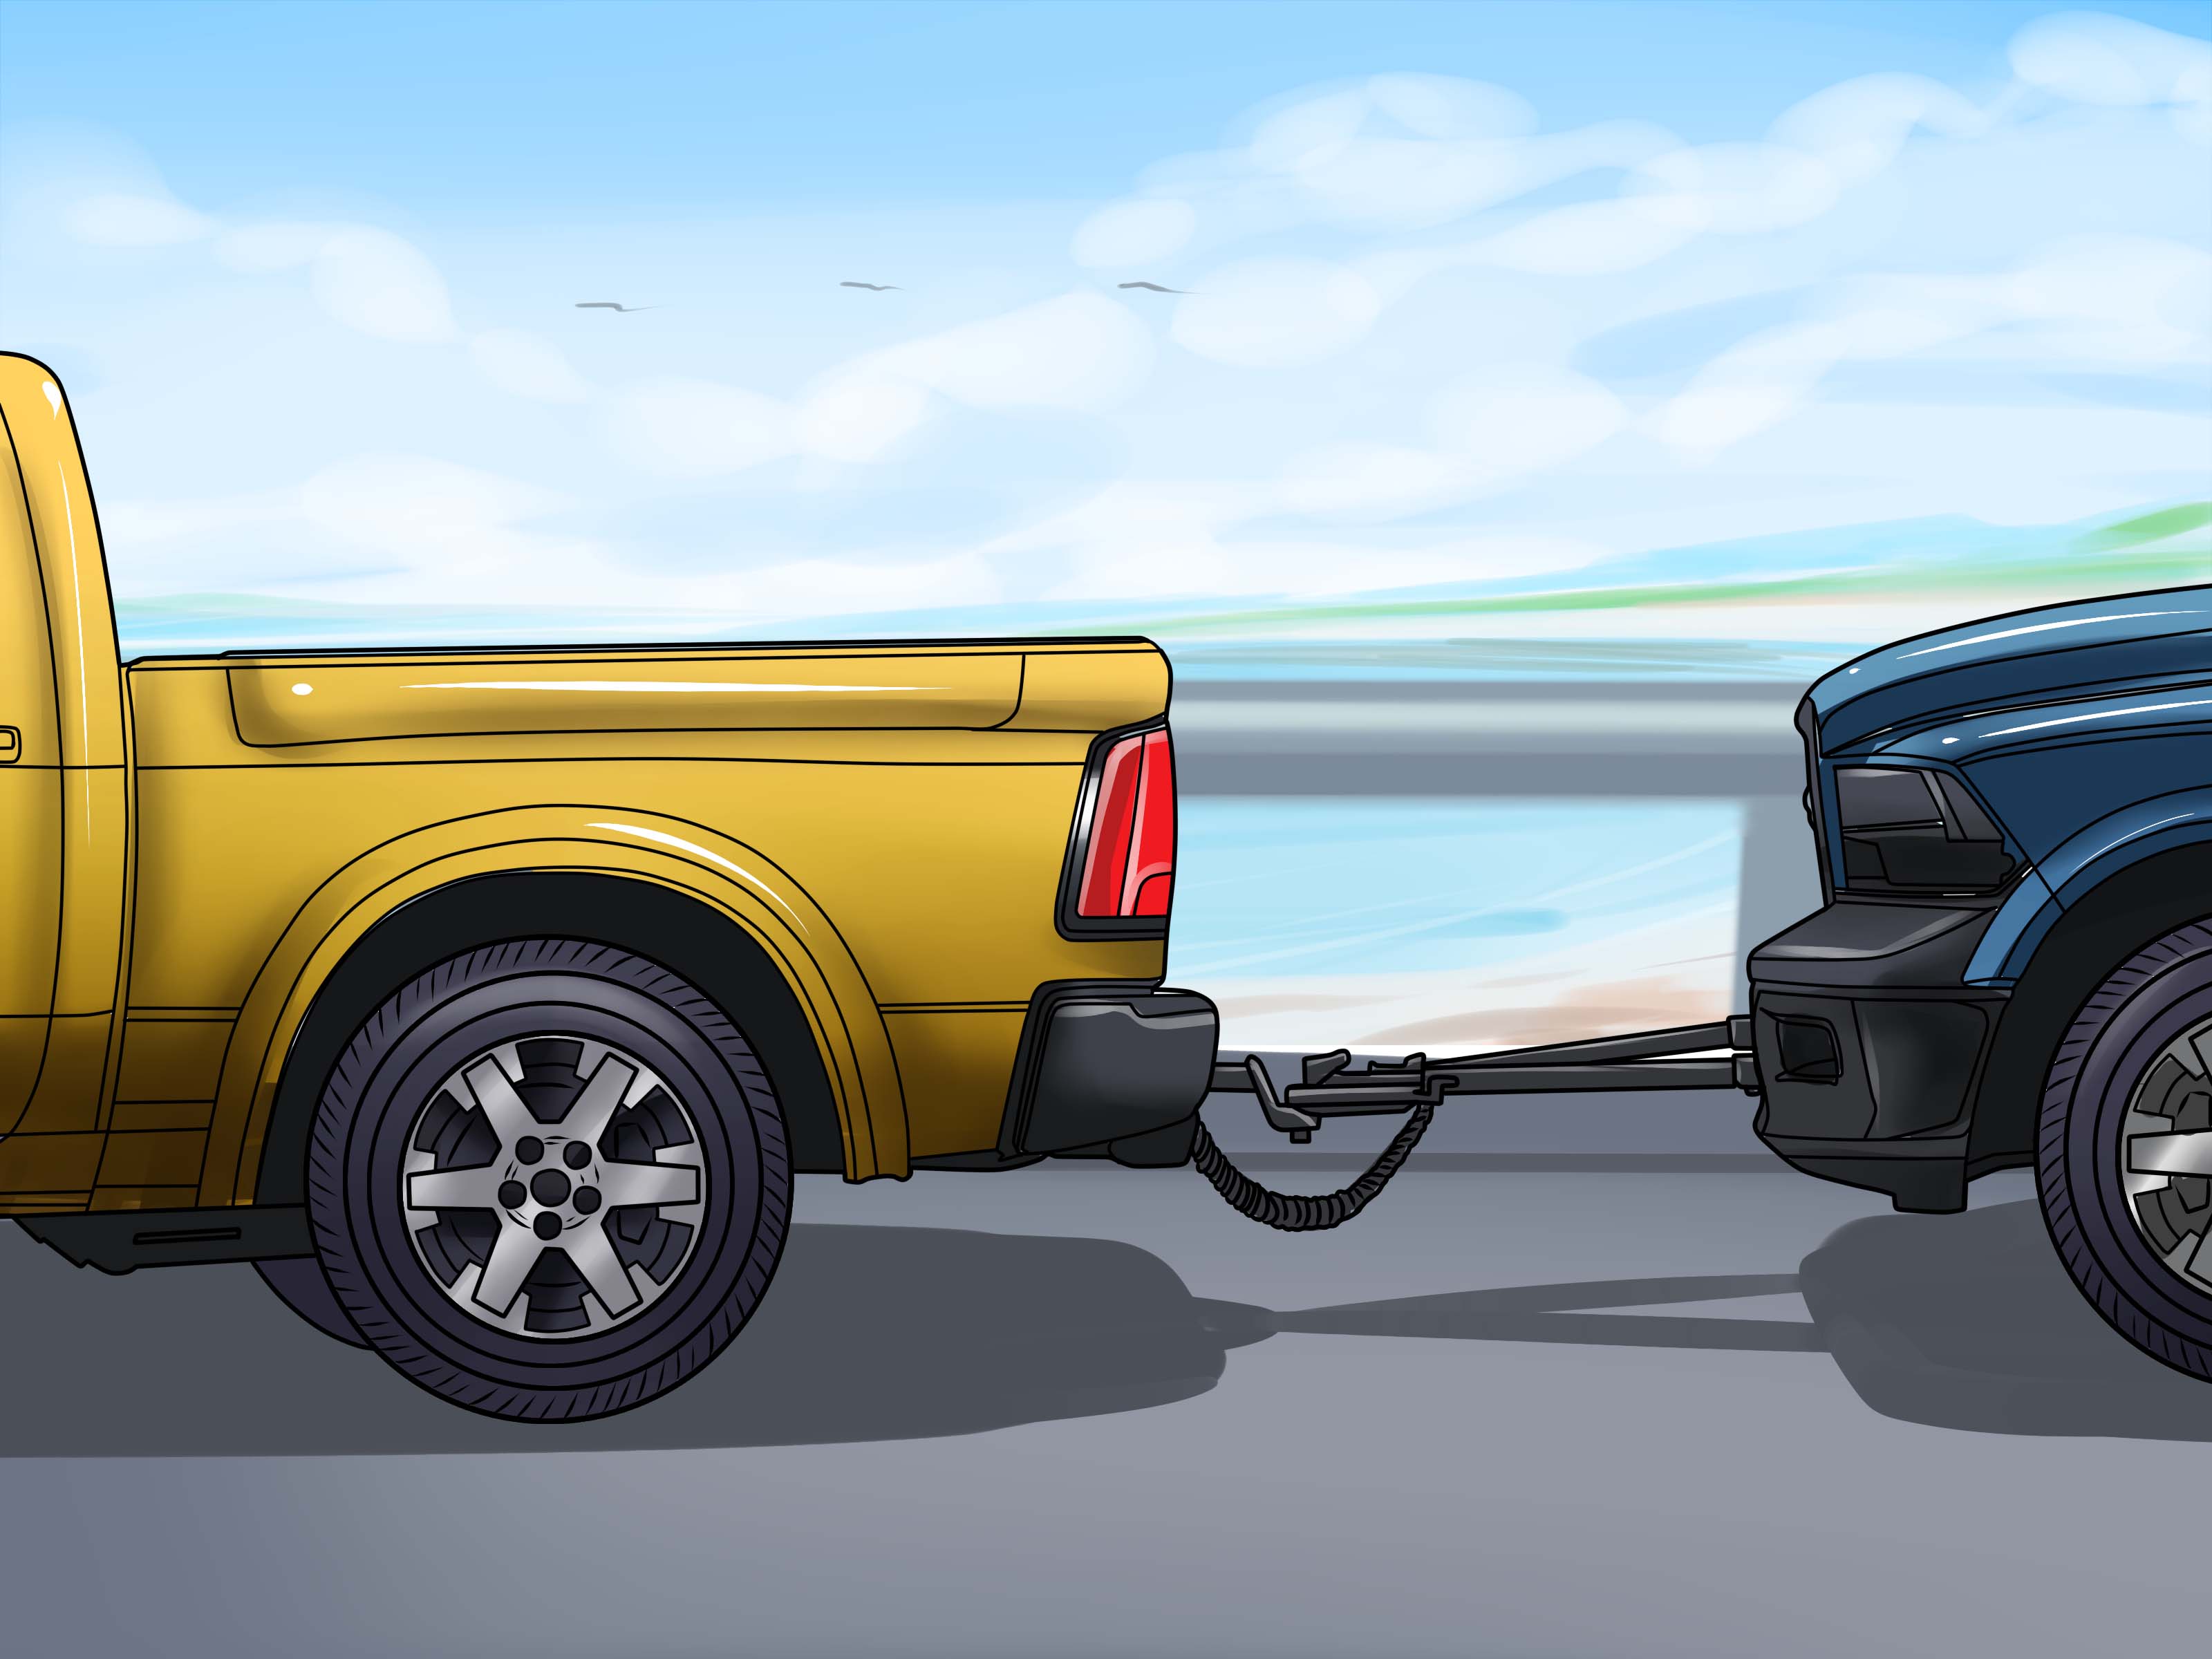
Fitting a tow bar to your car sounds simple until you realize this little piece of metal is responsible for holding a trailer, bike rack, small camper, cargo carrier, or utility load behind a moving vehicle. No pressure, right? A properly installed tow bar can make your car more useful, more flexible, and far better prepared for weekend projects, moving day, camping trips, and the occasional “I bought a sofa and forgot I do not own a truck” situation.
But here is the serious part: a tow bar is not a decorative accessory. It must match your vehicle’s towing capacity, attach to approved structural points, use the right bolts and torque settings, and include safe trailer wiring when lights are needed. Getting it wrong can damage your car, create unsafe handling, or make towing illegal on public roads.
This in-depth guide explains how to fit a tow bar to your car in 13 practical steps. It covers planning, tools, mounting, wiring, checks, and real-world experience so you can understand the process before deciding whether to do it yourself or hire a professional installer.
Before You Begin: Know What You Are Installing
In the United States, many drivers use the term “trailer hitch” for the receiver-style mounting system attached to the rear frame of a vehicle. In other countries, “tow bar” may refer to the full towing assembly or the removable ball mount. For this article, “tow bar” means the vehicle-mounted towing system that allows your car to pull a trailer or carry towing accessories.
The most important rule is simple: your tow bar must be designed specifically for your vehicle’s make, model, year, trim, and drivetrain. A hitch that fits one version of a car may not fit another, especially if bumpers, exhaust routing, frame rails, or hybrid battery placement differ. Universal parts may sound convenient, but towing is one place where “close enough” is not your friend.
Tools and Materials You May Need
The exact tools depend on your car and tow bar kit, but most installations require a socket set, torque wrench, screwdrivers, trim removal tools, safety glasses, gloves, ramps or jack stands, penetrating oil, measuring tape, and the manufacturer’s hardware kit. Some vehicles may also require a drill, step bit, fish wire, panel removal tools, cutting template, bumper trim tool, or wiring harness.
A torque wrench is not optional. Tow bar bolts must be tightened to the exact torque specified in the installation manual. Too loose, and the assembly may shift. Too tight, and you can damage threads or weaken mounting hardware. That is why “tightened with enthusiasm” is not a measurement.
How to Fit a Tow Bar to Your Car: 13 Steps
1. Confirm Your Vehicle’s Towing Capacity
Start with the owner’s manual, driver-side door label, or manufacturer’s towing guide. Look for towing capacity, gross vehicle weight rating, gross combined weight rating, payload capacity, and tongue weight limit. These numbers tell you how much your vehicle can safely pull and how much downward force the trailer can place on the hitch.
Do not rely on internet guesses or what another owner claims in a forum. Two vehicles that look identical may have different tow ratings because of engine, transmission, cooling package, axle ratio, brakes, or factory towing equipment. Your tow bar should never be used to exceed the vehicle manufacturer’s recommended towing limit.
2. Choose the Correct Tow Bar or Hitch Class
Select a tow bar that is rated for your vehicle and intended use. Light-duty cars may only support small trailers or bike racks, while SUVs and trucks may accept higher-rated receiver hitches. Common receiver sizes include 1.25-inch and 2-inch openings, with larger vehicles sometimes using heavier-duty equipment.
Pay attention to two ratings: gross trailer weight and tongue weight. Gross trailer weight is the loaded weight of the trailer. Tongue weight is the downward pressure placed on the hitch. A safe towing setup must stay within both limits, not just one.
3. Read the Full Installation Manual Before Touching a Bolt
Yes, reading the manual feels like admitting defeat. Do it anyway. The installation sheet tells you where the tow bar mounts, which bolts go where, whether the bumper must be removed, whether holes need to be enlarged, and the exact torque values for the fasteners.
Lay out all hardware on a clean surface and compare it with the parts list. Missing washers, incorrect bolts, or mystery brackets should be solved before the car is in the air and your driveway looks like a metal puzzle exploded.
4. Park Safely and Prepare the Work Area
Park on a flat, solid surface. Set the parking brake, place the transmission in park or in gear for a manual vehicle, and chock the wheels. If the vehicle must be raised, use proper ramps or jack stands rated for the vehicle’s weight. Never rely on a jack alone while working underneath a car.
Good lighting matters. Many tow bar mounting points are tucked under bumpers, behind exhaust hangers, or inside frame rails. A bright work light can save time and prevent accidental cross-threading or misplaced hardware.
5. Inspect the Rear Frame and Mounting Points
Before installing anything, inspect the frame rails, mounting holes, bumper beam area, and underbody. Look for heavy rust, collision damage, cracked metal, missing factory weld nuts, or bent brackets. A tow bar should never be attached to a damaged or severely corroded structure.
Light surface rust around factory holes can usually be cleaned, but serious corrosion is a red flag. If you can poke through the metal or the mounting area flakes apart like a stale pastry, stop and have the vehicle inspected by a qualified mechanic.
6. Remove Any Panels, Covers, or Obstructions
Many modern cars hide everything behind plastic panels, splash shields, bumper covers, and underbody trays. Remove only the parts required by the instructions. Use trim tools when possible so you do not break clips or scratch painted surfaces.
Some installations require temporarily lowering the exhaust from its rubber hangers. Support the exhaust with a strap or stand before removing hangers so it does not hang by the flex pipe. Treat exhaust parts gently; they have a talent for turning one simple job into three additional repairs.
7. Position the Tow Bar on the Vehicle
Lift the tow bar into place and align it with the factory mounting holes. This step is much easier with a helper because many hitches are heavy and awkward. Trying to hold one with your knee while threading bolts overhead is a classic way to learn new vocabulary.
Start all bolts by hand before tightening anything. This allows the tow bar to shift slightly so every mounting point lines up correctly. If a bolt does not thread smoothly, back it out and check alignment. Do not force it with an impact wrench.
8. Install the Supplied Hardware Correctly
Use only the hardware supplied or approved by the tow bar manufacturer. Tow-rated bolts, washers, spacers, carriage bolts, backing plates, and flange nuts are chosen for strength and fit. Swapping in random hardware from a garage drawer is not safe, even if the bolt “looks about the same.”
Some vehicles use fish wires to pull bolts and spacers through the frame. Feed the wire through the access hole according to the instructions, attach the bolt and spacer, then carefully pull them into place. Work slowly so the hardware does not fall inside the frame rail.
9. Torque the Bolts to Specification
Once all bolts are installed and the tow bar sits evenly, tighten the hardware in the sequence recommended by the manufacturer. Then use a torque wrench to tighten each fastener to the exact specification listed in the manual.
This is one of the most important steps in the entire tow bar installation process. Recheck every fastener after the first pass. If the instructions require a second torque check after initial towing, follow that recommendation. Metal parts can settle slightly after use.
10. Trim the Bumper or Underbody Panel if Required
Some vehicles require a small bumper fascia or underbody panel cutout so the receiver or tow ball neck can pass through. Use the template supplied with the kit if one is included. Measure twice, cut once, and remember that plastic grows back approximately never.
Use painter’s tape to mark the cut area and protect the surrounding surface. Cut slowly with the recommended tool, then smooth sharp edges. A neat cut can make an aftermarket tow bar look close to factory-installed instead of “weekend project with a butter knife.”
11. Install the Trailer Wiring Harness
If you plan to tow a trailer, you need working trailer lights. Many vehicles use a plug-and-play wiring harness that connects behind the tail lights or into a factory tow connector. Others require a powered converter module to protect the vehicle’s electrical system.
Modern vehicles can be sensitive to electrical changes because lighting, sensors, stability control, and computer modules may share circuits. Avoid cutting into wiring unless the manufacturer’s instructions specifically require it and you know what you are doing. For newer cars, hybrids, luxury vehicles, and vehicles with complex lighting systems, professional wiring installation is often the smarter choice.
12. Test the Tow Bar, Wiring, and Safety Equipment
After installation, inspect everything before towing. Confirm that the tow bar is centered, all bolts are torqued, the receiver opening is clear, the hitch pin fits correctly, and the safety chain loops are accessible. Attach a trailer or tester and check running lights, brake lights, turn signals, and hazard lights.
Also confirm that the hitch ball size matches the trailer coupler. Common sizes include 1-7/8 inches, 2 inches, and 2-5/16 inches. The coupler and hitch ball must match exactly. Close enough is not safe when the trailer is bouncing behind you at road speed.
13. Do a Low-Speed Test Drive
Before heading onto the highway, do a short low-speed test in a quiet area. Listen for clunks, rattles, scraping, or unusual movement. Test braking gently, make slow turns, and confirm that the trailer follows smoothly. After the test, park safely and inspect the tow bar, hitch pin, coupler, chains, wiring, and fasteners again.
If something feels wrong, stop. Do not try to “drive through it.” Towing problems rarely improve with speed, optimism, or louder music.
Common Mistakes to Avoid When Fitting a Tow Bar
Installing the Wrong Hitch
The most common mistake is buying a tow bar that does not match the vehicle. Always confirm the exact fitment by year, make, model, trim, and drivetrain. Also check whether the hitch is rated for towing or only for accessories such as bike racks.
Ignoring Tongue Weight
Drivers often focus on total trailer weight and forget tongue weight. A trailer can be under the towing limit but still overload the hitch or rear suspension if too much weight sits at the front of the trailer.
Skipping the Torque Wrench
Bolts that feel tight may not be properly torqued. A tow bar experiences vibration, twisting, and repeated load changes. Correct torque helps the hardware clamp securely and perform as designed.
Using Unsafe Wiring Shortcuts
Twisting wires together, skipping a converter module, or tapping random light circuits can cause blown fuses, warning lights, or unreliable trailer lights. Use the correct harness and test every function before driving.
When You Should Hire a Professional Installer
DIY tow bar fitting is possible on many vehicles, especially when the kit uses factory holes and plug-in wiring. However, professional installation is recommended if the job requires drilling into structural metal, removing a painted bumper cover, coding trailer modules, working near advanced driver-assistance sensors, or modifying wiring.
You should also hire a professional if your vehicle has heavy rust, previous collision damage, air suspension, hybrid or electric powertrain components near the rear structure, or unclear towing specifications. Paying for expert installation is cheaper than repairing a damaged vehicle or discovering a towing problem on the road.
How to Load and Tow Safely After Installation
Fitting the tow bar is only half of the job. Safe towing also depends on loading the trailer correctly. Keep heavier cargo low and near the trailer axle, balance the load side to side, and secure everything with proper tie-downs. Too much weight behind the axle can cause trailer sway, while too much tongue weight can overload the rear of the vehicle.
Before every trip, check tire pressure on both the tow vehicle and trailer, test all lights, inspect safety chains, verify the coupler is locked, and confirm the hitch pin is secured with a clip. Cross safety chains under the trailer tongue when appropriate so they can help support the tongue if the coupler disconnects.
When driving, leave more stopping distance, accelerate gently, brake earlier, and take wider turns. A trailer changes the way your car handles. The first time you tow, pretend there is a full bowl of soup on the dashboard. Smoothness wins.
Maintenance After Installing a Tow Bar
A tow bar needs occasional inspection. Check the receiver for rust, cracks, loose hardware, damaged safety chain loops, worn hitch pins, and signs of movement around mounting points. Clean dirt and road salt from the hitch area, especially after winter driving or coastal trips.
Use a receiver cover when the hitch is not in use, and store removable ball mounts in a dry place. Grease the hitch ball lightly if recommended for your coupler type, but avoid messy over-greasing that attracts grit. Recheck torque according to the manufacturer’s schedule or whenever you notice noise, impact, or unusual movement.
Real-World Experience: What You Learn After Fitting a Tow Bar
The first lesson most people learn is that tow bar installation is not difficult in theory, but the vehicle always gets a vote. On paper, the job may say “45-minute installation.” In real life, that can mean 45 minutes if the vehicle is clean, the bolts slide in perfectly, the exhaust hangers cooperate, and nobody dropped a washer into the frame rail. If the car has rust, tight bumper clearance, or stubborn plastic clips, the same job can take much longer.
One useful experience is to dry-fit everything before final tightening. Holding the tow bar in place and loosely starting each bolt gives you a chance to see how the assembly sits. If one side is tightened too early, the other side may refuse to line up. This is when people start blaming the hitch, the car, the weather, and possibly the moon. Usually, the solution is simply loosening the bolts and letting the hitch settle evenly.
Another practical lesson is that lighting matters more than expected. Under a car, shadows hide holes, clips, and wiring routes. A headlamp plus a floor work light makes the job easier and safer. You can see whether a bolt is entering straight, whether a spacer is seated properly, and whether a wiring harness is routed away from the exhaust.
Rust is also a major reality check. Even a vehicle that looks clean from the outside may have rusty weld nuts or dirty frame holes underneath. A small wire brush, penetrating oil, and patience can help with minor corrosion. But if the mounting area is badly weakened, the safest move is to stop. A tow bar depends on the vehicle’s structure, and structure is not something to gamble with.
Wiring teaches its own lessons. Plug-and-play harnesses are usually straightforward, but routing the wires neatly takes time. Keep wiring away from sharp edges, hot exhaust parts, suspension movement, and places where cargo can crush it. Use proper clips or zip ties, but do not pinch wires so tightly that the insulation is damaged. A clean wiring job is not just prettier; it is more reliable.
People also learn quickly that towing accessories have their own fitment details. A bike rack may need an anti-rattle device. A cargo carrier may reduce departure angle and scrape on steep driveways. A trailer may require a different ball mount rise or drop so it sits level. Installing the tow bar opens the door, but the correct accessory setup still matters.
The first test drive should feel boring. That is the goal. No clunks, no sway, no dragging wires, no flashing dashboard warnings, and no dramatic noises from the rear of the car. After a short drive, checking the hardware again is a smart habit. It gives you confidence before adding cargo or heading onto faster roads.
Another experience worth mentioning is that towing changes your driving personality. You become calmer, slower, and much more aware of braking distance. You notice potholes earlier. You plan lane changes instead of improvising them. You take turns wider. You also become the person who says, “Let me check the lights first,” which may not sound glamorous, but it is exactly what responsible towing looks like.
The biggest takeaway is this: fitting a tow bar is not just about attaching metal to a car. It is about creating a safe system. The tow bar, mounting hardware, wiring, hitch ball, coupler, safety chains, trailer brakes, tires, cargo balance, and driver behavior all work together. When each part is done correctly, towing feels controlled and predictable. When one part is ignored, the whole setup becomes less safe.
Conclusion: Fit It Carefully, Tow It Confidently
Learning how to fit a tow bar to your car is a valuable skill, especially if you want more flexibility from your vehicle. The process starts with choosing the right tow bar, confirming towing limits, reading the instructions, preparing the vehicle, mounting the hardware, torquing bolts correctly, installing safe wiring, and testing everything before real-world use.
The best installations are careful, clean, and boring in the best possible way. No mystery bolts. No improvised wiring. No guessing on torque. No towing beyond the vehicle’s rating. Whether you handle the job yourself or hire a professional, a properly fitted tow bar gives you safer towing and fewer surprises when the trailer is finally attached.
