
Hair Care
4 Easy Ways to Make Satin Ribbon Flowers: DIY Tutorials
Aug
Satin ribbon flowers are the craft equivalent of a little black dress: they look fancy, they work everywhere, and they somehow make you feel like a
Responsible Adult™ even if your hot glue gun is currently stuck to your sleeve.
In this guide, you’ll learn four beginner-friendly ways to make satin ribbon flowersfrom a classic ribbon rose to a crisp kanzashi bloom.
Each method includes a simple DIY tutorial, smart shortcuts, and a few “please don’t do what I did” tips so your flowers look intentional (not “survived a windstorm”).
Before You Start: Satin Ribbon Basics
Satin is smooth, glossy, and a little dramatic (in a good way). It folds beautifully, but it also loves to fray the moment you look away.
A tiny bit of prep makes every DIY ribbon flower look cleaner and last longer.
Supplies You’ll Use Again and Again
- Satin ribbon (⅜" to 1½" wide). Wider ribbon = bigger petals and faster coverage.
- Sharp scissors or a rotary cutter for clean edges.
- Needle + thread (matching thread hides sins; contrasting thread is… brave).
- Hot glue gun + glue sticks (optional for some methods, addictive for others).
- Felt circles (for backing) and buttons, pearls, or rhinestones (for centers).
- Edge-sealing tool: a lighter/candle (carefully), fray-check, or a wood-burning tool.
How to Stop Satin Ribbon from Fraying (Without Crying)
- Heat seal: Quickly pass the cut edge near a flame. Don’t camp theresatin melts.
- Angle cut: Snip ends at a slight angle so edges are less “catchy.”
- Hidden ends: Plan folds so raw edges tuck inside the flower.
Safety note: If you heat seal, keep a small bowl of water nearby and work in a clear area. We’re making flowers, not reenacting a disaster movie.
Choose Your Flower Style
Not all satin ribbon flower tutorials feel the same. Some are “I can do this during a TV episode,” others are “I now understand patience as a concept.”
Pick the vibe that matches your project (and your snack supply).
| Method | Skill Level | Time | Best For | Look |
|---|---|---|---|---|
| Classic Rolled Rose | Beginner+ | 10–20 min | Brooches, bouquets, gift toppers | Romantic, layered |
| No-Sew Loopy Rosette | Beginner | 5–15 min | Hair bows, headbands, kids’ crafts | Playful, bouncy |
| Gathered Ruffle Bloom | Beginner | 10–25 min | Wreaths, decor, soft florals | Ruffled, full |
| Kanzashi Petal Flower | Confident Beginner | 20–40 min | Elegant clips, statement pieces | Crisp, geometric |
Method 1: The Classic Satin Ribbon Rose (Rolled + Stitched)
If you’ve ever wanted a flower that says “handmade” but also “I might secretly be a bridal stylist,” this satin ribbon rose is it.
You’ll roll ribbon into a spiral, anchor it with stitches, and build petals as you go.
What You Need
- 1 yard of satin ribbon (⅝" to 1" wide is a sweet spot)
- Needle and thread (matching)
- Scissors + a way to seal the ribbon end
- Felt circle (optional but recommended)
Step-by-Step Tutorial
- Prep the ribbon. Cut the end cleanly and heat seal lightly so it won’t fray.
- Make the bud. Fold the ribbon end over itself to create a small triangle “cap,” then roll it 2–3 times into a tight center.
- Stitch the base. Take 2–3 stitches through the bottom of the bud (right through the layers). This is the flower’s “foundation.”
- Form petals. Twist or fold the ribbon outward, then wrap it around the bud. Each wrap becomes a petal.
- Anchor as you go. Every 1–2 wraps, stitch through the base again. Satin is slipperydon’t trust it with your feelings.
- Finish the tail. When the rose is your desired size, fold the ribbon tail under the base and stitch it down securely.
- Back it neatly. Stitch or glue a felt circle under the base to hide threads and give a flat mounting surface.
Make It Look Extra Good (Without Extra Effort)
- Vary the petal angle: tighter near the center, wider toward the outside.
- Use wired satin ribbon (if you have it) for petals that hold shape.
- Add a center bead only if you want a stylized roseclassic roses don’t “need” one.
Method 2: The No-Sew Loopy Rosette (Glue + Loops)
This is the craft version of a microwave mug cake: fast, satisfying, and surprisingly cute.
A loopy ribbon flower is built from stacked figure-eight loops that create instant volumeperfect for hair accessories and gift bows.
What You Need
- Satin ribbon (⅜" to 7/8" wide)
- Hot glue gun
- Felt circle backing
- Button, pearl, or rhinestone for center
- Optional: alligator clip, headband, or pin back
Step-by-Step Tutorial
- Cut loop pieces. Cut 6–10 ribbon strips, each 3–5 inches long (shorter = smaller flower).
- Seal the ends. Lightly heat seal each cut end. Satin unravels like it’s late for an appointment.
- Make a figure-eight. Take one strip, overlap ends into a loop, then twist the center to form a figure-eight shape.
- Glue the center. Add a tiny dot of hot glue at the twist to lock the figure-eight.
- Stack layers. Glue two figure-eights in an “X” shape, then add more, rotating slightly each time for a full bloom.
- Add a center. Glue on a button or pearl to hide the meeting point (and to make it look like you planned everything).
- Attach backing. Glue the flower to a felt circle; then glue or stitch the felt to your clip/headband/project.
Variations That Don’t Take Forever
- Two-tone: Alternate colors in each layer for a playful rosette.
- Mini + mega: Make a small loopy flower and glue it on top of a larger one for instant dimension.
- Streamers: Add two ribbon tails behind the flower for a bow-like finish.
Method 3: The Gathered Ruffle Bloom (Running Stitch)
This gathered satin ribbon flower is the soft, fluffy onelike a peony that decided to live in your craft drawer.
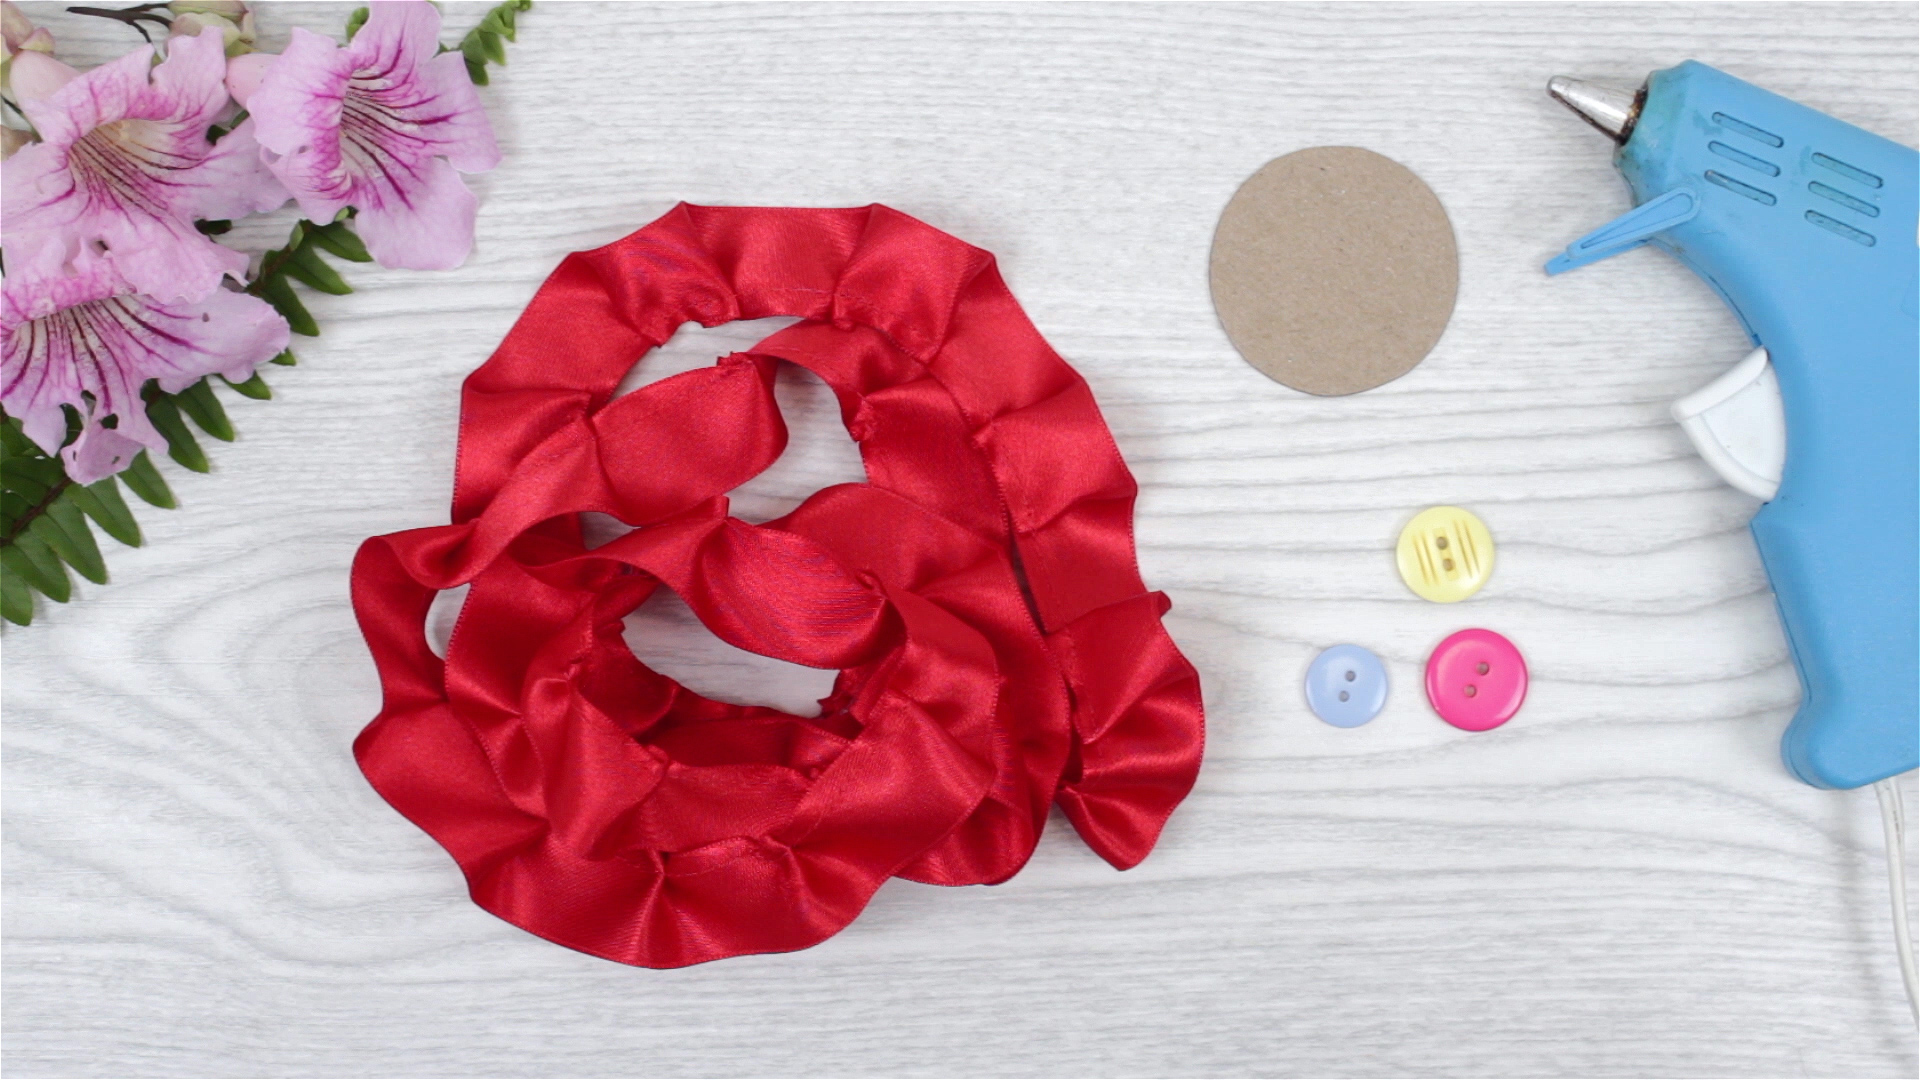
You’ll sew a simple running stitch along the ribbon and pull it into ruffles, then spiral it into a flower.
What You Need
- 18–36 inches satin ribbon (1" wide looks lush)
- Needle and strong thread
- Optional: hot glue for extra security
- Felt circle backing + center embellishment
Step-by-Step Tutorial
- Prep your ribbon. Heat seal both ends so the ruffles don’t unravel later.
- Sew the running stitch. Stitch along one long edge, about 1/8" from the edge. Keep stitches even-ish (perfection is optional).
- Gather the ribbon. Pull the thread gently to ruffle the ribbon into a wavy strip.
- Start the center spiral. Roll one end tightly into a small coil and stitch the base to hold it.
- Wrap and shape. Continue spiraling the gathered ribbon around the center, letting ruffles face upward like petals.
- Secure as you go. Stitch through the base every inch or so (or dab hot glue underneath for a “nope, not moving” hold).
- Finish cleanly. Tuck the end under and stitch it down. Add a felt backing and a pearl/button center if desired.
Pro Tip: Control the “Fluff Factor”
Want a tighter bloom? Gather more aggressively and keep the spiral snug.
Want a big ruffly flower? Gather less and let the ribbon “breathe” as you wrap.
Either way, it’s a great method for gift wrap flowers and wreath accents.
Method 4: The Kanzashi Petal Flower (Fold + Heat Seal)
Kanzashi-style ribbon flowers have crisp petals and a polished look. They’re made by folding satin squares into petals and sealing the edges.
This method is oddly satisfyinglike origami, but shinier.
What You Need
- Satin ribbon (1.5" to 2" wide) or satin fabric cut into squares
- Scissors + ruler
- Tweezers (highly recommended for finger safety)
- A lighter/candle or wood-burning tool (for sealing)
- Hot glue or needle/thread for assembly
- Felt circle + center embellishment
Step-by-Step Tutorial (Rounded Petal Version)
- Cut squares. Cut 6–10 squares (about 2" x 2" for a medium flower). Seal edges lightly.
- Fold diagonally. Make a triangle (shiny side out).
- Fold corners to center. Bring the two triangle corners up to the top point (you’ll get a smaller diamond-ish shape).
- Fold in half. Fold the shape down the middle so it becomes a petal form.
- Trim the base. Snip the bottom to create a flat base (this helps petals sit evenly).
- Heat seal the base. Using tweezers, carefully melt the cut base edge to fuse layers together.
- Repeat. Make all petals, trying to keep folds consistent.
- Assemble the flower. Glue petals to a felt circle in a ring. Add a second layer on top for more dimension if you want.
- Add a center. A rhinestone, bead cluster, or covered button finishes the look beautifully.
Make Kanzashi Feel “Easy”
- Batch your steps: cut all squares, then fold all, then seal all.
- Use tweezers: they save your fingertips from becoming… craft memories.
- Start with fewer petals: 6 petals is forgiving; 10 petals is fancy.
Finishing Touches: Centers, Backings, and Attachments
The difference between “cute craft” and “wow, where did you buy that?” is often the finish.
Back your satin ribbon flowers neatly, hide glue, and attach them like you mean it.
Center Ideas (Pick Your Personality)
- Classic: pearl, small button, or a single rhinestone
- Vintage: metal shank button, cameo, or mini brooch
- Playful: layered sequins or a pom-pom (yes, really)
Backing Basics
Cut a felt circle slightly smaller than your flower. Glue or stitch it on to cover the messy underside and create a firm base for attaching clips, pins, or stitching to fabric.
Felt is basically the “good foundation” of the ribbon flower world.
How to Attach Your DIY Ribbon Flowers
- Hair clip: glue the clip to felt, then add a second felt strip over the clip for extra hold.
- Headband: wrap the band with ribbon first (optional), then stitch or glue the flower onto a felt pad.
- Brooch: glue a pin back to felt, then glue felt to flower base.
- Gift topper: glue to a small cardstock circle and use double-sided tape on packages.
Troubleshooting: Fix the Weird Stuff
Problem: The Ribbon Frays and Ruins the Vibe
Heat seal lightly, or hide raw edges inside folds. If you’re already mid-flower, trim the fray and re-sealcarefullybefore continuing.
Problem: The Flower Looks Lopsided
For rolled and gathered flowers, the fix is simple: loosen a wrap, reposition, then stitch again.
For loopy flowers, rotate layers slightly as you glue so loops aren’t all lining up like they’re waiting for a bus.
Problem: Hot Glue Strings Everywhere
Use smaller glue dots and let glue cool for a second before pressing pieces together. If strings happen anyway, let them cool and peel them off.
Do not wipe with your finger unless you enjoy living dangerously.
Problem: The Center Is Bulky
Trim the underside (especially in kanzashi petals) and use a felt backing to flatten. For roses, don’t over-roll the centersmall bud, big petals.
Where to Use Satin Ribbon Flowers (So You Actually Finish a Project)
Once you learn these satin ribbon flower tutorials, you’ll start seeing “places to add a flower” everywhere.
This is normal. This is your life now.
Fast, High-Impact Uses
- Hair accessories: headbands, barrettes, ponytail holders
- Gift wrapping: gift wrap flowers that don’t get crushed in the car
- Home decor: wreaths, napkin rings, curtain tie-backs
- Events: bridal showers, baby showers, party photo backdrops
- Upcycling: cover small stains or jazz up a plain tote
Color Pairing Tip
Satin looks especially rich in monochrome (all one color) or in “tone-on-tone” combos (like blush + dusty rose).
For bold projects, try a neutral flower with a bright centerinstant pop, minimal risk.
Extra: Real-World Crafting Experiences ()
Let’s talk about what actually happens when you sit down to make ribbon flowerslike, in the real world, where your scissors disappear every eight minutes
and your glue gun cord is somehow always exactly two inches too short.
First: satin ribbon is slippery. The first time you try the classic ribbon rose, you may feel like you’re wrestling a tiny, glamorous eel.
The trick is to stop trying to “force” the ribbon into behaving and instead train it: fold, hold, stitch. Fold, hold, stitch.
Tiny anchor stitches are what turn a floppy spiral into a confident rose that won’t unravel the moment you blink.
Second: every ribbon width has a personality. Narrow ribbon (⅜"–½") makes dainty flowers that are perfect for hair clips, but it also shows every wobble.
Wider ribbon (1"–1½") is more forgivingone fold covers a multitude of sins, like a chunky sweater for your mistakes.
If you’re frustrated, try going wider before you assume you “just can’t do it.” (You can.)
Third: heat sealing is a skill, not a dramatic performance. You’re not trying to toast marshmallows. You want a quick kiss of heatjust enough to fuse threads.
If you overdo it, the ribbon edge can curl, darken, or turn into a crunchy little shard. If that happens, trim the edge cleanly and try again, farther from the flame.
Tweezers help a lot, especially for kanzashi petals, where your fingers should remain… attached.
Fourth: hot glue will test your confidence. The “right amount” is almost always less than you think.
Big globs don’t hold better; they just create lumps and long glue strings that stick to everything except the place you wanted.
A tiny dot placed precisely is stronger (and prettier). If glue strings happen anyway, let them cool and peel them off like you’re defusing a very annoying spiderweb.
Fifth: assembling flowers is easier when you work from a base. A felt circle is not optional if you want your flower to look clean on the back.
It also makes attaching to headbands and brooch pins much sturdier. Think of felt as the “good manners” of your flowerno one sees it at first, but everyone benefits.
Finally: your first flower is allowed to be weird. Honestly, it should be weird. The second one will be better. The third one will be cute.
By flower number five, you’ll be making “just one more” at midnight and wondering if you can put a ribbon rosette on a toaster. (You can. Should you? Different question.)
The point is: these DIY satin ribbon flowers are quick to learn, endlessly customizable, and wildly satisfyingespecially when you use them to finish a project that looks far more expensive than it is.

