
Beauty Tools & Accessories
3 Ways to Test Fuses with a Test Light
Aug
When something electrical stops working in your car, the fuse box is usually the first place people glare at suspiciously. Headlights quit? Radio silent? Power outlet dead right when your phone is at 3%? Before blaming the battery, the alternator, Mercury in retrograde, or your car’s “personality,” learn how to test fuses with a test light.
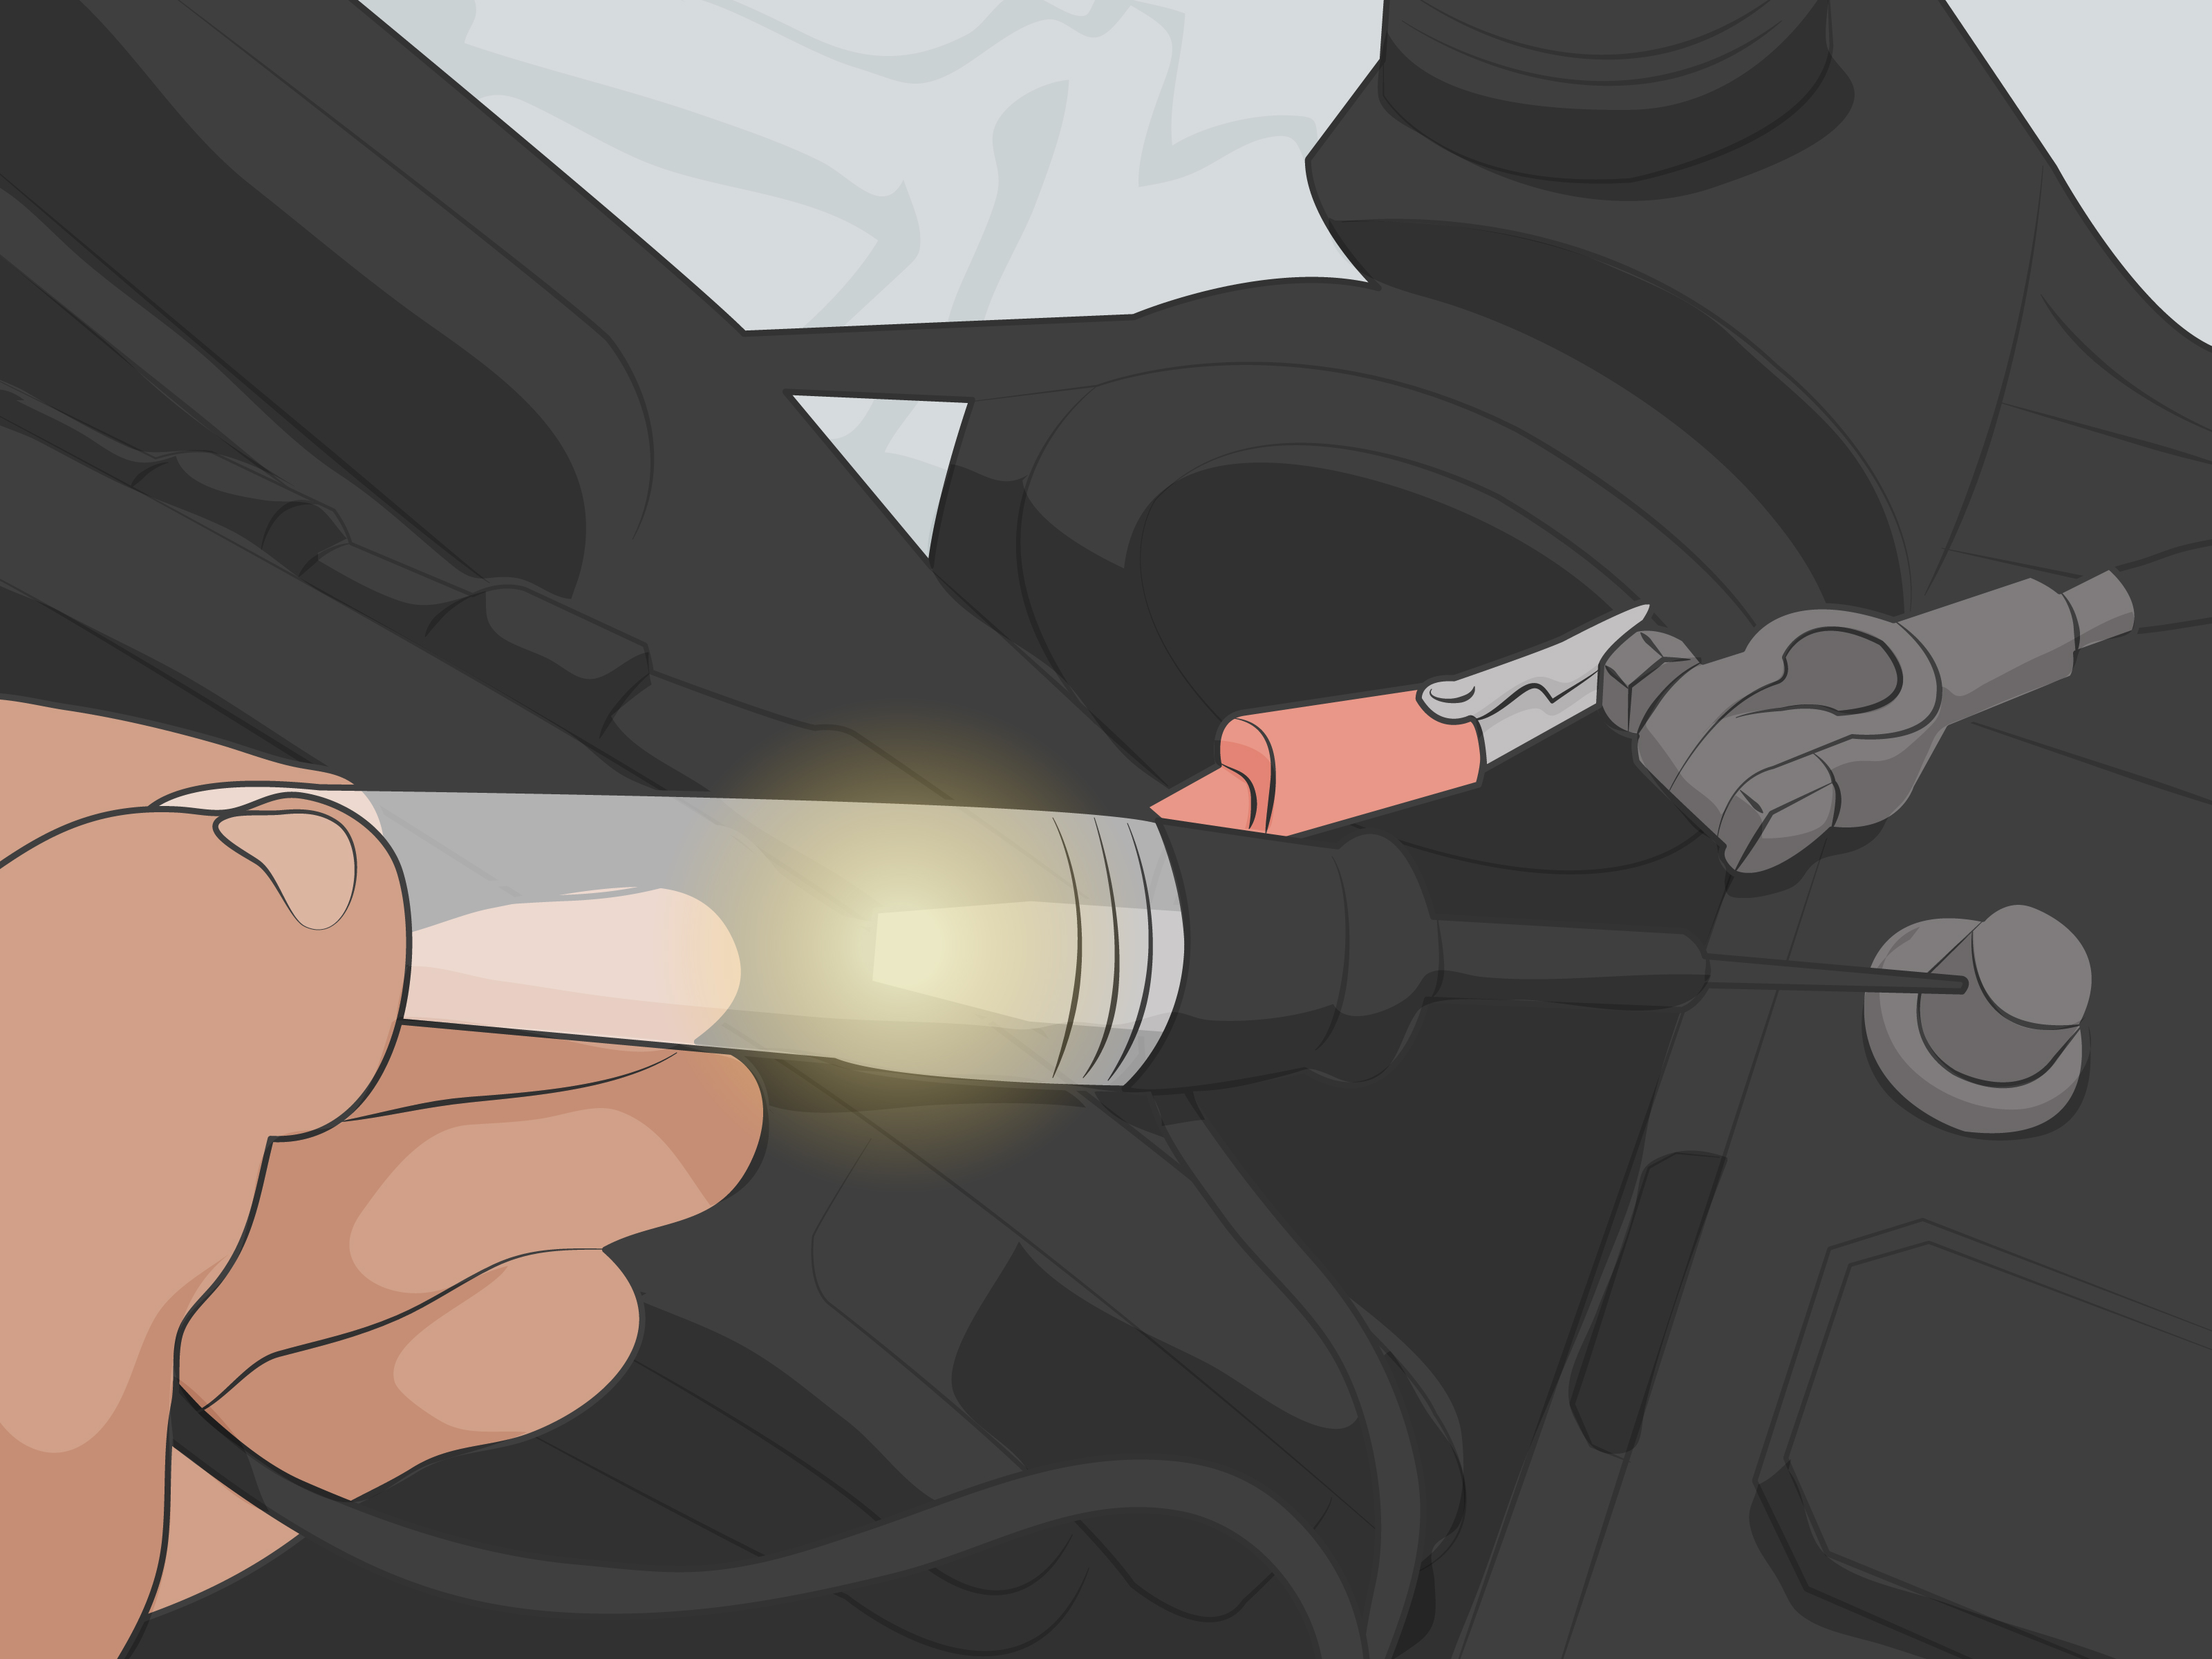
A test light is one of the simplest tools in automotive electrical troubleshooting. It looks like a small screwdriver with a sharp probe, a wire, and an alligator clip. Inside the handle is a bulb or LED that turns on when the probe finds voltage and the clip has a good ground. That tiny glow can tell you a lot: whether power is reaching a fuse, whether power is passing through it, and whether the circuit needs more investigation.
This guide focuses on low-voltage automotive blade fuses, the kind found in most cars, trucks, SUVs, trailers, ATVs, and boats. Do not use a basic automotive test light on household fuse panels, 120-volt outlets, or high-voltage systems. For home electrical work, use properly rated testing equipment or call a licensed electrician. Electricity is useful, but it does not have a sense of humor.
What a Fuse Does and Why Testing Matters
A fuse is a safety device designed to protect an electrical circuit. Inside the plastic body of a blade fuse is a small metal strip. If too much current flows through the circuit, that strip melts and opens the circuit before wires, switches, or components overheat. In plain English: the fuse sacrifices itself so your wiring does not audition for a campfire.
Common signs of a blown fuse include a dead accessory, one nonworking light, a silent horn, an inoperative power window, a dead charging port, or an electrical feature that suddenly quits after a short circuit or overload. Sometimes you can see a broken fuse element through the plastic. Other times the plastic is cloudy, the fuse is tiny, or your eyes are tired from trying to read microscopic numbers under the dashboard. That is where a test light becomes your new best friend.
Tools and Safety Before You Start
Before testing fuses, gather a few basic items:
- A 12-volt automotive test light or LED circuit tester
- Your vehicle owner’s manual or fuse box diagram
- A fuse puller or needle-nose pliers
- Replacement fuses with the correct amperage rating
- A flashlight, because fuse panels are often hidden in places designed by raccoons
Always park the vehicle safely, set the parking brake, and keep loose clothing away from moving parts if you are testing under the hood. Use the correct fuse rating when replacing a fuse. If the fuse box calls for a 10-amp fuse, install a 10-amp fusenot a 15, not a 20, and definitely not “whatever was in the glove box.” A higher-rated fuse can allow too much current through the wiring and create a fire risk.
Be careful around modern vehicles with sensitive electronics. A traditional incandescent test light can draw more current than an LED test light or digital meter. For airbag circuits, engine control modules, sensors, and delicate computer-controlled circuits, use a high-impedance test light, a digital multimeter, or professional diagnostic equipment. Never probe yellow airbag connectors.
Way 1: Test the Fuse While It Is Still Installed
This is the fastest and most common way to test automotive fuses with a test light. Most blade fuses have two tiny exposed metal test points on top. These test points let you check both sides of the fuse without removing it from the fuse box.
Step-by-Step Instructions
- Locate the correct fuse box. Many vehicles have more than one: one under the hood and another under the dashboard, glove box, trunk, or side panel.
- Find the fuse related to the dead component using the fuse box cover or owner’s manual.
- Connect the test light’s alligator clip to a good ground, such as the negative battery terminal or clean unpainted metal.
- Check the test light by touching the probe to the positive battery terminal. If it lights, the tool and ground connection are working.
- Turn the ignition key or push-button start to the position required for that circuit. Some fuses are hot all the time, while others only have power with the key on.
- Touch the probe to one exposed metal test point on top of the fuse.
- Touch the probe to the other test point on the same fuse.
How to Read the Results
| Test Light Result | What It Usually Means | What to Do Next |
|---|---|---|
| Lights on both sides | The fuse has power going in and out | The fuse is likely good; check the component, switch, relay, wiring, or ground |
| Lights on one side only | The fuse is likely blown | Replace it with the same amperage fuse |
| Does not light on either side | The circuit may be off, not powered, or there may be a feed problem | Confirm ignition position, switch position, and fuse diagram |
The beauty of this method is speed. You can scan a row of fuses in minutes. The trick is understanding that “no light on either side” does not always mean the fuse is bad. A power seat fuse may not show power unless the seat circuit is active. A wiper fuse may need the ignition on. A lighting fuse may need the headlight switch turned on. The test light is honest, but it only answers the question you actually ask.
Way 2: Test Across the Fuse for Voltage Drop
The second method is a little more advanced but very useful. Instead of grounding the test light and checking each side of the fuse, you place the test light across the two test points of the fuse. In this setup, the test light is checking whether there is a voltage difference across the fuse.
On a good fuse, both sides are electrically connected, so there should be little to no voltage difference across it. The test light should not glow. On a blown fuse, one side may have power and the other side may be connected through the load side of the circuit. If conditions are right, the test light may illuminate, showing that the fuse is open.
Step-by-Step Instructions
- Make sure the circuit you are testing is turned on. For example, turn on the lights, accessory mode, or the related switch.
- Leave the fuse installed in the fuse box.
- Touch the test light clip to one exposed test point on top of the fuse.
- Touch the probe tip to the other exposed test point on the same fuse.
- Watch whether the test light illuminates.
How to Interpret This Method
If the test light does not turn on, the fuse may be good because both sides are at the same voltage. If the test light turns on brightly, there may be voltage across the fuse, which often means the fuse is open. This method is especially helpful when you are checking many fuses in a live fuse panel and want to quickly spot one with a voltage difference.
However, this test depends on circuit conditions. The circuit must have power, and there usually needs to be a load path on the other side. If the switch is off or the component is disconnected, the test may not behave as expected. Think of this method as a sharp troubleshooting shortcut, not a magic wand. Magic wands are hard to find in the tool aisle anyway.
Way 3: Remove the Fuse and Test the Fuse Socket
The third method helps you figure out whether power is reaching the fuse socket. This is useful when the fuse looks fine, the test light does not light on either side, or you are trying to determine which side of the fuse slot is the power feed.
Step-by-Step Instructions
- Turn off the vehicle and remove the fuse you want to test.
- Inspect the fuse visually. Look for a broken metal strip, melted plastic, or dark burn marks.
- Connect the test light clip to a good ground.
- Turn the ignition or switch to the required position for that circuit.
- Touch the probe to one terminal inside the empty fuse slot.
- Touch the probe to the other terminal inside the empty fuse slot.
What the Socket Test Tells You
One side of the fuse socket is usually the power feed. If the test light turns on when you probe one terminal, power is reaching the fuse box. The other side is usually the load side, which sends power toward the accessory or component. If neither terminal lights, the fuse may not be receiving power, the circuit may be switched off, or there may be an upstream problem.
This method is also helpful after a fuse blows repeatedly. If you install a new fuse and it blows immediately, stop replacing fuses and start diagnosing the circuit. A fuse that keeps blowing is not “being dramatic.” It is warning you about a short circuit, overload, damaged wire, failed component, or incorrect installation.
Common Mistakes When Testing Fuses with a Test Light
Using a Bad Ground
A poor ground connection can make a good circuit look dead. Always test the test light first by touching the probe to battery positive while the clip is attached to your chosen ground. If the light does not turn on, move the clip to a cleaner ground point.
Testing the Wrong Fuse Box
Modern vehicles often have multiple fuse panels. The radio fuse may be inside the cabin while the cooling fan fuse is under the hood. Always confirm the fuse location before launching a full investigation worthy of a detective show.
Forgetting Key Position
Some fuses are battery-fed and powered at all times. Others are ignition-fed and only receive voltage when the key is in accessory or run position. If your test light shows no power, check whether the circuit should be active.
Replacing a Fuse Without Finding the Cause
If a fuse blows once, it may be due to a temporary overload. If it blows again immediately, there is a problem downstream. Look for pinched wires, water intrusion, aftermarket accessories, damaged sockets, seized motors, or components that draw too much current.
Specific Examples: What Your Test Light Results Might Mean
Dead Cigarette Lighter or 12-Volt Outlet
A phone charger, coin, or broken plug can short a power outlet. Test the outlet fuse with the installed-fuse method. If the test light lights on only one side, replace the fuse with the same rating. Before installing the new fuse, inspect the outlet for metal debris. Yes, pennies are bad electrical roommates.
One Headlight Does Not Work
Some vehicles use separate fuses for left and right headlights. If one headlight is out, test both sides of the related fuse with the headlight switch on. If the fuse is good, check the bulb, connector, ground, and headlight relay or control module.
Power Windows Stop Working
Power window circuits may use fuses, circuit breakers, relays, and body control modules. If the main window fuse has power on both sides, the issue may be a switch, motor, broken wire in the door harness, or module problem.
Test Light vs. Multimeter: Which Is Better?
A test light is fast, simple, and excellent for checking whether usable voltage is present. It also places a small load on the circuit, which can sometimes reveal weak connections better than a high-impedance meter. A multimeter, however, gives exact voltage, resistance, and continuity readings. For precision diagnostics, voltage-drop testing, parasitic draw testing, and sensitive circuits, a multimeter is the better tool.
For a beginner, the best approach is simple: use a test light for quick fuse checks and basic power testing. Use a multimeter when the answer needs numbers instead of “the little bulb glowed.” Together, they make a strong diagnostic team.
How to Replace a Blown Fuse Correctly
Once you confirm a blown fuse, remove it with a fuse puller or pliers. Match the replacement fuse by amperage, size, and style. Automotive blade fuses come in several types, including standard, mini, low-profile mini, micro, cartridge, and maxi fuses. Do not force the wrong style into the fuse box.
After installing the replacement, turn the circuit on and test the component. If it works and the fuse holds, the repair may be complete. If the new fuse blows, stop and diagnose further. Repeatedly replacing blown fuses without fixing the cause is like repeatedly mopping the floor while the sink is still overflowing. Admirable effort, wrong target.
Real-World Experience: Lessons from Testing Fuses with a Test Light
One of the most common real-world lessons is that a blown fuse is often a symptom, not the whole story. A driver may notice that the radio stopped working after plugging in a cheap phone charger. The test light shows power on one side of the fuse but not the other, which points to a blown fuse. A new fuse restores the radio, but the smart move is to throw away the suspect charger. Otherwise, the same fuse may blow again during the next road trip, usually at the exact moment everyone wants music.
Another practical experience involves “dead” fuses that are not dead at all. Many beginners test a fuse panel with the ignition off and panic because half the fuses do not light the test light. In reality, those circuits may only receive power when the ignition is in accessory or run position. This is why experienced troubleshooters always ask, “Should this fuse be powered right now?” before declaring a problem. The test light is not wrong; the setup is incomplete.
A third lesson comes from bad grounds. A test light connected to painted metal, rusty brackets, or loose bolts may fail to light even when the circuit has power. This can send a person chasing imaginary problems around the vehicle. The cure is simple: verify the test light before every round of testing. Clip it to the ground point, touch the probe to battery positive, and confirm that it lights. That ten-second check can save an hour of muttering under the dashboard.
There is also the classic “wrong fuse box” experience. A vehicle may have a fuse panel under the hood, one under the dashboard, and another hidden near the trunk. The owner checks every fuse under the hood and finds nothing wrong, only to discover the accessory fuse is inside the cabin panel. The owner’s manual may not be thrilling bedtime reading, but in this case it is more useful than guessing.
Many DIYers also learn that visual inspection is not always enough. Some fuses look good through the plastic window but fail under testing. Others are so small that the metal strip is hard to see. A test light removes the guesswork. If power enters one side and does not exit the other, the fuse is not doing its job.
The final experience-based tip is to treat repeated fuse failure seriously. If a replacement fuse blows immediately, do not install a larger fuse. Do not wrap the old fuse in foil. Do not perform any “creative engineering” that would make a fire marshal sigh deeply. A repeatedly blown fuse usually means the circuit has a short, overload, damaged wire, wet connector, or failing component. At that point, further testing is needed before the vehicle is used normally.
Conclusion
Learning how to test fuses with a test light is one of the most useful beginner-friendly automotive electrical skills. The three best methods are testing both sides of an installed fuse, testing across the fuse for voltage difference, and removing the fuse to test the socket for power. Each method answers a slightly different question, and together they help you avoid guessing, wasting money, or replacing parts that were never broken.
Remember the golden rules: use a good ground, confirm the circuit should be powered, test both sides of the fuse, replace only with the correct amperage, and investigate further if the new fuse blows again. A test light may be small, but when used correctly, it can turn a mysterious electrical problem into a clear next step. Not bad for a tool that basically says, “Yep, there’s power here,” with a tiny glow.
Note: This article is intended for low-voltage automotive fuse testing. For household fuse panels, high-voltage systems, hybrid or EV battery systems, airbag circuits, or complex computer-controlled circuits, use manufacturer-approved procedures or consult a qualified professional.
SEO Tags

