
Makeup
How to Strip and Repaint Wood Furniture Like a Pro
Jul
There are two kinds of people in this world: the ones who look at a beat-up old dresser and see “junk,” and the ones who look at it and see “future showpiece with better hardware.” If you’re here, I’m guessing you’re firmly in camp number two. Good call.
Learning how to strip and repaint wood furniture like a pro is one of those satisfying DIY skills that saves money, upgrades your home, and gives tired furniture a second life. It also helps you avoid the classic makeover mistakes: peeling paint, gummy surfaces, brush marks the size of cornrows, and drawers that stick like they’re holding a grudge.
The good news? A professional-looking finish is less about magic and more about method. If you clean thoroughly, prep carefully, choose the right primer and paint, and give the finish time to cure, even a thrift-store rescue can end up looking polished and expensive. This guide walks you through the full process, from stripping old finishes to repainting wood furniture for a smooth, durable result.
Before You Start: Decide Whether the Piece Really Needs Stripping
Here’s the first pro move: don’t strip just because the internet makes it sound dramatic and fun. Sometimes full stripping is necessary. Sometimes it’s just extra work wearing a dramatic apron.
If the old finish is peeling, alligatored, heavily chipped, sticky, or layered with multiple coats of mystery paint, stripping is usually the smarter choice. If the surface is basically sound and you just want a color change, you may be able to clean, scuff-sand, prime, and paint without taking the piece down to bare wood.
In other words, stripping is best when the old finish is failing. A scuff-and-prime approach works when the existing surface is stable and well-bonded. Pros do not create more work just to feel noble. They create good adhesion.
Safety First, Because Paint Fumes Are Not a Personality Trait
Before you touch a scraper, set up your workspace. Work in a well-ventilated area, preferably outdoors or in a garage with airflow. Wear gloves, eye protection, and a respirator or mask appropriate for dust and fumes. Lay down drop cloths because stripper and paint have a supernatural ability to land exactly where you did not want them.
If you’re working on older furniture, especially pieces from homes built before 1978, be cautious about lead-based paint. Don’t aggressively sand questionable old paint without testing or using lead-safe practices. When in doubt, treat suspicious old finishes with respect, not bravado.
Tools and Materials You’ll Want on Hand
Prep and Stripping Supplies
- Screwdriver for removing hardware, doors, and drawers
- Painter’s tape and drop cloths
- Cleaner or degreaser
- Chemical stripper or paint remover
- Plastic scraper or putty knife
- Steel wool or abrasive pads for details
- Sandpaper in several grits, such as 120, 150, 180, and 220
- Sanding block or random orbital sander
- Tack cloth or lint-free rag
- Wood filler
Painting Supplies
- Bonding or stain-blocking primer
- Furniture paint, cabinet paint, acrylic enamel, or high-quality latex paint
- Angled brush for details
- Mini foam or fine-finish roller for flat areas
- Optional topcoat such as polyurethane or clear protective finish
- New hardware if you want the full glow-up treatment
Step 1: Remove Hardware and Clean Like You Mean It
Take off knobs, pulls, hinges, drawer slides, and anything else that can be removed. Label the hardware if you plan to reuse it. This is not the moment to trust your memory. “I’ll totally remember which screw goes where” is how weekend projects become archaeological digs.
Next, clean the furniture thoroughly. This step gets skipped far too often, and then people wonder why their primer acts offended. Old wood furniture can collect wax, oil, polish, dust, and kitchen grime. Use a degreaser or a strong cleaning solution and wipe every surface well. Let it dry completely before moving on.
Step 2: Strip the Old Finish in Manageable Sections
If the piece truly needs stripping, apply your paint stripper according to the product instructions. Work in sections instead of coating the whole piece at once. A thick, even layer usually works better than a timid skim coat. Then let the stripper do its job. This is the part where patience pays off. If you scrape too early, you’ll just create a sticky mess and invent new words.
Once the finish bubbles or softens, scrape it off gently with a plastic scraper or putty knife held at an angle. You want to remove the old coating, not carve your initials into the tabletop. For corners, carvings, and spindle details, use steel wool, an abrasive pad, or a small brush.
You may need a second application on stubborn areas. That is normal. Old finishes can be clingy. Wipe away residue as directed by the stripper manufacturer and allow the piece to dry fully before sanding.
Step 3: Sand for Smoothness, Not for Sport
Even after stripping, sanding matters. It levels out leftover finish, softens rough areas, and creates the ideal surface for primer and paint. Start with a medium grit if the surface is rough, then move to finer grits for smoothing. Sand in the direction of the wood grain whenever possible. Random scratching may be an art form elsewhere, but not here.
Use a power sander on broad, flat areas and hand-sand edges, curves, and detailed parts. If the piece has spindles or turned legs, wrap sandpaper around them and work it back and forth. After sanding, vacuum the dust and wipe everything down with a tack cloth or damp lint-free rag.
The goal is not to remove every molecule of old life from the furniture. The goal is a clean, dull, smooth, paint-ready surface. Over-sanding can round crisp edges and flatten details, which is the DIY equivalent of over-plucking your eyebrows in 2004.
Step 4: Make Repairs Before You Paint
Now is the time to fill dents, gouges, and old hardware holes if you plan to move knobs or pulls. Use wood filler, let it dry, then sand it smooth. Check drawer fronts, legs, and joints for looseness. Tighten or reglue anything wobbly. A beautiful paint finish cannot distract forever from a table leg that performs interpretive dance.
If the wood grain raises after cleaning or priming, a light follow-up sanding with fine grit paper will smooth things out. This is one of those little professional habits that makes a big visual difference.
Step 5: Prime for Adhesion and a Better Finish
If you want wood furniture paint to hold up, primer is your friend. It helps paint grip, evens out porous surfaces, blocks stains, and creates a more uniform base color. On bare wood, repaired surfaces, dark finishes, or furniture with knots or tannin bleed, primer is especially important.
Choose the primer based on the surface and your paint. A bonding primer is great for slick or previously finished surfaces. A stain-blocking primer helps if the wood has knots, water marks, or old discoloration that could bleed through. Apply one thin, even coat rather than a gloopy masterpiece. Let it dry fully.
After the primer dries, lightly sand with a fine grit paper to knock down texture, drips, or raised grain. Then wipe away dust again. This extra sanding step is one of the easiest ways to make a furniture makeover look more expensive.
Step 6: Pick the Right Paint for Wood Furniture
Not all paint is equally suited for furniture. Walls can get away with some nonsense. Tabletops and dresser drawers cannot.
For durability, many DIYers get the best results with cabinet paint, furniture paint, acrylic enamel, or high-quality latex enamel. These finishes are designed to level better and hold up to more wear than basic wall paint. Chalk-style paint can work for decorative looks, especially if you want a matte or vintage effect, but it often needs a protective topcoat.
If you want a smooth, modern finish, use a fine-finish roller on flat panels and an angled brush on edges, corners, and trim details. Work in thin coats. Thick coats lead to drips, extended dry time, and that soft, rubbery feeling nobody wants on a side table.
Step 7: Paint in Thin Coats and Respect Dry Time
Apply the first coat in the direction of the grain. Brush out drips before they set, especially on legs, corners, and underside edges where paint loves to gather. Let the coat dry according to the paint label. Then apply a second coat. Some colors and finishes may need a third.
The biggest mistake here is impatience. Dry to the touch is not the same as ready for abuse. A drawer front may feel dry long before the coating has hardened enough for daily use. So yes, technically you can reassemble too soon. You can also eat soup with a fork. Neither is the best strategy.
Step 8: Decide Whether You Need a Topcoat
A topcoat is not always mandatory, but it is often smart. High-use pieces like dining tables, desks, nightstands, entry benches, and dresser tops benefit from added protection. If you used a more delicate decorative paint, a clear protective finish can help prevent scuffs, stains, and premature wear.
Choose the sheen carefully. Matte or flat finishes hide imperfections well, but satin and semi-gloss are often easier to wipe clean. If you use a clear topcoat, apply it in thin, even layers and follow the recommended recoat and cure times. The wrong topcoat or rushed application can cloud the finish, add brush marks, or yellow the color.
Step 9: Let It Cure Before Reassembly
This is the stage where a pro earns their halo. Let the furniture cure before reinstalling hardware, stacking drawers, or setting lamps and decor on top. Paint can be dry within hours but take days or even weeks to reach full hardness, depending on the formula. The cure period is what keeps your beautiful new finish from denting under a coffee mug or sticking to a folded runner.
If possible, wait several days before heavy use and longer for tabletops or frequently touched surfaces. During curing, handle the piece gently and avoid dragging objects across it.
Common Mistakes That Make Furniture Look DIY in the Wrong Way
- Skipping cleaning: Paint does not bond well to wax, grease, or furniture polish.
- Using too much stripper at once: It becomes messy and hard to control.
- Sanding too aggressively: You can flatten details and damage veneer.
- Skipping primer: Especially risky on slick finishes, bare wood, and stain-prone surfaces.
- Painting thick coats: Thick paint sags, drips, and dries unevenly.
- Ignoring cure time: This is how beautiful paint jobs get dents, smears, and stuck drawers.
A Simple Example: Turning a Tired Dresser Into a Clean, Modern Piece
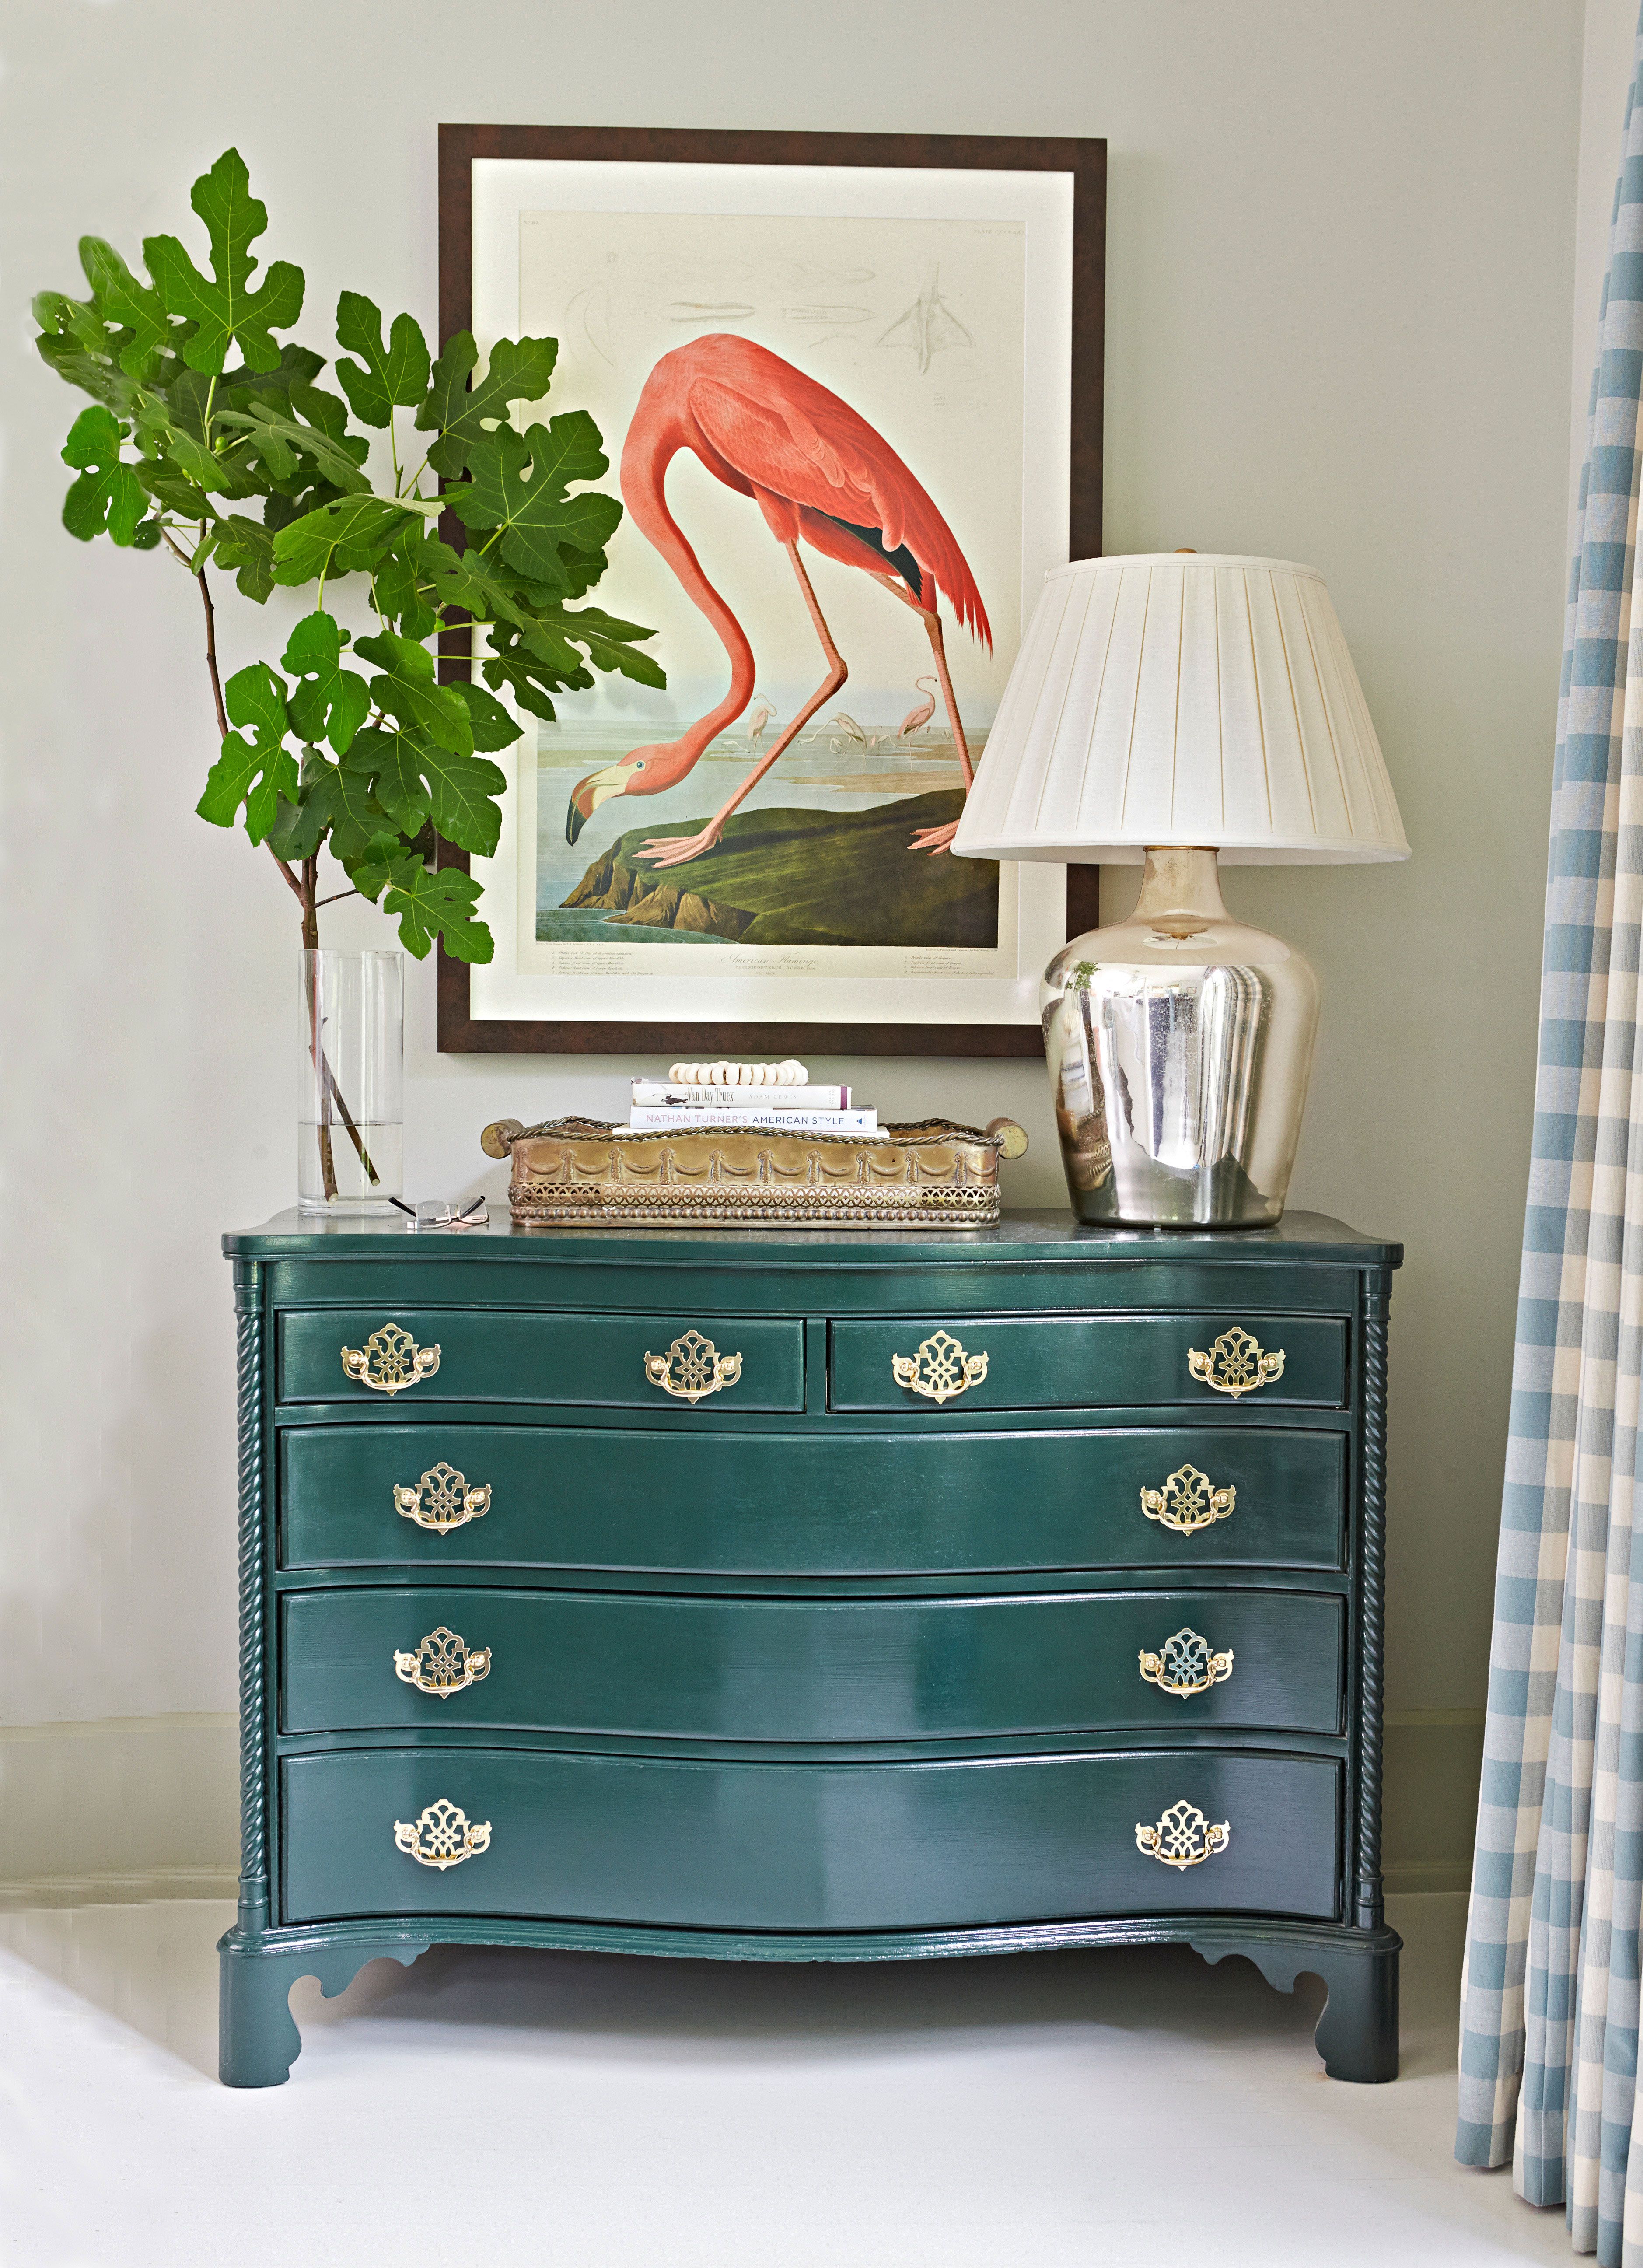
Say you find an old wood dresser with orange-toned varnish, dated brass pulls, and a few scratches on the top. The frame is solid, but the finish is shiny and tired. A professional-looking makeover would go like this: remove the hardware, deep-clean the piece, strip only the failing or heavy varnish areas, sand the entire dresser smooth, fill the deeper scratches, apply a bonding primer, lightly sand again, then paint two coats of a durable satin furniture enamel. Finish with a clear topcoat on the top surface, add new black or brass hardware, and let the piece cure before loading the drawers.
That is the difference between “painted dresser” and “Where did you buy that?”
How to Make the Final Result Look Truly Professional
Use Better Tools Than the Bargain Bin Wants You to Buy
A decent angled brush and a fine-finish mini roller can dramatically improve the look of your paint job. Cheap tools shed, drag, and leave texture behind.
Keep Dust Under Control
Dust is the glitter of furniture refinishing: it gets everywhere and haunts the final finish. Vacuum often, wipe thoroughly, and don’t sand right next to your wet paint area.
Work in Good Lighting
Strong side lighting helps you catch drips, missed edges, and rough patches before they dry into permanent evidence.
Don’t Rush the “Boring” Steps
Cleaning, sanding, wiping, priming, and curing are the least glamorous parts of the project. They are also the reason the glamorous part works.
Workshop-Style Experiences and Lessons From Real Furniture Makeovers
One of the most useful lessons people learn when stripping and repainting wood furniture is that every piece has a personality. Some are cooperative and charming, like a little side table that just wants a bath, a light sanding, and a fresh coat of paint. Others behave like they were cursed by a Victorian carpenter and passed down specifically to test your patience.
A common experience is starting with too much optimism. You bring home a “quick weekend project,” remove one drawer, and discover three layers of paint, one layer of varnish, one mystery repair from 1987, and hardware that seems to have been installed by a determined blacksmith. This is when many beginners learn the golden truth of furniture refinishing: the prep takes longer than the painting, and that is completely normal.
Another familiar moment happens right after stripping. The piece looks awful. Not a little rough. Truly awful. Patchy wood, sticky residue, strange blotches, maybe a dent you somehow missed five times. This is the dangerous stage where people think they have ruined everything. In reality, they are just in the ugly middle. Professionals know the ugly middle is part of the process. Clean it, sand it, repair it, and keep going.
Many DIYers also discover that paint color behaves differently on furniture than it does on walls. A color that looked soft and dreamy on a sample card may suddenly seem much bolder on a dresser or nightstand. That is why testing a sample on the furniture itself is such a smart move. It saves you from repainting the whole piece after realizing your “subtle sage” is actually shouting.
There is also the classic lesson about cure time. Plenty of people finish painting, admire the piece, reinstall the hardware too soon, slide the drawers back in, and then discover fingerprints, dents, or sticky edges. It is a rite of passage, but not one you need to repeat. Waiting feels boring, but it protects all the hours you already invested.
And then there is the happy surprise that keeps people coming back to furniture makeovers: old wood furniture is often far better built than many newer budget pieces. Once stripped, repaired, primed, and repainted, a worn dresser or console can feel sturdier, richer, and more custom than something that arrived in a flat box with an allen wrench and emotional consequences.
Perhaps the best experience of all is the before-and-after moment. You remember the chipped finish, the stale smell, the wobbly drawer, the weird shine, and the color that could only be described as “exhausted honey brown.” Then you step back and see a crisp, clean, updated piece that fits your home beautifully. It is practical, creative, and weirdly satisfying. You did not just repaint furniture. You rescued something useful and made it feel relevant again. That is pro-level work, even if you did it while wearing old sneakers and listening to a playlist called “Productive Chaos.”
Final Thoughts
If you want to strip and repaint wood furniture like a pro, remember this simple formula: clean well, strip only when needed, sand thoughtfully, prime properly, paint thin coats, and let the finish cure. Fancy results do not come from rushing. They come from good prep and a little patience.
The beauty of furniture refinishing is that it rewards care more than perfection. You do not need a giant workshop or a professional spray booth to get a smooth, durable finish. You just need a solid process, decent materials, and the wisdom to stop touching the paint while it is drying. Honestly, that last one is harder than it sounds.
SEO Tags

