Makeup
How to Mount a Drive in Linux: 2 Easy Methods
Jun
Mounting a drive in Linux sounds dramatic, as if you need a helmet, a flashlight, and possibly a wizard robe. In reality, it usually means one simple thing: telling Linux where a storage device should appear in the file system so you can read and write files on it. Whether you added a second SSD, plugged in a USB drive, attached an external hard drive, or prepared a new partition for backups, learning how to mount a drive in Linux is one of those practical skills that pays for itself quickly.
Unlike Windows, where drives often appear as letters like C: or D:, Linux places everything under one directory tree starting at /, the root directory. A mounted drive may appear at /mnt/storage, /media/backup, /data, or another folder you choose. That folder is called the mount point. Once mounted, the drive behaves like part of the normal file system. No alphabet soup required.
This guide explains two easy methods to mount a drive in Linux: a temporary manual mount using the terminal and a permanent mount using /etc/fstab. The first method is perfect for quick access. The second is ideal when you want the drive to mount automatically every time the system boots. We will use clear commands, realistic examples, and a few safety tips so your storage setup does not turn into a small digital soap opera.
What Does “Mount a Drive” Mean in Linux?
To mount a drive means to attach a file system on a device or partition to a directory in your Linux file tree. The drive itself might be called something like /dev/sdb1, /dev/nvme0n1p2, or /dev/sdc1. Those names identify block devices and partitions, but they are not convenient places to browse your vacation photos, project files, or suspiciously large folder named “misc.”
Instead, Linux uses a mount point. For example, you can mount /dev/sdb1 at /mnt/data. After that, opening /mnt/data shows the contents of the drive. The device name is the storage source; the mount point is the doorway.
Common Linux Mount Points
For temporary mounts, many administrators use /mnt. For removable media such as USB drives, desktop Linux systems often use /media or /run/media. For long-term storage, some users create dedicated directories such as /data, /backup, /srv/storage, or /mnt/archive.
There is no single perfect mount point for every situation. A home user might mount a second internal drive at /mnt/storage. A server administrator might mount application data at /srv/appdata. A backup disk might live at /backup. The important rule is simple: choose a clear directory name and use it consistently.
Before You Start: Identify the Drive Safely
Before mounting anything, you need to know which device or partition you are working with. Guessing is a bad idea. In Linux storage work, guessing is how people accidentally format the wrong drive and then learn the true meaning of silence.
Open a terminal and run:
This command lists block devices, partitions, file system types, labels, UUIDs, sizes, and current mount points. You might see output similar to this:
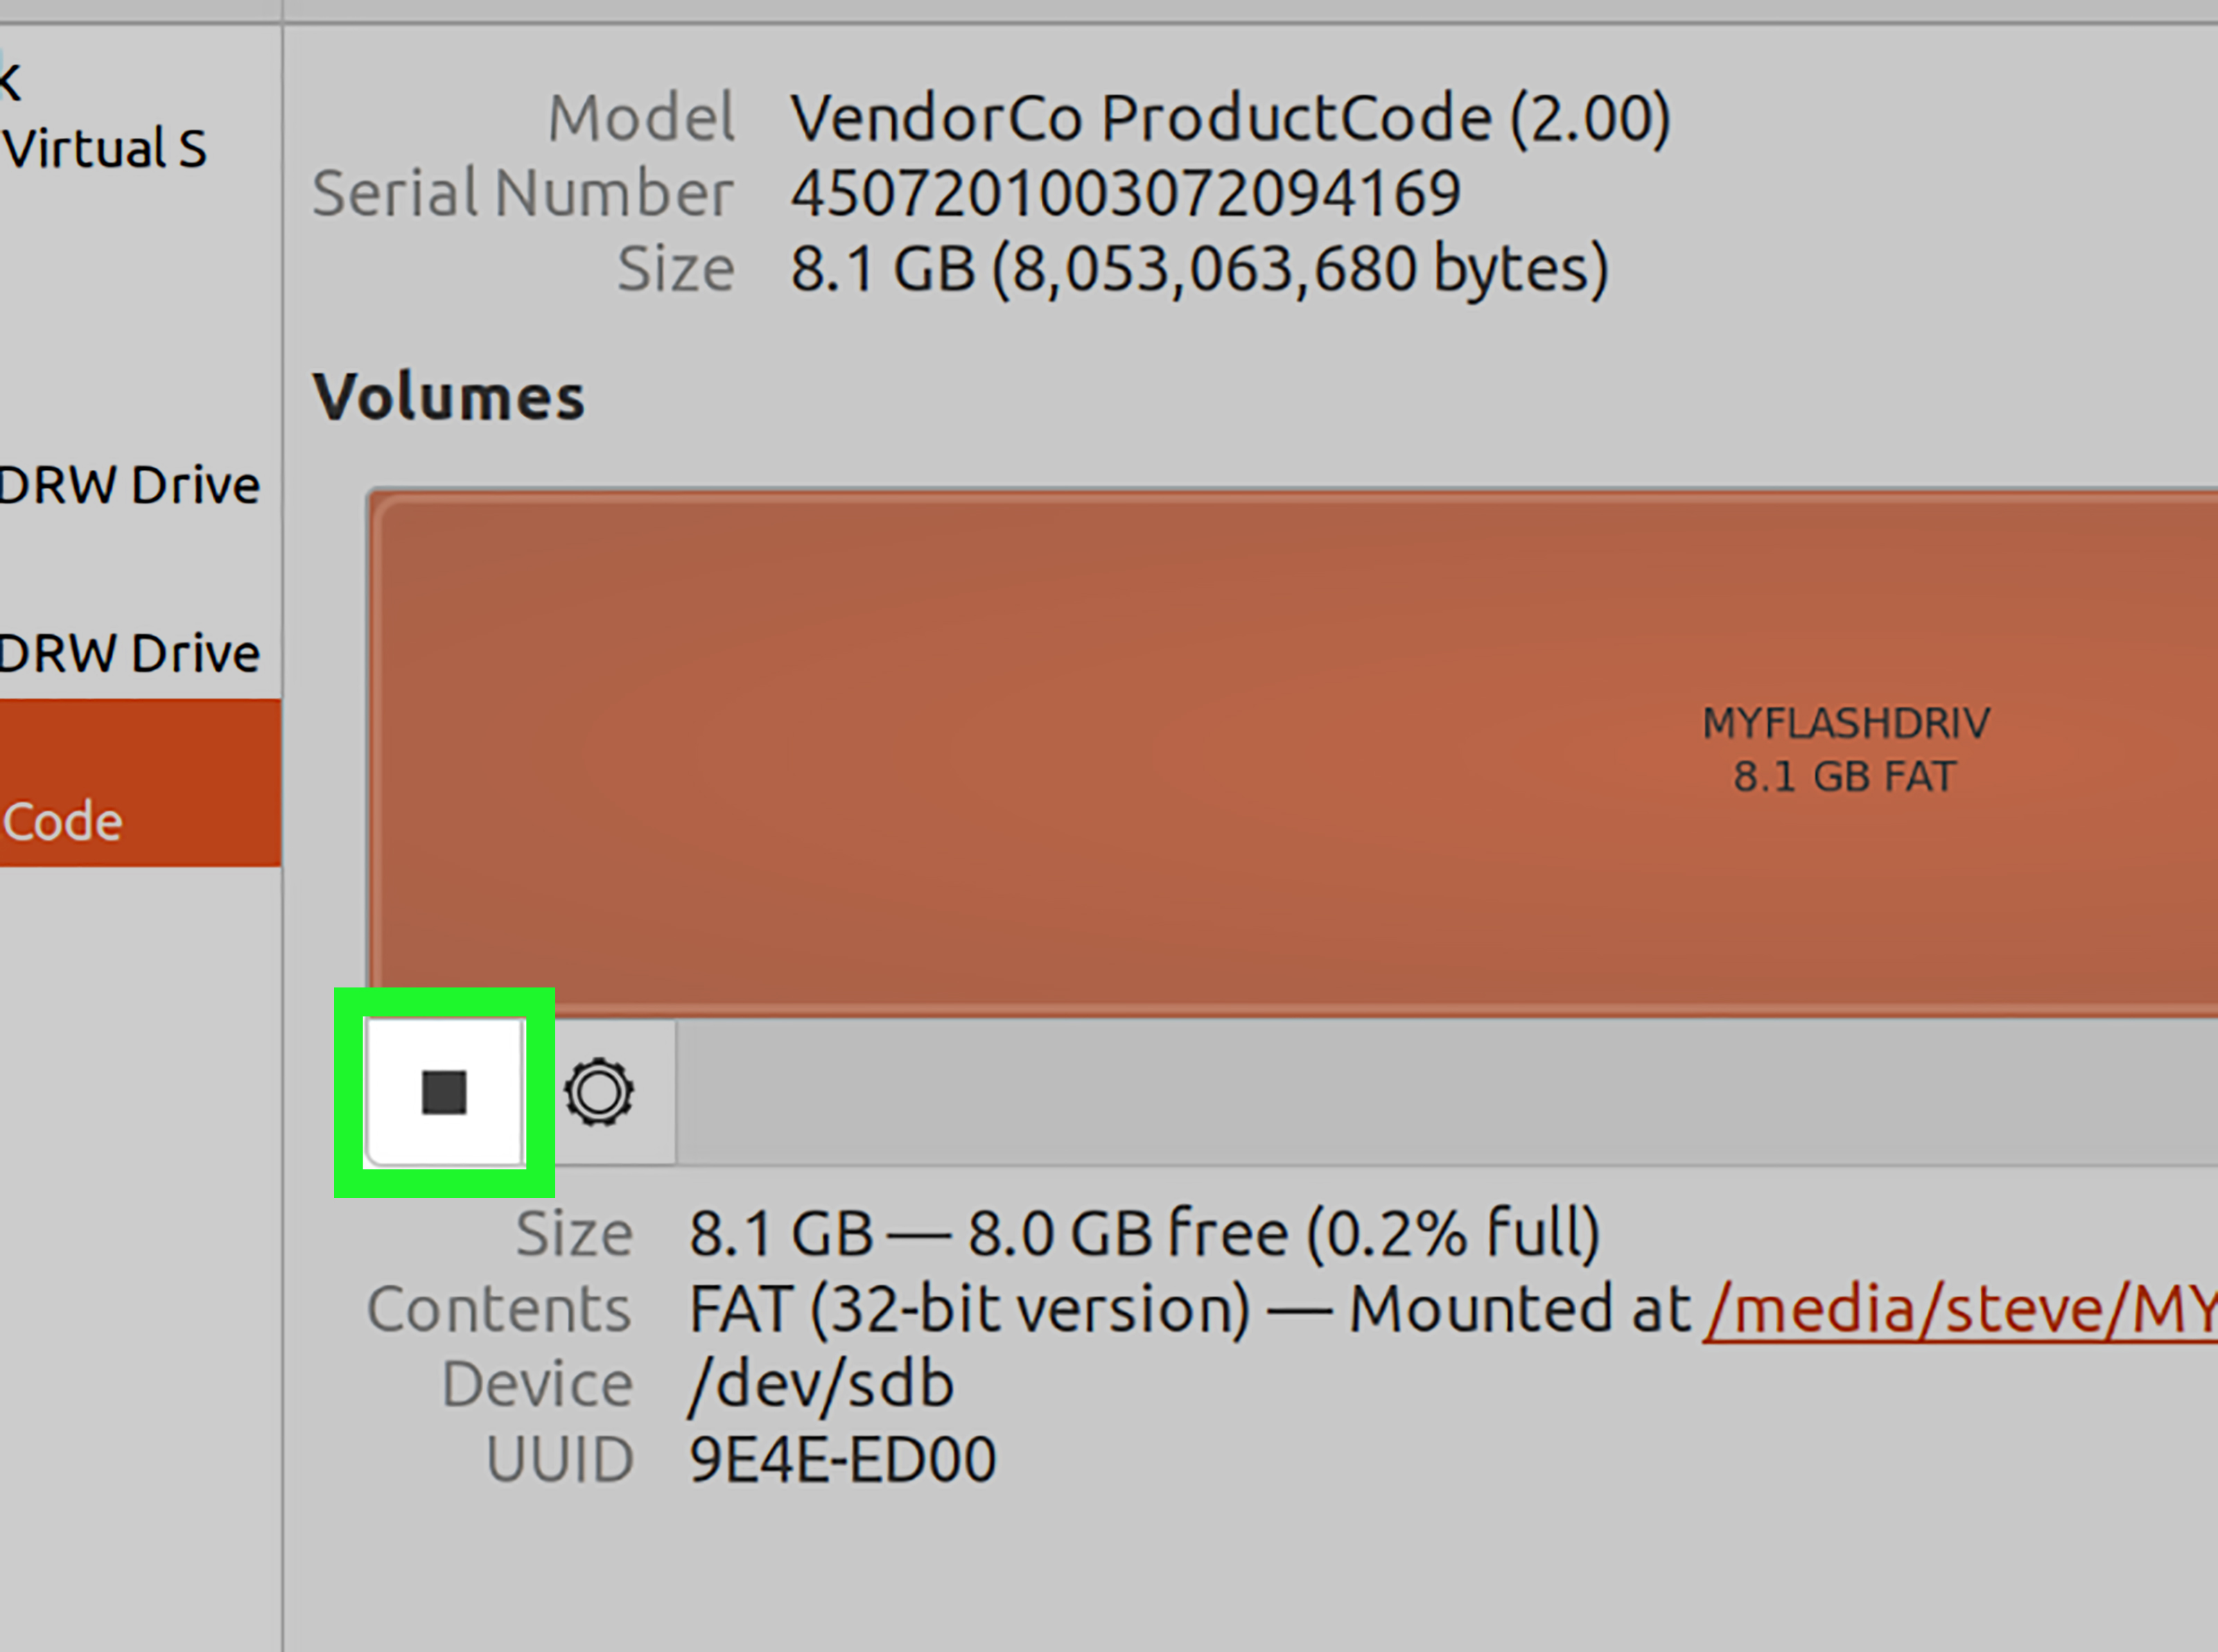
In this example, /dev/sdb1 looks like an unmounted ext4 partition labeled Data. That is the kind of partition you may want to mount.
You can also use:
The blkid command is especially helpful when you need the partition UUID for permanent mounting. A UUID is a unique identifier for a file system. It is more reliable than a device name such as /dev/sdb1, because device names can change when disks are added, removed, or detected in a different order.
Method 1: Mount a Drive Temporarily with the Terminal
The fastest way to mount a drive in Linux is to use the mount command. This method lasts until you unmount the drive or reboot the system. It is great for one-time access, troubleshooting, copying files, checking a backup disk, or confirming that a new drive works before making it permanent.
Step 1: Create a Mount Point
First, create a directory where the drive will appear. For example:
The -p option creates parent directories if needed and avoids complaints if the directory already exists. Linux is polite when properly instructed.
Step 2: Mount the Partition
Now mount the partition to that directory:
Replace /dev/sdb1 with your actual partition name. If the command succeeds, it usually says nothing. In Linux, silence often means success. It is the opposite of most group chats.
Step 3: Confirm the Drive Is Mounted
To check that the drive is mounted, run:
Or use:
You can also list the folder:
If the drive contains files, they should now appear in that directory.
Step 4: Adjust Ownership or Permissions If Needed
Sometimes the drive mounts correctly, but your regular user cannot write to it. For Linux-native file systems such as ext4 or XFS, permissions are handled like normal Linux directories. You can change ownership of the mount point after mounting:
Be careful with recursive ownership changes on drives that already contain important system-style permissions. For a personal data drive, this is often fine. For a shared server drive, think before you type. The keyboard does not have an undo button for every command.
Step 5: Unmount the Drive When Finished
When you are done, unmount the drive before disconnecting it:
Notice the command is umount, not unmount. Yes, Linux dropped a letter. It has been busy.
If you see an error saying the target is busy, a terminal, file manager, or background process may still be using the drive. Close open files and leave the mounted directory:
Method 2: Mount a Drive Automatically with /etc/fstab
If you want a drive to mount automatically at startup, use /etc/fstab. This file tells Linux which file systems should be mounted, where they should appear, what type they are, and which options to use. It is powerful, useful, and worthy of respect. Editing it casually is like rearranging traffic lights because “red feels too aggressive.”
Step 1: Find the UUID and File System Type
Run:
Or:
Look for the partition you want to mount. You need two key details: the UUID and the file system type. For example:
Here, the UUID is 3333-4444 and the file system type is ext4.
Step 2: Create the Permanent Mount Point
Create a directory for the drive:
You can choose another location, such as /data or /backup, but make sure the folder exists before adding it to /etc/fstab.
Step 3: Back Up the fstab File
Before editing /etc/fstab, make a backup:
This tiny command can save you from a large headache. If something goes wrong, you have a known-good copy.
Step 4: Edit /etc/fstab
Open the file with a text editor:
Add a line like this for an ext4 drive:
Here is what each field means:
- UUID=3333-4444: identifies the partition reliably.
- /mnt/data: the mount point.
- ext4: the file system type.
- defaults,nofail: standard mount options, with
nofailallowing boot to continue if the drive is missing. - 0: dump backup setting, usually left as 0.
- 2: file system check order for non-root Linux file systems.
For an XFS file system, the line might look like this:
For an NTFS drive used with Linux, you may see examples using ntfs3 or ntfs-3g, depending on your distribution and installed drivers:
NTFS permissions behave differently from Linux-native file systems, so options such as uid, gid, and umask can help make files accessible to your user account.
Step 5: Test the fstab Entry
Do not reboot immediately. Test first:
This command attempts to mount everything listed in /etc/fstab that is not already mounted. If there is a syntax problem, you want to discover it now, while your system is running and your coffee is still warm.
Then confirm:
If everything looks good, the drive should mount automatically on future boots.
Which Method Should You Use?
Use the temporary terminal method when you only need the drive once, are testing a new disk, or want to avoid changing system configuration. It is quick, clean, and easy to undo.
Use the /etc/fstab method when the drive should always be available. This is best for internal storage drives, backup disks connected at boot, media libraries, server data directories, and home lab setups. If a program expects files to exist at a specific path, permanent mounting is usually the better choice.
Common File System Types You May See
ext4
ext4 is one of the most common Linux file systems. It is stable, widely supported, and a sensible choice for many personal and server drives.
XFS
XFS is often used on enterprise Linux systems and performs well with large files and large file systems. It is a strong choice for data-heavy workloads.
Btrfs
Btrfs supports features such as snapshots and checksumming. It is popular in some distributions and advanced desktop setups.
NTFS
NTFS is common on Windows drives. Linux can mount NTFS volumes, but write support and permission handling depend on the driver and mount options used by your distribution.
exFAT
exFAT is useful for removable drives shared between Linux, Windows, and macOS. It is common on USB flash drives and external storage devices.
Troubleshooting: Why Won’t My Drive Mount?
The Device Name Is Wrong
If /dev/sdb1 does not exist, run lsblk -f again. Device names can change after rebooting or reconnecting hardware. For permanent mounts, use UUIDs instead of raw device names.
The Mount Point Does Not Exist
If Linux says the mount point does not exist, create it:
The File System Type Is Incorrect
If the drive is formatted as XFS but your fstab entry says ext4, the mount will fail. Check the type with:
The Drive Is Already Mounted
Use findmnt or lsblk to see whether the partition is already mounted somewhere else. Desktop environments often auto-mount removable drives.
Permission Problems
If you can read files but cannot write, check ownership and permissions. For Linux file systems, chown and chmod may help. For NTFS or exFAT, mount options often control user access.
fstab Mistakes
A broken /etc/fstab entry can slow boot or drop the system into emergency mode. Always back up the file, use UUIDs, add nofail for removable or non-critical drives, and test with sudo mount -a before rebooting.
Helpful Safety Tips for Mounting Drives in Linux
First, never format a drive unless you are absolutely sure it is the correct one. Mounting and formatting are different actions. Mounting makes an existing file system available. Formatting creates a new file system and may erase data. That distinction matters, especially when the drive contains your only copy of something important.
Second, prefer UUIDs for permanent mounts. Device names like /dev/sdb1 are convenient for quick commands, but they are not guaranteed to stay the same forever. UUIDs are much better for /etc/fstab.
Third, use clear mount point names. A directory like /mnt/data is easier to understand than /mnt/drive2-final-new-reallyfinal. Your future self will appreciate the courtesy.
Fourth, unmount removable drives before unplugging them. This helps ensure cached writes are finished and reduces the chance of file system corruption.
Finally, document your setup. A small text file explaining which drive mounts where can save time later, especially on servers, NAS boxes, home labs, and multi-disk workstations.
Real-World Experience: What Mounting Drives in Linux Teaches You
The first time you mount a drive in Linux, it may feel strangely manual. On many desktop systems, you plug in a USB drive and it appears automatically, so typing commands like sudo mount /dev/sdb1 /mnt/data can feel like opening the hood of a car just to use the cup holder. But that is also the magic of Linux: it lets you see and control what is happening underneath the friendly desktop layer.
One common experience is adding a second internal drive to an older laptop or desktop. Maybe the main system runs on a fast SSD, while a larger hard drive stores photos, videos, downloads, virtual machines, or backups. At first, you might mount it manually whenever you need it. That works, but after the third or fourth reboot, typing the same command becomes less charming. This is when /etc/fstab starts to feel less like a scary configuration file and more like a practical little automation tool.
Another real-world lesson is that Linux rewards careful observation. The command lsblk -f becomes your storage map. It shows which device is which, what file system each partition uses, and where everything is mounted. Once you understand that sdb1 is not a random robot name but a partition on a disk, the whole process becomes more logical. You stop thinking, “Linux is hiding my drive,” and start thinking, “I simply need to attach this file system to a directory.” That is a much calmer place to be.
Mounting drives also teaches the importance of reliable identifiers. Many beginners use /dev/sdb1 in /etc/fstab because it works during testing. Then one day they plug in another USB drive, reboot, and the device order changes. Suddenly the wrong disk is expected at the wrong mount point. Using UUIDs avoids this problem. It is not glamorous, but neither are seat belts, and both are excellent ideas.
Permissions are another memorable chapter. A drive may mount perfectly, yet your user account cannot create a folder. This is frustrating until you realize Linux separates mounting from ownership. Mounting says, “The drive is available here.” Permissions say, “This user may do things here.” For ext4 and XFS, changing ownership may solve the issue. For NTFS or exFAT, mount options may be the answer. The good news is that once you solve it, the pattern becomes familiar.
In server environments, mounting drives becomes even more important. A database may need storage at /var/lib/database. A web application may expect uploads in /srv/uploads. A backup script may write to /backup/nightly. If these mounts fail, services can break in confusing ways. That is why administrators test fstab changes with mount -a, use nofail when appropriate, and check results with findmnt. The habit is simple: configure, test, verify, then reboot only when confident.
Over time, mounting a drive in Linux stops feeling like a special operation and starts feeling like normal maintenance. You learn to create tidy mount points, label drives clearly, keep backups of configuration files, and avoid unplugging storage without unmounting it. You also gain a deeper understanding of how Linux treats hardware, directories, permissions, and persistence. That knowledge is useful far beyond one external drive. It helps with backup planning, dual-boot setups, media servers, cloud volumes, encrypted disks, and troubleshooting mysterious storage errors.
In other words, learning how to mount a drive in Linux is not just about accessing files. It is about becoming more comfortable with the Linux file system itself. And once that clicks, Linux storage feels much less like a locked basement and much more like a well-labeled garage. Still full of cables, perhaps, but at least you know which shelf the backup drive lives on.
Conclusion
Mounting a drive in Linux is easier once you understand the basic idea: a device or partition becomes accessible through a directory called a mount point. For quick access, create a mount point and use the mount command. For automatic mounting at boot, identify the drive by UUID and add a careful entry to /etc/fstab.
The safest workflow is simple: inspect the drive with lsblk -f, create a clear mount point, mount manually for testing, then use /etc/fstab only when you want the setup to persist. Back up configuration files, test before rebooting, and use UUIDs whenever possible. With these habits, you can add storage to Linux confidently without turning your terminal session into an archaeological dig for lost files.
Whether you are setting up a personal backup disk, adding a second SSD, organizing a media library, or managing a Linux server, these two easy methods cover the essentials. The terminal method gives you speed. The /etc/fstab method gives you consistency. Together, they give you controland in Linux, control is half the fun.
