
Body Care
How to Install Vinyl Flooring in a Sheet (DIY)
Aug
Installing sheet vinyl flooring is one of those DIY projects that looks suspiciously easy until the roll starts behaving like a giant, floppy burrito. The good news? With patience, a sharp knife, and a healthy respect for measuring twice, sheet vinyl can transform a tired bathroom, laundry room, mudroom, or kitchen without requiring a contractor, a second mortgage, or a dramatic home-renovation montage.
Sheet vinyl flooring is popular because it comes in large rolls, often wide enough to cover small rooms with few or no seams. That makes it a smart choice for moisture-prone spaces where crumbs, muddy shoes, pet splashes, and the occasional “who forgot to close the washing machine door?” incident are part of life. Modern sheet vinyl can mimic wood, stone, tile, or patterned flooring while staying affordable, comfortable underfoot, and relatively low maintenance.
This guide explains how to install vinyl flooring in a sheet using a practical DIY method. You will learn how to prepare the subfloor, make a template, cut the vinyl, choose the right installation method, apply adhesive if needed, trim edges, seal seams, and avoid the mistakes that turn a weekend upgrade into a flooring soap opera.
Before You Start: Is Sheet Vinyl Right for Your Room?
Sheet vinyl works especially well in bathrooms, kitchens, laundry rooms, basements, entryways, and utility spaces. It is a resilient flooring material, meaning it has a slight give underfoot and can handle daily wear better than many fragile surfaces. Because it is installed in large sheets, it reduces the number of seams where water can sneak through.
However, sheet vinyl is less forgiving than vinyl plank or vinyl tile when it comes to cutting. If you miscut a plank, you replace one plank. If you miscut a sheet, you may end up inventing new words your neighbors were not emotionally prepared to hear. For oddly shaped rooms, bathrooms with toilets and cabinets, or spaces with many angles, a paper template is your best friend.
Tools and Materials You Will Need
Gather everything before opening the roll. Sheet vinyl has a way of expanding across the room like it pays rent, so you do not want to hunt for a utility knife while kneeling inside a vinyl taco.
Tools
- Tape measure
- Utility knife with new blades
- Hook blade, if recommended by the flooring manufacturer
- Straightedge or framing square
- Paper template kit, builder’s paper, or kraft paper
- Painter’s tape or masking tape
- Putty knife
- Notched trowel, if using adhesive
- Floor roller or rolling pin for small areas
- Seam roller, if your project has seams
- Caulk gun
- Pry bar for baseboards or trim
- Broom, vacuum, and damp cloth
Materials
- Sheet vinyl flooring
- Flooring adhesive approved for your specific vinyl
- Double-sided vinyl flooring tape, if using a modified loose-lay method
- Embossing leveler or floor patch
- Quarter-inch plywood underlayment, if needed
- Seam sealer, if required
- Silicone or vinyl-safe caulk for wet areas
- Transition strips
- New shoe molding or quarter round, if desired
Step 1: Read the Flooring Instructions First
Yes, this is the least glamorous step. No, you should not skip it. Sheet vinyl products are not all installed the same way. Some are designed for loose lay installation. Others require full-spread adhesive. Some can handle one seam; others have strict rules about seam placement, rolling traffic, temperature, or subfloor type.
Before you buy adhesive, tape, underlayment, or seam sealer, check the manufacturer’s installation sheet. Use the recommended adhesive and trowel size. Flooring warranties can be picky, and they are not known for their sense of humor.
Step 2: Acclimate the Vinyl and Control the Room Temperature
Bring the vinyl, adhesive, and installation supplies into the room ahead of time. Many sheet vinyl products need time to relax at normal room temperature before installation. A common recommendation is to keep the flooring and jobsite in a comfortable temperature range for at least 24 hours before, during, and after installation.
Do not install sheet vinyl in a freezing garage, a blazing sunroom, or a room where the HVAC is off and everyone is pretending “it will be fine.” Vinyl expands and contracts with temperature changes. Installing it while it is too cold, curled, or stiff can lead to bubbles, gaps, and edges that refuse to behave.
Step 3: Remove Trim, Doors, and Obstacles
Clear the room completely. Remove furniture, appliances, rugs, and anything that will make you trip while carrying a large vinyl sheet. If possible, remove baseboards, shoe molding, and transition strips. In bathrooms, you may also remove the toilet for a cleaner installation. Flooring around a toilet can be cut in place, but removing the toilet usually gives a neater result and fewer awkward knife gymnastics.
If you remove baseboards, score the caulk or paint line first with a utility knife. Then pry gently so you do not damage the wall. Label trim pieces if you plan to reuse them. Future you will appreciate this small act of kindness.
Step 4: Inspect the Existing Floor
Your finished sheet vinyl will only look as good as the surface underneath. Sheet vinyl is thin enough to reveal bumps, ridges, nail heads, old tile grout lines, and mystery lumps from 1987. A smooth subfloor is not optional; it is the secret sauce.
The subfloor should be clean, dry, smooth, flat, and structurally sound. Walk the room and listen for squeaks. Tighten loose boards or panels. Remove old staples, proud nails, dried adhesive chunks, and debris. Vacuum thoroughly. Then vacuum again, because dust has a way of reappearing like a villain in a sequel.
Can You Install Sheet Vinyl Over Old Flooring?
Sometimes, yes. You may be able to install sheet vinyl over an existing smooth, well-bonded resilient floor if the manufacturer allows it. But avoid installing over soft, cushioned, damaged, loose, or heavily textured flooring unless you add an approved underlayment or leveling compound first.
If the old floor may contain asbestos, do not sand it, dry scrape it, grind it, or tear it out casually. Older resilient flooring, backing, and black adhesive may contain asbestos. If your home is older and you are unsure, stop and consider testing or hiring a qualified professional. Covering an intact old floor is often safer than disturbing it.
Step 5: Repair and Level the Subfloor
Fill low spots, cracks, seams, and dents with a floor patch or embossing leveler approved for vinyl installation. Sand high spots carefully if the material is safe to sand. For wood subfloors that are rough, uneven, or patched beyond redemption, install a thin plywood underlayment rated for resilient flooring.
When installing underlayment, stagger seams, fasten it securely, and patch the joints so they do not telegraph through the vinyl. “Telegraphing” is the flooring world’s fancy way of saying, “Congratulations, now you can see every mistake underneath.”
Step 6: Measure the Room and Plan the Layout
Measure the room at its longest and widest points. Add several inches to each side so you have trimming room. Do not assume walls are straight. Houses settle, corners wander, and drywall has opinions.
Plan the layout so the pattern looks balanced. If your sheet vinyl has a tile or wood design, avoid placing tiny slivers along the most visible wall. In a bathroom, try to position the pattern attractively around the vanity and doorway. In a kitchen, think about what people see when they enter the room.
Step 7: Make a Paper Template
For simple square rooms, you may be able to rough-cut the vinyl slightly oversized, lay it in place, and trim the edges. For most DIYers, especially in bathrooms and laundry rooms, a template is safer.
Use builder’s paper, kraft paper, or a vinyl flooring template kit. Lay paper pieces across the floor and tape them together. Keep the paper slightly away from the walls, then use a straightedge or spacing block to trace the room shape accurately. Mark doorways, vents, pipes, cabinets, toilet flanges, and other obstacles.
Write “top” or “face up” on the template so you do not accidentally flip it and create a perfect pattern for an alternate-universe version of your room.
Step 8: Transfer the Template to the Vinyl
Unroll the vinyl in a clean, open area. If possible, use a garage, basement, driveway, or large room where the sheet can lie flat. Place the template on the vinyl and align the pattern carefully. Tape the template in place so it does not shift while cutting.
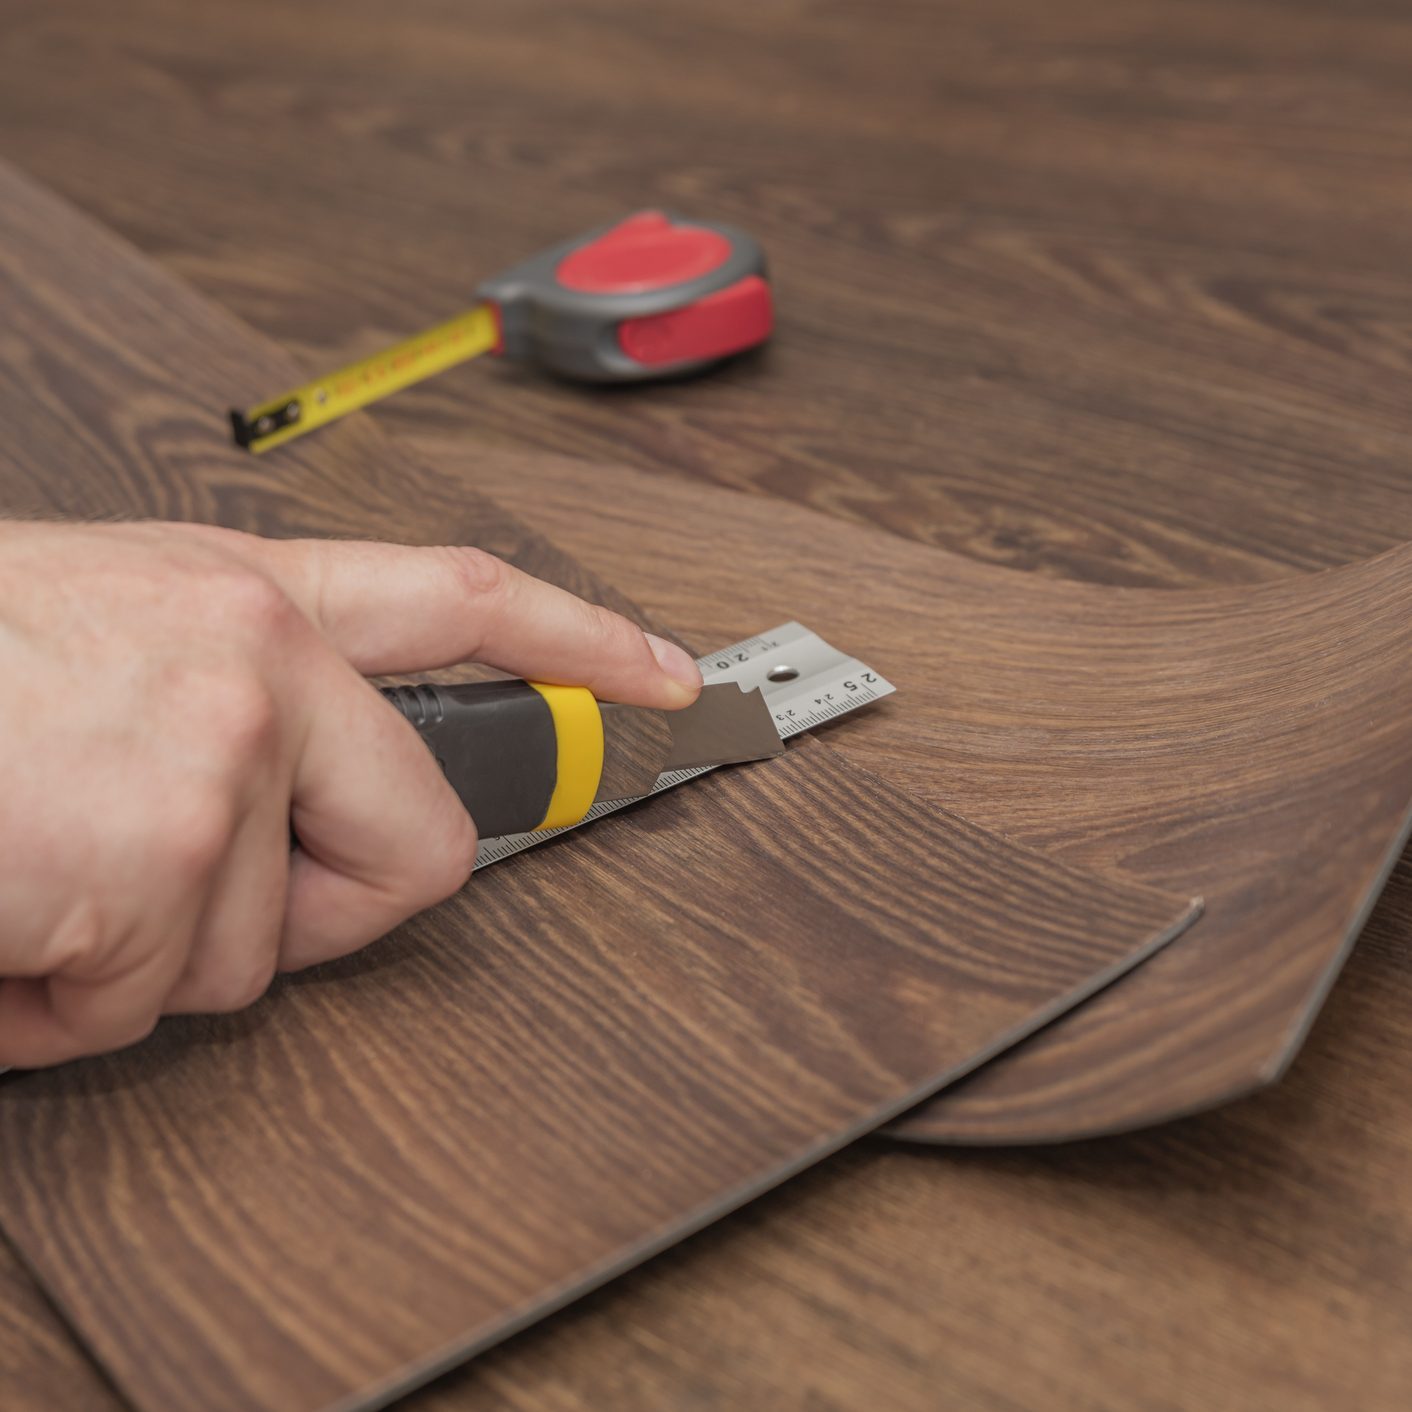
Trace the template onto the vinyl. Cut slowly with a sharp utility knife. Use multiple light passes instead of trying to slice through with one heroic motion. Keep extra material around the perimeter if you prefer to final-trim in the room. For inside corners, make small relief cuts so the vinyl can settle without tearing.
Step 9: Dry-Fit the Vinyl
Carry the cut sheet into the room carefully. This is a good time to recruit a helper, preferably someone calm who will not panic when the vinyl flops over like a sleepy sea monster.
Position the sheet and gently work it into place. Check all edges, corners, vents, pipes, and doorways. The vinyl should lie flat without buckling. Trim small areas gradually. Do not force the sheet tight against walls; leave the expansion space recommended by the manufacturer. Baseboards or shoe molding will cover the edge later.
Step 10: Choose Your Installation Method
Sheet vinyl is commonly installed using one of three approaches: loose lay, modified loose lay, or full-spread adhesive. The correct method depends on the product, room size, number of seams, subfloor, and expected traffic.
Loose Lay
Loose lay sheet vinyl is placed without full adhesive. It may be allowed in smaller rooms with no seams or very limited seams, depending on the product. It is beginner-friendly and easier to remove later, but it is not ideal for every space.
Modified Loose Lay
Modified loose lay usually uses double-sided flooring tape or perimeter adhesive around the edges, at doorways, and sometimes under seams. This method can work well in smaller residential rooms when approved by the manufacturer.
Full-Spread Adhesive
Full-spread installation bonds the entire sheet to the subfloor with adhesive. It is often better for larger rooms, rooms with seams, high-traffic areas, rolling loads, and long-term durability. It is also less forgiving because once adhesive enters the chat, the clock starts ticking.
Step 11: Apply Adhesive or Tape
If using tape, lift the edges of the vinyl and apply the tape according to the manufacturer’s instructions. Do not stretch the vinyl while setting it down. Press the edges firmly and roll them to improve contact.
If using full-spread adhesive, fold back half of the vinyl without shifting the other half. Spread adhesive with the recommended notched trowel. Keep the trowel angle consistent so the adhesive ridges are even. Follow the open time listed on the adhesive container. Some adhesives need to flash off before the vinyl is placed; others require immediate placement.
Lay the vinyl into the adhesive slowly, working from the center outward. Then fold back the other half and repeat. Roll the floor as directed, usually from the center toward the edges, to push out air and ensure solid contact. Wipe adhesive smears immediately with the cleaner recommended by the manufacturer.
Step 12: Handle Seams Carefully
If your room requires more than one sheet, seam placement matters. Avoid placing seams in the wettest or most visible spot if you can. Match the pattern before cutting. Overlap the sheets, align the design, and use a straightedge for a clean double cut if recommended for your flooring type.
Use the correct seam adhesive or seam sealer. Roll the seam gently so both edges sit flat. A sloppy seam can collect dirt, catch socks, and quietly mock you every time the light hits it.
Step 13: Trim Edges and Finish the Room
After the vinyl is installed, trim edges carefully. Reinstall baseboards, shoe molding, transition strips, floor vents, and appliances. Use vinyl-safe caulk in wet areas such as bathrooms, laundry rooms, and around tubs or showers, but do not seal areas that the flooring manufacturer says must remain open for movement.
When moving appliances back, protect the new floor with plywood panels or hardboard sheets. Dragging a refrigerator across fresh vinyl is not a test of durability; it is a cry for help.
Step 14: Let the Floor Set Before Heavy Use
Follow the adhesive and flooring instructions for drying time. Avoid heavy furniture, rolling loads, and wet cleaning until the installation has cured. Keep the room at a stable temperature. If seams or edges need extra attention, fix them early before they become permanent annoyances.
Common Sheet Vinyl Installation Mistakes
Skipping Subfloor Prep
This is the biggest mistake. Sheet vinyl will not hide a bad floor. It will simply dress it in a new outfit and still point out every bump.
Cutting the Sheet Too Small
Always leave extra material for final trimming. You can remove more vinyl. You cannot politely ask it to grow back.
Using the Wrong Adhesive
Not all adhesives work with all vinyl products. Use the adhesive specified by the flooring manufacturer.
Ignoring Temperature
Cold vinyl can be stiff and hard to flatten. Hot rooms can affect adhesive performance. Keep the room within the recommended range.
Forgetting Pattern Direction
Wood-look and tile-look vinyl patterns need thoughtful placement. Stand in the doorway and check the layout before committing.
How to Care for Sheet Vinyl After Installation
Once your new sheet vinyl floor is installed, keep it looking good with simple habits. Sweep or vacuum regularly using a hard-floor setting. Damp mop with a cleaner approved for vinyl flooring. Avoid abrasive scrubbers, harsh solvents, steam mops unless approved, and wax products that can leave buildup.
Use felt pads under furniture legs. Place mats at exterior doors to reduce grit. Clean spills quickly. In kitchens and laundry rooms, check appliance connections occasionally because no floor enjoys a surprise indoor pond.
DIY Experience Notes: What I Wish Every Beginner Knew
The most important lesson about installing vinyl flooring in a sheet is that the job is not difficult because of strength; it is difficult because of precision. The sheet itself may be large, floppy, and awkward, but the real challenge is getting a clean fit around walls, corners, pipes, and doorways. The project rewards calm people. It punishes rushing. If you are the type of person who says, “I’ll just eyeball it,” sheet vinyl will gently humble you by lunchtime.
One practical experience tip is to make the template more carefully than you think necessary. A paper template feels like an extra step, but it can save the entire project. Tape the paper well, mark everything clearly, and double-check which side faces up. When transferring the pattern, imagine you are making a custom suit for your floor. A little loose can be tailored. Too tight, too short, or backward is a problem.
Another lesson is to use sharp blades and change them often. A dull utility knife does not save money; it creates ragged edges and dangerous pressure. Fresh blades glide through vinyl more cleanly, especially around door jambs and inside corners. Keep a trash cup nearby for used blades so they do not vanish into the chaos and reappear later in the least pleasant way possible.
Dry-fitting is also more valuable than beginners expect. Lay the sheet in place before adhesive or tape. Walk around the room. Look at the pattern from the doorway. Check whether the vinyl is curling, buckling, or sitting too tight against a wall. Make tiny adjustments. Then take a short break before final installation. A five-minute pause can help you notice mistakes your “let’s get this done” brain skipped.
If you are using adhesive, work in sections and stay organized. Read the label before spreading anything. Have a damp cloth ready for cleanup. Keep the trowel nearby. Do not spread more adhesive than you can cover within the working time. Adhesive is not scary, but it does not care about your phone call, snack break, or sudden urge to reorganize the garage.
For bathrooms, removing the toilet often gives the cleanest result. Cutting around the toilet base may seem easier, but it can leave visible gaps and tricky caulk lines. If you do remove the toilet, replace the wax ring when reinstalling it. Also, plug the drain opening temporarily with a rag while working, but do not forget the rag is there. That is not a flooring tip so much as a “save yourself from a plumbing mystery” tip.
Finally, respect the finishing details. Transition strips, baseboards, shoe molding, and clean caulk lines make the difference between “DIY bargain” and “wow, you did this yourself?” Protect the floor when moving appliances back into place. Give adhesive time to cure. Do not celebrate by immediately dragging a washing machine across your new floor like a medieval siege weapon.
Sheet vinyl installation is absolutely doable for a careful DIYer. The trick is to treat the preparation as part of the installation, not as an annoying warm-up. When the subfloor is smooth, the template is accurate, the cuts are patient, and the adhesive method matches the product, the finished floor can look clean, fresh, and surprisingly professional.
Conclusion
Learning how to install vinyl flooring in a sheet is a budget-friendly way to refresh a room with a durable, water-resistant surface. The process is simple in theory: prepare the subfloor, template the room, cut the vinyl, dry-fit it, secure it, roll it, trim it, and finish the edges. The difference between a decent job and a great job comes down to patience.
Do not rush the prep work. Do not guess on cuts. Do not use random adhesive from the back of the garage. Follow the manufacturer’s instructions, keep the room at the right temperature, and give yourself enough working space. Sheet vinyl may be one big piece, but a successful installation is built from many small, careful decisions.
If you want a floor that handles spills, looks polished, and does not drain your renovation budget, sheet vinyl is a strong DIY candidate. Just remember: measure twice, cut once, and never underestimate a roll of flooring with a grudge.

