Body Care
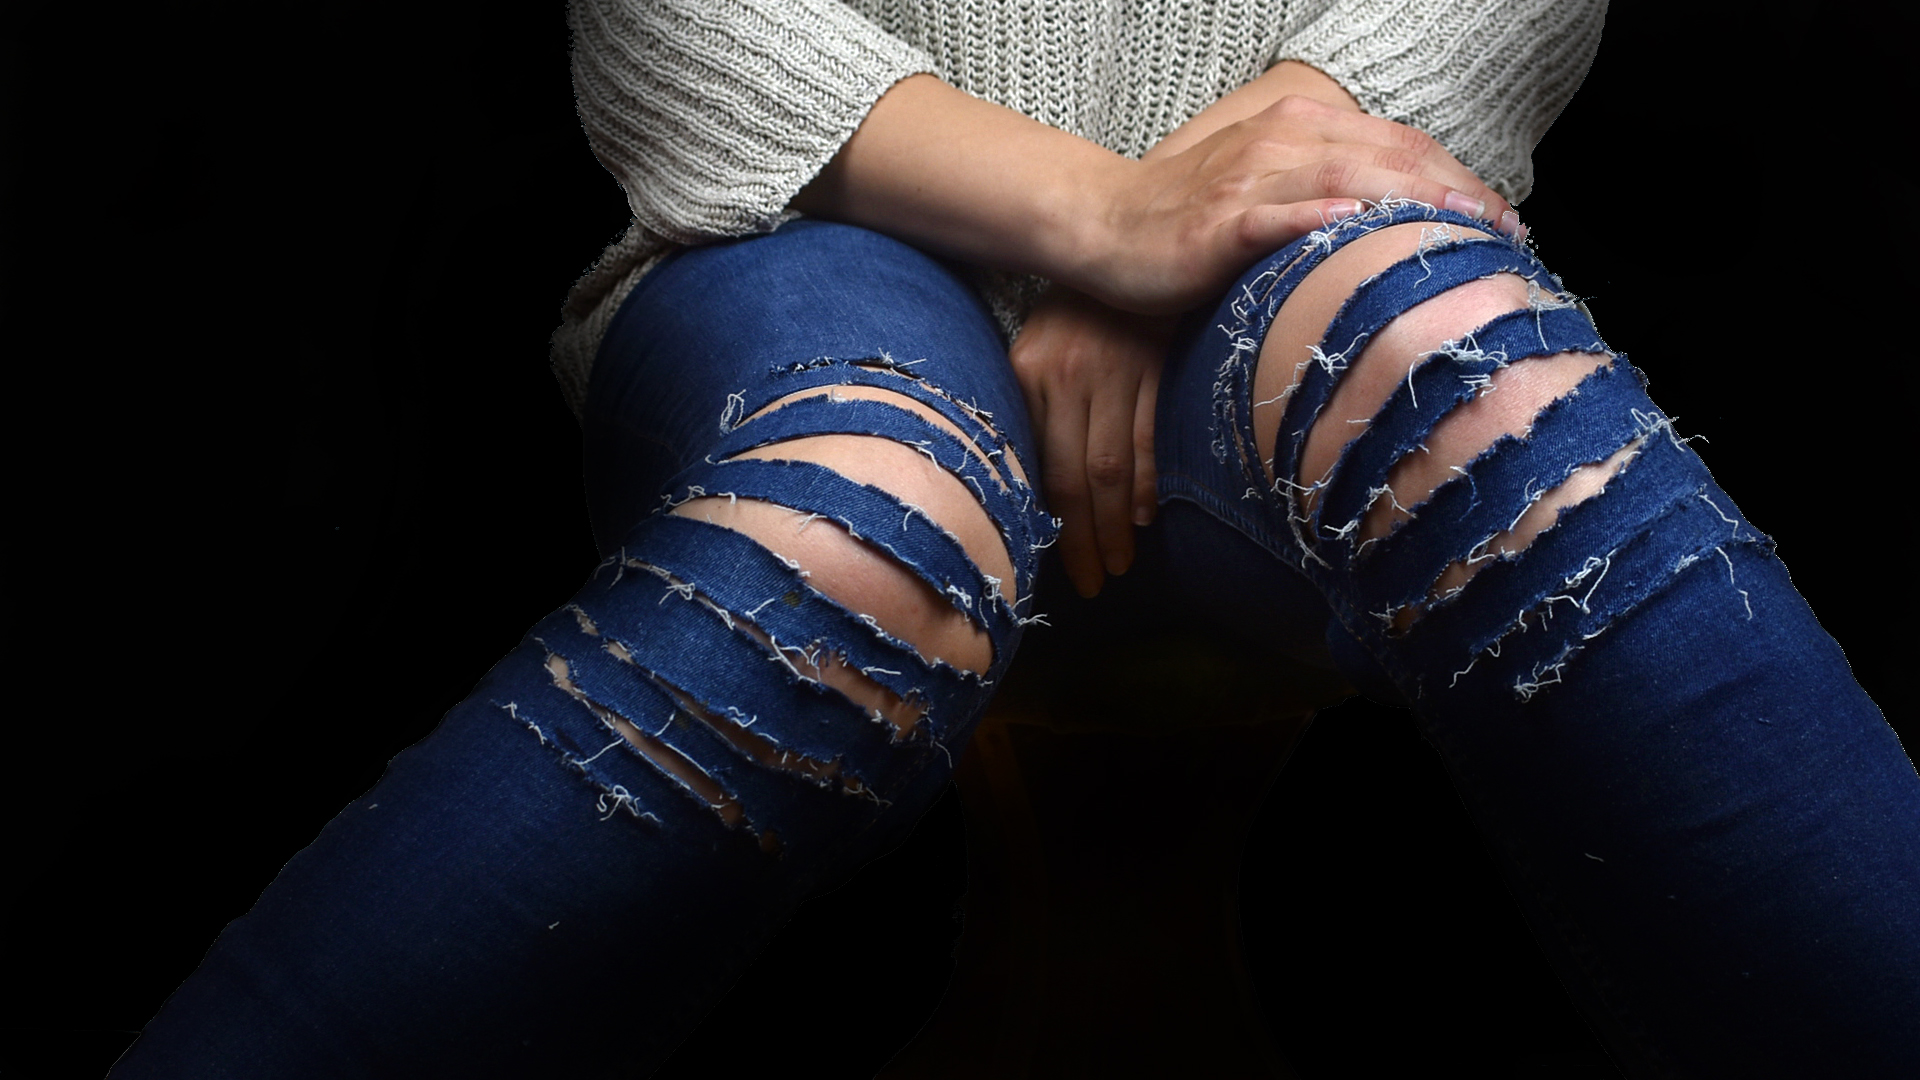
How to Distress Jeans with a Razor: 9 Steps
May
Note: This guide is written for safe DIY fashion. While many people search for “how to distress jeans with a razor,” the smartest way to get that razor-distressed, feathered denim look is to use safer abrasion tools such as sandpaper, an emery board, a pumice stone, tweezers, and a protective cardboard insert. The goal is the same: soft, worn-in, naturally frayed jeans without turning your kitchen table into a denim crime scene.
Distressed jeans have a funny way of looking effortless while being surprisingly expensive. You see a pair with artfully frayed knees, a few soft white threads, and a hem that says, “I casually wandered through a vintage rock concert,” then the price tag says, “Please hand over half your grocery budget.” The good news? You can create a similar lived-in look at home with patience, planning, and the right technique.
Learning how to distress jeans with a razor-style finish is really about understanding denim. Jeans are made from a sturdy twill fabric, usually with darker blue threads on the outside and lighter threads underneath. When you carefully wear down the blue surface fibers, the pale threads begin to show through. That is the secret behind authentic-looking ripped jeans: you are not simply making holes; you are revealing texture.
This step-by-step guide will show you how to distress jeans in a way that looks natural, intentional, and wearable. Instead of creating random giant rips that make your jeans look like they lost a fight with a lawn mower, you will learn where to place distressing, how to build fray slowly, and how to finish the jeans so they look stylish instead of shredded beyond rescue.
Before You Start: Choose the Right Jeans
The best jeans for distressing are usually 100% cotton denim or denim with only a small amount of stretch. Cotton frays more naturally, softens beautifully, and develops those classic white threads that make distressed jeans look authentic. Very stretchy jeans can still be distressed, but they may curl, warp, or create rubbery-looking edges because elastic fibers do not fray the same way cotton does.
Start with a pair you already own, thrifted jeans, or denim that feels a little too plain. Avoid practicing on your favorite expensive pair first. Even experienced DIY fans test before they commit, because denim can be dramatic. One small scrape can look cool; ten enthusiastic scrapes can look like your jeans tried to escape a paper shredder.
Tools You Will Need
- Old jeans or thrifted jeans
- Chalk, washable fabric marker, or pencil
- Thick cardboard, a cutting mat, or a rolled magazine
- Fine-grit sandpaper, emery board, or pumice stone
- Tweezers for pulling threads
- Fabric scissors for trimming loose threads
- Lint roller or vacuum for denim dust
- Washing machine or a sink for rinsing
How to Distress Jeans with a Razor-Style Finish: 9 Steps
Step 1: Wash and Dry the Jeans First
Begin with clean jeans. Washing removes dirt, softens the fibers slightly, and helps you see the true color and texture of the denim. If the jeans are brand-new and stiff, one wash can make the distressing process easier. Turn the jeans inside out, use cold water, and dry them according to the care label. You do not need to over-wash them; the goal is simply to start with fabric that is clean and workable.
Once dry, put the jeans on and move around. Sit, bend your knees, squat, and walk in front of a mirror. This helps you spot the areas where denim naturally creases and stretches. Those natural movement zones are where distressing looks the most believable.
Step 2: Mark Natural Wear Areas
Use chalk or a washable fabric marker to mark the spots you want to distress. The most common areas are the knees, upper thighs, pocket edges, coin pocket, waistband, and hems. For a subtle look, mark only two or three areas. For a bolder streetwear style, you can add more, but keep balance in mind. If both legs have huge rips in exactly the same place, the result can look too manufactured.
The knees are the easiest place to start. Mark slightly above and across the knee while wearing the jeans, because fabric shifts when you sit or stand. A rip that looks perfect flat on a table may land awkwardly when worn. Always mark first, check in the mirror, then adjust before distressing.
Step 3: Insert Cardboard Inside the Jean Leg
Slide a piece of thick cardboard, a cutting mat, or a rolled magazine inside the leg under the area you plan to distress. This protects the back layer of the jeans and gives you a firm surface to work on. Without a barrier, you may accidentally distress both sides of the leg. That sounds efficient until you realize you have created surprise ventilation in places that did not request it.
Make sure the cardboard is larger than the marked area. Smooth the denim flat over it so there are no wrinkles. Wrinkles can create uneven abrasion and strange diagonal marks that look less like vintage denim and more like a laundry accident.
Step 4: Start with Light Abrasion
To create a razor-distressed look safely, use fine-grit sandpaper, an emery board, or a pumice stone. Rub gently over the marked area in short, controlled motions. Do not try to create a hole immediately. You are thinning the top layer of denim and encouraging the lighter threads to appear.
Work slowly. After 20 to 30 seconds, stop and check the fabric. You should see the blue surface becoming lighter and softer. If the denim begins to fuzz, that is normal. If it starts tearing too quickly, reduce pressure. Distressing is more like seasoning food than pouring hot sauce on everything. Add a little, check, then add more.
Step 5: Build Texture Around the Knees
For knee distressing, create a soft worn patch before making any larger opening. Rub horizontally across the marked area, then lightly rub around the edges. Natural knee rips usually have faded fabric surrounding them, not a perfectly clean cut. That faded border is what makes the finished jeans look lived-in.
If you want visible white threads, use tweezers to gently lift loose horizontal threads after abrasion. Pull slowly and stop if the fabric resists. The white threads are part of the denim structure, and keeping some of them intact gives the classic distressed-jeans look. Removing too many threads creates a larger hole, while preserving them creates that designer-style webbing across the rip.
Step 6: Distress the Pockets and Edges
Pocket edges, belt loops, and hems are perfect places for subtle distressing. These areas naturally wear down over time, so even small touches can make jeans look more authentic. Use an emery board or sandpaper to lightly rub the raised seams and corners. Focus on the edges rather than the flat center of the pocket.
For a vintage effect, distress the coin pocket and back pocket corners. These details are small, but they make the entire pair look more believable. Think of them as the seasoning sprinkled on top. Nobody may notice each tiny mark individually, but together they tell the eye, “These jeans have stories.” Ideally, the stories involve coffee shops and road trips, not panic and regret.
Step 7: Create a Frayed Hem
A frayed hem can update straight-leg, cropped, or skinny jeans. If your jeans are too long, mark the new hem while wearing shoes. Remove the jeans, lay them flat, and trim evenly with fabric scissors. Then use sandpaper, a pumice stone, or your fingers to loosen the bottom threads.
For a soft fray, pull a few vertical threads loose with tweezers. Keep the fray uneven but controlled. A perfectly straight fringe can look stiff, while a wildly uneven hem can look unfinished. Aim for relaxed, not ravaged. After washing, the hem will fray more, so stop before it looks complete. The laundry cycle will do some of the styling for you.
Step 8: Wash to Bloom the Fray
After distressing, wash the jeans to soften the edges and help the threads bloom. Turn them inside out, use cold water, and wash with similar colors. If you want to protect your washing machine from loose threads, place the jeans in a mesh laundry bag. Air drying is gentler, but a short low-heat tumble can make frays look fluffier. Always check the care label before drying.
When the jeans come out, inspect the distressed areas. Some threads may loosen more than expected. Trim only the extra-long pieces that look messy. Do not cut every thread, or the jeans may lose the soft, authentic effect you worked so carefully to create.
Step 9: Style and Maintain Your Distressed Jeans
Once your jeans are finished, style them with simple pieces so the distressing feels intentional. A white T-shirt, structured blazer, sneakers, boots, or a tucked button-down can balance the rugged texture. If the jeans are heavily distressed, keep the rest of the outfit clean. If the distressing is subtle, you can play more with layers, prints, or accessories.
To maintain the look, wash distressed jeans less often than everyday basics unless they are dirty. Spot clean when possible, turn them inside out before washing, and avoid harsh detergents. Over time, rips may grow. If you want to stop a rip from expanding, reinforce the inside with a small denim patch, hand stitching, or fabric mending tape.
Where Distressing Looks Best
The most natural places to distress jeans are areas that would wear down in real life. Knees crease when you walk and sit. Hems drag slightly against shoes. Pocket corners rub against hands, phones, keys, and general daily chaos. Thighs can fade from movement. These areas make sense visually, which is why they look stylish when distressed.
Avoid placing large rips too high on the thigh or too close to major seams. The fabric may weaken quickly, and the placement can become uncomfortable. Also avoid distressing heavily around the seat of the jeans unless you are aiming for a very bold look. Some fashion risks are exciting; others are just one awkward chair away from disaster.
Common Mistakes to Avoid
Doing Too Much Too Fast
The number one mistake is rushing. Distressing should be built gradually. You can always add more fading, more fray, and more texture, but you cannot magically restore fibers once they are gone. Start small and check your progress often.
Making Symmetrical Rips
Perfect symmetry can look artificial. Real denim wears unevenly. Make one knee slightly more distressed than the other, vary pocket wear, and keep the marks organic. The best distressed jeans look accidental, even when you planned every inch.
Ignoring Fabric Type
Thick cotton denim can handle more abrasion. Thin stretch denim needs a gentler touch. Black denim may show gray fuzz rather than bright white threads. Light-wash jeans can look naturally distressed faster because the contrast is lower. Match your technique to the fabric.
Skipping the Wash Test
Distressed jeans change after washing. Frays open, edges soften, and loose threads appear. That is why it is smart to distress less than you think you need before the first wash. Let the fabric finish the job.
How to Make Distressed Jeans Look Expensive
The difference between stylish distressed jeans and messy ripped jeans is restraint. Expensive-looking distressing has variation: a faded patch here, a small fray there, a soft hem, a little pocket wear. It does not rely on one giant hole to do all the talking.
Use layering. Create a faded base with abrasion, then add thread work with tweezers, then wash. Keep some white threads intact across larger distressed areas. Trim only the most chaotic loose strands. When in doubt, pause for a day and look again. Fresh eyes are excellent editors, especially when denim dust has made you overconfident.
Experience Notes: What Actually Works When Distressing Jeans at Home
The first thing most people learn when distressing jeans is that denim has a personality. Some pairs cooperate immediately. Others behave like they signed a contract to remain indestructible until the end of time. Older jeans are usually easier to distress because the fibers have already softened through wear and washing. Brand-new jeans can still work, but they often need more patience and lighter pressure.
One helpful experience is to practice on the inside hem or a hidden pocket edge before touching the front of the jeans. This tiny test shows how the denim reacts. If it fuzzes quickly, use a lighter hand. If it barely changes, you can apply more abrasion or spend more time building texture. A test patch may not sound glamorous, but it is much better than discovering your jeans are delicate after creating a dramatic knee hole the size of a sandwich.
Another lesson: the mirror matters. Jeans look different on the body than they do flat on a table. A knee mark can shift upward when you sit. A thigh fade can look too centered once you walk. Before committing to visible distressing, wear the jeans and mark the areas while standing naturally. Then sit down and check again. This small step makes the final result look custom instead of random.
Washing is also more powerful than beginners expect. A distressed area that looks slightly fuzzy before washing may look perfectly frayed afterward. A hole that looks “almost right” before washing may become too large after one laundry cycle. That is why experienced DIY denim fans usually stop early. The wash, rinse, and dry process adds movement, softens edges, and shakes loose threads into place.
For the most wearable result, combine different levels of distressing. Try one main knee detail, light pocket-edge fading, and a soft hem. This creates visual balance. If every part of the jeans is distressed equally, the eye has nowhere to rest. Good denim distressing is like good editing: remove enough to create character, but not so much that the whole story falls apart.
Finally, remember that imperfect is the point. Distressed jeans should not look as if they were designed by a spreadsheet. A little unevenness makes them charming. The best pair will feel like something you have owned for years, even if you made it on a Saturday afternoon with chalk, cardboard, sandpaper, and a surprising amount of denim lint on the floor.
Conclusion
Distressing jeans at home is one of the easiest ways to refresh denim without buying a new pair. The key is to work slowly, choose natural wear areas, protect the back layer of the fabric, and build texture in stages. Whether you want a subtle vintage fade or bold ripped knees, the best results come from patience rather than force.
When people search for how to distress jeans with a razor, they usually want a thin, feathered, worn-in finish. You can achieve that look safely with controlled abrasion tools, careful marking, and a final wash to soften the fray. Start with jeans you can experiment on, keep the distressing balanced, and let the denim guide you. With the right approach, your plain jeans can become a custom pair that looks cool, personal, and far more expensive than the supplies used to make them.
