
Skincare
How to Bag Groceries: 11 Steps
Aug
Bagging groceries looks easy until a watermelon rolls over your bread, a bottle of dish soap introduces itself to the lettuce, and a carton of eggs reaches the parking lot with fewer intact members than groceries properly is not just about fitting everything into the fewest possible bags. Good grocery packing protects delicate food, reduces leaks, limits cross-contamination, keeps refrigerated products colder, and makes the bags easier to carry. It can even simplify unloading because items destined for the refrigerator, freezer, pantry, or bathroom are already grouped together.
The basic strategy is simple: create a stable base, separate incompatible products, distribute weight evenly, and reserve the safest positions for fragile items. Whether you use paper bags, plastic bags, reusable totes, insulated carriers, or a combination of all four, the following 11 steps will help your groceries survive the journey home in the condition you intended to eat them.
Why Proper Grocery Bagging Matters
A poorly packed grocery bag can create more than an inconvenience. Raw meat juices may leak onto produce or ready-to-eat food. Frozen products can thaw faster when scattered among room-temperature items. Heavy cans can crush tomatoes, chips, bread, and other delicate purchases. An overloaded bag can also tear or become difficult to lift safely.
Proper bagging solves these problems by treating every bag like a small construction project. Heavy, stable items form the foundation. Medium-weight packages fill the center. Lightweight and fragile groceries occupy the top. Products that could leak, contaminate, melt, or crush something else receive their own protected space.
Before You Begin: Prepare the Checkout Area
Efficient grocery packing begins before the first item enters a bag. As you unload your cart onto the conveyor belt, place similar items together. Send canned goods and jars first, followed by boxes, refrigerated foods, frozen products, produce, raw proteins, household supplies, and fragile items.
This checkout organization gives you or the store employee a logical packing sequence. It is much easier to keep cold groceries together when yogurt, cheese, and milk arrive beside one another instead of being separated by cereal, shampoo, and a decorative houseplant you absolutely did not plan to buy.
Open reusable bags before packing begins and place insulated totes where they are easy to reach. Inspect each bag for moisture, food residue, weak handles, or damaged seams. A bag that looks ready to retire should not be trusted with a gallon of milk and six glass jars.
How to Bag Groceries in 11 Steps
-
Step 1: Choose the Right Bag for Each Job
Match the bag to the groceries rather than forcing every purchase into the same type of container. Strong reusable totes work well for cans, jars, bottles, and boxed pantry products. Paper bags provide structure but may weaken when exposed to moisture. Lightweight plastic bags are useful for bulky, low-weight items but should not be overloaded.
Use an insulated grocery bag for frozen food, dairy products, meat, seafood, and other perishables when the trip home will be lengthy or the weather is hot. Keep a smaller washable tote available for produce and another designated bag for raw proteins.
-
Step 2: Sort Groceries into Compatible Groups
Before packing, divide purchases into practical categories: pantry items, refrigerated foods, frozen foods, produce, raw meat, fragile products, and household chemicals. Grouping similar groceries prevents undesirable combinations and makes unpacking much faster.
Think about where each product will go at home. Cereal, pasta, rice, and canned vegetables can share a pantry bag. Yogurt, cheese, butter, and deli products belong together in a refrigerated bag. This destination-based approach helps cold food stay cold and keeps you from discovering ice cream beneath the bathroom tissue twenty minutes after arriving home.
-
Step 3: Build a Stable Base with Heavy Items
Start each bag with sturdy, flat-bottomed groceries. Cans, jars, flour, sugar, rice, beverage bottles, and firm boxes can create a stable foundation. Stand tall containers upright whenever possible, especially products with lids that could loosen or leak.
Do not pile every heavy product into one heroic bag. Spread dense items across several bags so each one remains manageable. Two moderately weighted bags are usually safer and easier to carry than one tote that feels as though it contains construction materials.
-
Step 4: Distribute Weight Evenly
Balance matters both within individual bags and across the entire grocery order. Place weight near the center of a tote so it does not lean or swing while being carried. Pair a few heavy products with lighter boxes rather than filling an entire bag with canned goods.
Consider the person who will carry the groceries. Smaller bags may be better for children, older adults, or anyone with limited grip strength. Bags should be comfortably liftable without straining the handles, tearing the bottom, or requiring an Olympic warm-up in the parking lot.
-
Step 5: Isolate Raw Meat, Poultry, and Seafood
Raw meat, chicken, turkey, fish, and seafood should be kept away from produce, bakery products, and ready-to-eat foods. Even sealed retail packaging can develop a small leak. Place raw proteins inside a separate protective bag before putting them into a washable grocery tote.
Do not pack raw chicken beside apples, salad greens, cheese, or bread. Give these products a designated bag, keep them upright, and avoid placing sharp packages nearby. After unpacking, clean the reusable tote according to its care instructions before using it again.
-
Step 6: Pack Cold and Frozen Foods Together
Grouping refrigerated and frozen groceries helps them remain cooler during transportation. Place frozen vegetables, ice cream, frozen meals, and other solidly frozen packages together. Refrigerated products such as milk, cheese, yogurt, and butter can occupy another bag or insulated section.
Shop for refrigerated and frozen foods near the end of the store visit whenever possible. After checkout, travel home without adding several unrelated errands. For a long drive, bicycle trip, or hot summer journey, use an insulated tote or cooler with a cold source.
-
Step 7: Protect Fruits and Vegetables
Produce varies dramatically in strength. Potatoes, onions, cabbage, squash, and firm citrus can tolerate more pressure than peaches, berries, tomatoes, fresh herbs, or leafy greens. Pack sturdy produce near the bottom or center and place tender items near the top.
Keep wet produce from soaking paper packages or cardboard boxes. Small reusable produce bags can contain loose items such as lemons, apples, green beans, and Brussels sprouts. Berries should remain upright in their containers, while leafy greens need enough space to avoid being compressed into accidental pesto.
-
Step 8: Give Eggs a Secure Position
Check that the carton is closed and that no eggs are cracked before leaving the store. Place the carton flat rather than on its side. The safest position is usually near the top of a stable bag, with no heavy products above it.
A firm box or flat package beneath the carton can provide support, but avoid placing eggs directly beside loose bottles or cans that may roll during transportation. When loading the car, keep the egg bag on a level surface where it will not slide, tip, or become the foundation for another bag.
-
Step 9: Place Bread and Other Fragile Items on Top
Bread, rolls, pastries, chips, crackers, tortillas, herbs, and delicate produce should enter the bag last. These products need room and should never support heavier groceries. When possible, place bakery items in a separate lightweight bag.
Do not assume a loaf of bread can safely fill a narrow gap between two large containers. The containers will shift, the bread will lose, and your sandwiches will spend the week looking strangely aerodynamic. Leave a little empty space rather than compressing delicate food.
-
Step 10: Separate Chemicals and Nonfood Products
Cleaning sprays, laundry products, soap, shampoo, automotive supplies, and other chemicals should not share a bag with food. Packaging can leak, caps can loosen, and strong fragrances may transfer to nearby groceries.
Place household products upright in a dedicated bag. Keep them away from raw meat bags as well as produce and pantry staples. If a chemical container appears damaged or damp, alert a store employee and replace it before checking out.
-
Step 11: Secure the Bags for Transportation
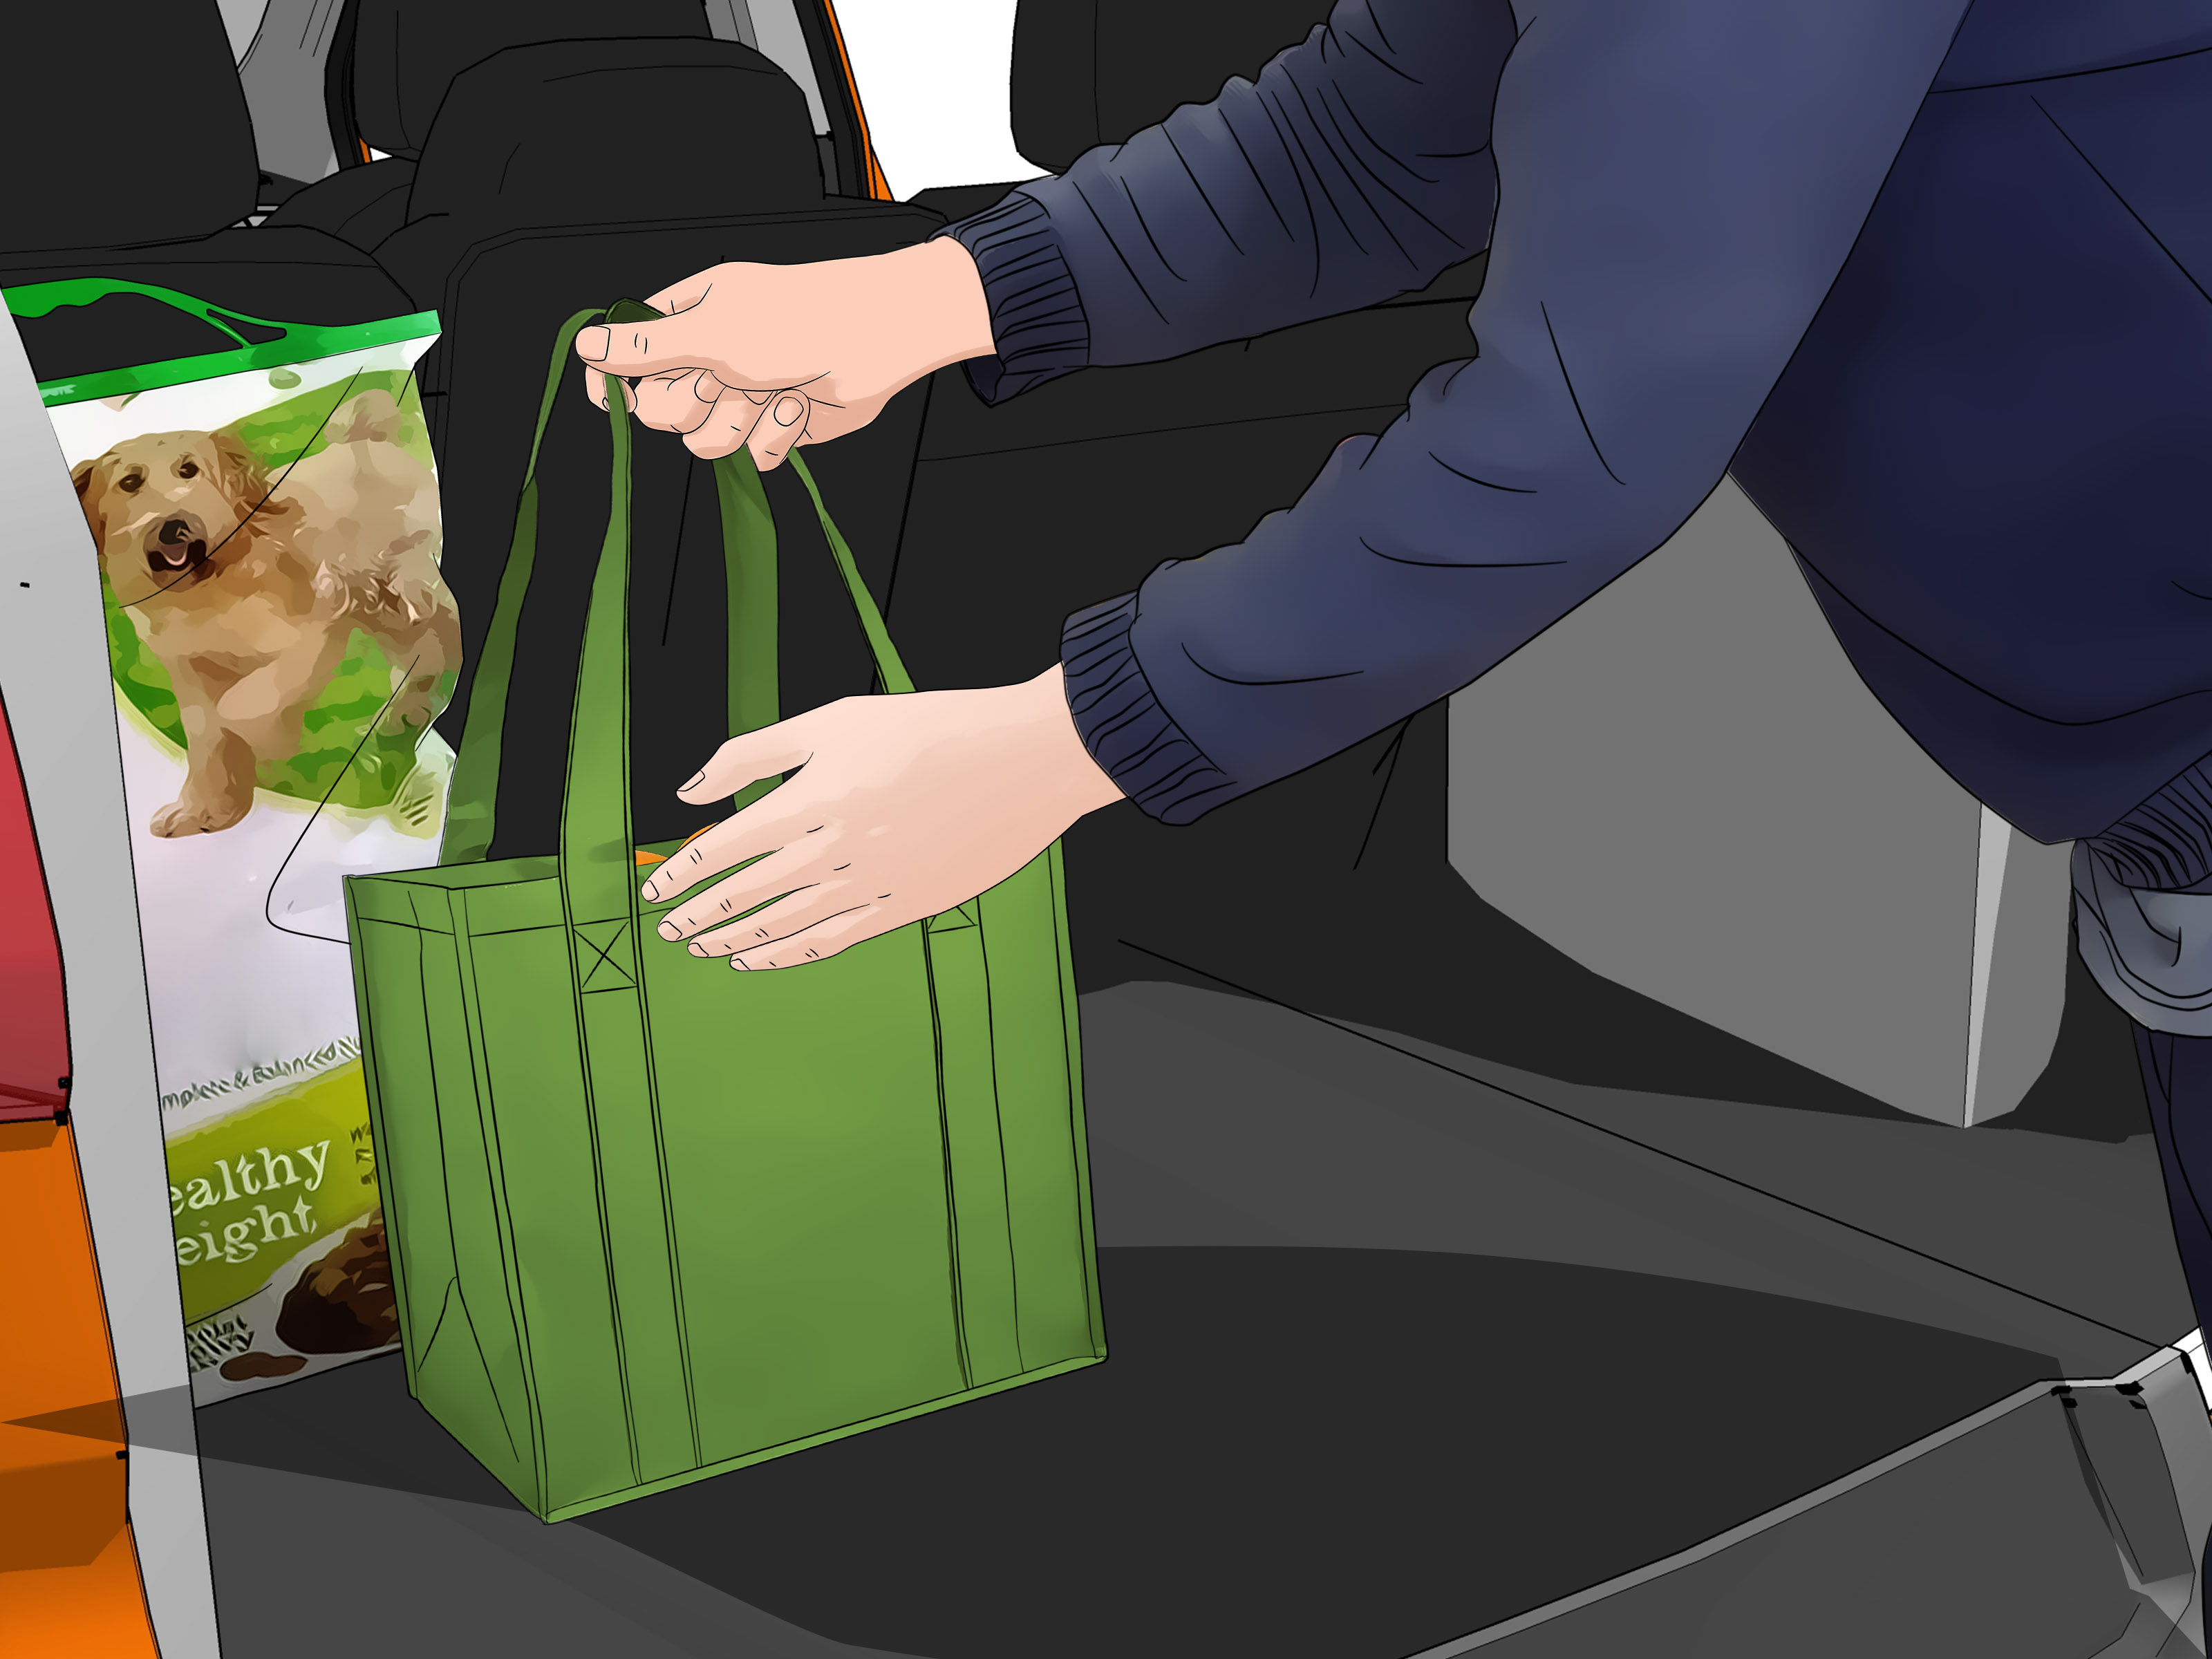
Good packing can still be undone by poor transportation. Place bags upright in the trunk, cargo area, wagon, bicycle basket, or shopping cart. Use a box, crate, or trunk organizer to stop them from sliding during turns and sudden stops.
Keep fragile bags separate from heavy totes. Do not place groceries in a hot vehicle longer than necessary, and unload refrigerated and frozen products first when you arrive home. Put raw meat away promptly, then unpack produce, pantry items, and household supplies.
Common Grocery Bagging Mistakes
-
Using too few bags: Saving one bag is not helpful when the overloaded replacement tears halfway across the parking lot.
-
Mixing raw proteins with ready-to-eat food: Raw meat and seafood require separation even when their original packaging appears secure.
-
Ignoring the trip home: Frozen food packed perfectly at checkout may still suffer during a long journey without insulation.
-
Placing bottles sideways: Upright bottles are generally more stable and less likely to leak around their caps.
-
Forgetting to clean reusable bags: Wash or wipe totes according to their materials and allow them to dry completely before storage.
-
Putting every fragile item in one crowded bag: Eggs, bread, berries, and chips may all be delicate, but they can still damage one another when packed too tightly.
A Simple Grocery Bagging Formula
When the checkout line is moving quickly, remember one compact formula:
Heavy on the bottom, medium in the middle, fragile on top, and risky products on their own.
This rule handles most everyday groceries. A bag might begin with two cereal boxes and a few cans, continue with packaged vegetables or snacks, and finish with bread. A separate tote can hold cold products, while raw meat and household chemicals remain isolated.
Efficiency develops with practice. Once you learn to organize the conveyor belt and recognize which groceries can safely travel together, bagging becomes quicker, calmer, and far less likely to produce tomato sauce before you intended to make any.
Conclusion
Knowing how to bag groceries is a small skill with surprisingly useful results. Proper packing protects food, reduces spills, limits contamination, balances heavy loads, and shortens the unloading process. The most important habits are to build stable foundations, avoid overloading bags, separate raw proteins and chemicals, group cold products, and place delicate groceries at the top.
You do not need a complicated system or professional bagging speed. Start by sorting the checkout belt, choose appropriate bags, and think about weight, temperature, and fragility before placing each item. Your groceries will arrive home safely, your reusable totes will last longer, and your bread will finally stop looking as though it lost an argument with a watermelon.
Experience Notes: What Real Grocery Runs Teach You
The fastest way to understand grocery bagging is to observe what happens when the basic rules are ignored. Consider a typical large weekly shopping trip. The cart contains canned tomatoes, pasta, yogurt, chicken breasts, apples, cleaning spray, eggs, sandwich bread, frozen vegetables, and a bag of chips. Without a plan, everything reaches the checkout in random order, forcing the bagger to make decisions while products continue moving down the belt.
The first practical lesson is that conveyor organization controls the rest of the process. When cans and boxes arrive together, they can immediately form stable pantry bags. Cold products can move directly into an insulated tote. Bread and eggs can wait until the heavy groceries are safely packed. A few seconds of sorting at the beginning may save several minutes of rearranging later.
Another common experience involves the overloaded reusable tote. Its owner is usually trying to reduce the number of trips from the car, which is understandable. Six cans, two jars, a bottle of juice, flour, and a watermelon enter the same bag. The handles survive checkout but begin protesting on the sidewalk. Dividing that weight between two bags would make both easier to lift and reduce the risk of torn seams.
Fragile produce provides equally memorable lessons. Tomatoes packed beneath apples may appear fine at first, but pressure during the drive can bruise or split them. Fresh herbs placed beside a cold, wet package may arrive flattened and damp. Giving these groceries a protected upper layer preserves their texture and appearance.
Raw chicken creates the most important separation lesson. Retail packaging can look completely sealed and still release a small amount of liquid. A secondary protective bag and a designated washable tote provide a useful barrier. That tote should not later become the bag used for bread or fresh produce unless it has been properly cleaned.
Transportation also changes the outcome. In a nearly empty trunk, upright bags may slide whenever the vehicle turns. Bottles tip, apples roll, and eggs experience an unwanted amusement-park ride. A small crate, cardboard box, or trunk organizer keeps the load stable. For shoppers traveling on foot or by bicycle, fewer well-balanced bags are usually more comfortable than several uneven ones.
Finally, experienced shoppers pack with unloading in mind. Refrigerator items go into one or two bags, frozen products stay together, pantry groceries share another tote, and bathroom supplies remain separate. At home, every bag has an obvious destination. Nothing perishable disappears beneath paper towels, and nobody finds melted ice cream while looking for toothpaste.
These experiences reveal that successful grocery bagging is less about speed than anticipation. Think one step ahead: what could leak, what could crush, what needs to stay cold, and what will be easiest to carry? Answer those questions as you pack, and the system becomes almost automatic.
SEO Metadata

