Hair Care
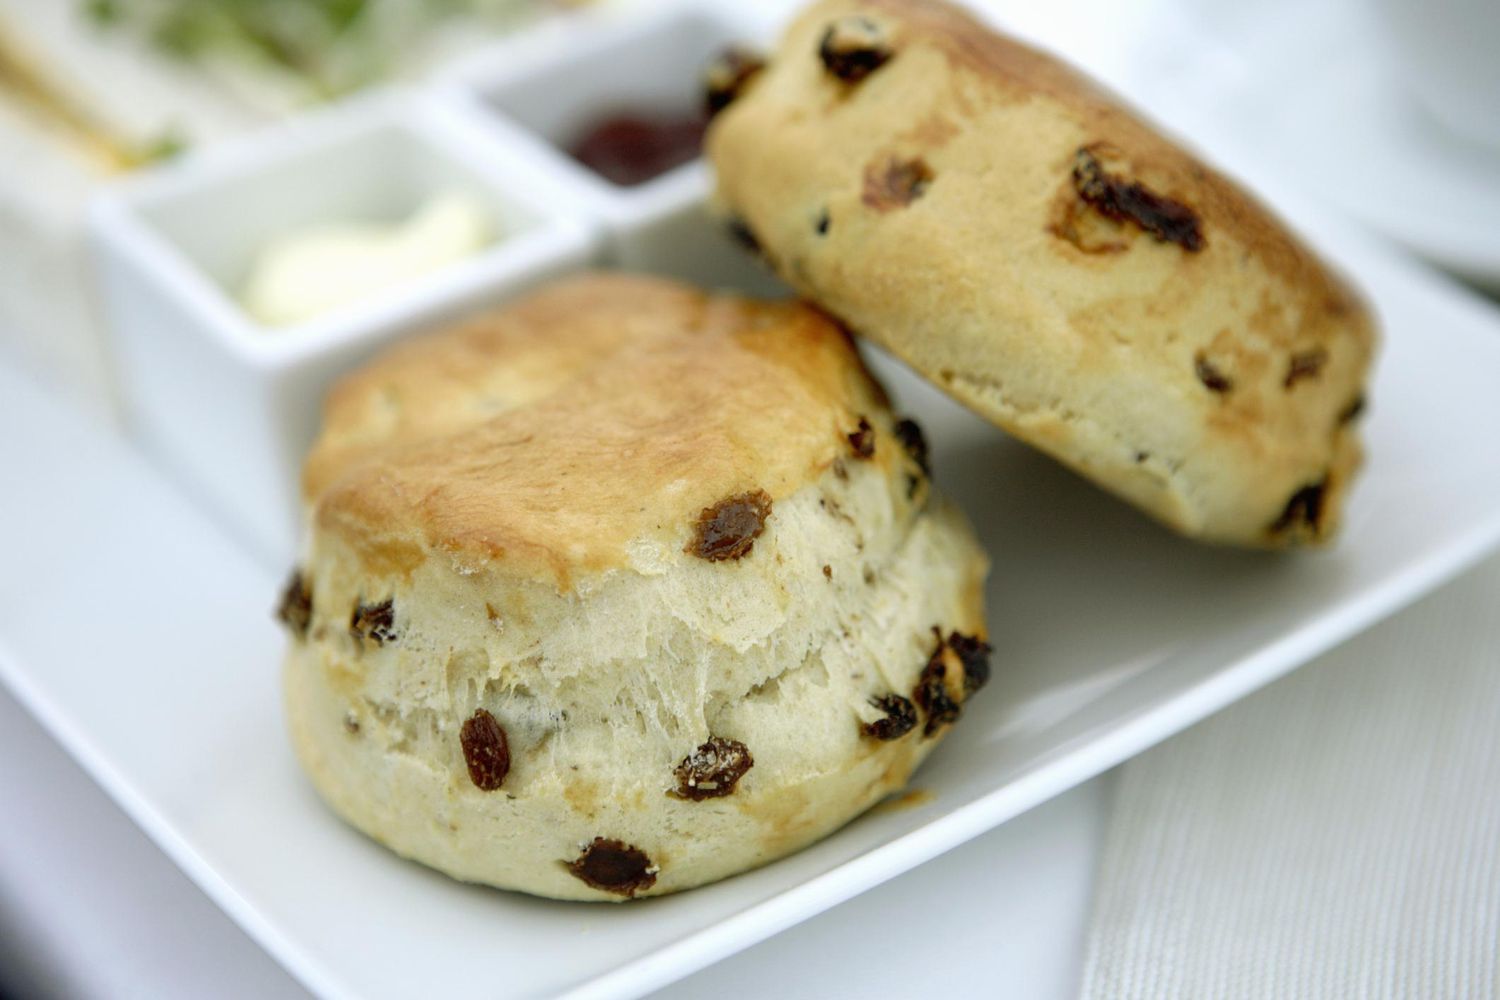
Easy Scones Recipe With Dried Currants
Jun
There are two kinds of people in the world: people who think scones are dry little breakfast bricks, and people who have eaten a good scone. This easy scones recipe with dried currants belongs proudly in the second group. It is buttery, tender, lightly sweet, and just fancy enough to make your kitchen feel like a cozy bakery without requiring you to speak in a British accent.
Classic currant scones are the kind of baked treat that looks elegant on a brunch table but is secretly simple to make. The dough comes together quickly with pantry staples: flour, sugar, baking powder, salt, cold butter, cream, egg, vanilla, and dried currants. No mixer is required. No complicated folding marathon. No mysterious pastry degree hiding behind the toaster.
The real trick is technique. Keep the butter cold, handle the dough gently, and do not bully it into submission. Scone dough is not pizza dough. It does not want a workout plan. Treat it kindly, and it rewards you with golden edges, soft centers, and little pops of sweet-tart currant flavor in every bite.
Why You’ll Love This Easy Currant Scone Recipe
This recipe is designed for home bakers who want reliable results without turning breakfast into a dramatic cooking show challenge. Dried currants bring a traditional flavor that is less sugary than chocolate chips and more elegant than raisins. They are tiny, chewy, and slightly tangy, which makes them ideal for buttery scones.
The texture lands right where a great American-style scone should be: tender inside, lightly crisp on the outside, rich but not heavy, sweet but not dessert-level sweet. It is perfect with coffee, tea, jam, honey butter, lemon curd, or a very reasonable amount of staring proudly at your baking sheet.
Ingredients for Easy Scones With Dried Currants
Dry Ingredients
- 2 cups all-purpose flour, plus more for shaping
- 1/3 cup granulated sugar
- 1 tablespoon baking powder
- 1/2 teaspoon fine sea salt
- 1/2 teaspoon finely grated lemon zest, optional
Cold Butter and Add-Ins
- 6 tablespoons unsalted butter, very cold and cut into small cubes
- 3/4 cup dried currants
Wet Ingredients
- 1 large egg
- 1/2 cup heavy cream, plus 1 tablespoon more if needed
- 1 teaspoon vanilla extract
- 1 tablespoon cream or milk for brushing the tops
- 1 tablespoon coarse sugar for sprinkling, optional
How to Make Easy Scones With Dried Currants
Step 1: Preheat the Oven
Preheat your oven to 400°F. Line a baking sheet with parchment paper. This keeps the bottoms from sticking and makes cleanup easier, which is important because nobody wants to scrub a pan after enjoying a warm scone. That is not the brunch lifestyle we signed up for.
Step 2: Mix the Dry Ingredients
In a large bowl, whisk together the flour, sugar, baking powder, salt, and lemon zest if using. Whisking matters because it evenly distributes the baking powder and salt. Uneven baking powder can create strange pockets of bitterness or uneven rise, and your scones deserve better.
Step 3: Cut in the Cold Butter
Add the cold butter cubes to the flour mixture. Use a pastry cutter, two forks, or your fingertips to work the butter into the flour until the mixture looks like coarse crumbs with some pea-size bits remaining. Those tiny butter pieces are the secret to flakiness. When they hit the hot oven, they release steam and help create a tender, layered texture.
Do not melt the butter. Do not soften the butter. Do not let the butter sit on the counter while you answer seven messages and contemplate life. Cold butter is the difference between a proud scone and a sad biscuit pancake.
Step 4: Add the Dried Currants
Stir the dried currants into the flour-butter mixture. If your currants feel very dry, you can soak them in hot water for 5 minutes, drain them well, and pat them dry before adding them. This little step gives extra chew and prevents the fruit from stealing moisture from the dough.
Step 5: Combine the Wet Ingredients
In a small bowl or measuring cup, whisk together the egg, heavy cream, and vanilla extract. Pour the wet mixture into the dry ingredients. Stir gently with a fork or spatula just until the dough begins to come together. It should look shaggy, not perfectly smooth.
If the dough seems too dry and there is flour sitting at the bottom of the bowl, add 1 tablespoon of cream. Resist the urge to flood it. Scone dough should be moist enough to hold together, but not sticky like cake batter.
Step 6: Shape the Dough
Turn the dough onto a lightly floured surface. Gently press it together with your hands, then pat it into a circle about 1 inch thick and 7 to 8 inches wide. Do not knead aggressively. A few light presses are enough. Overworking the dough develops gluten, which can make scones tough.
Cut the circle into 8 wedges using a sharp knife or bench scraper. For cleaner edges and better rise, cut straight down instead of sawing back and forth.
Step 7: Chill Before Baking
Place the wedges on the prepared baking sheet, leaving about 2 inches between them. Chill the tray in the refrigerator for 15 minutes. This short rest helps firm the butter again, giving the scones a better rise and a more tender texture.
Step 8: Brush, Sprinkle, and Bake
Brush the tops with cream or milk. Sprinkle with coarse sugar if you want a sparkly, bakery-style finish. Bake for 16 to 20 minutes, or until the scones are golden on top and lightly browned around the edges.
Let them cool on the baking sheet for 5 minutes, then transfer to a wire rack. They are best served warm, when the butter aroma is still floating around the kitchen like a delicious little victory flag.
Tips for Tender, Flaky Scones
Use Very Cold Butter
Cold butter creates steam in the oven, which helps the dough puff and form a tender crumb. If your kitchen is warm, cube the butter and place it in the freezer for 10 minutes before using. You can also grate frozen butter on a box grater, then toss it into the flour mixture.
Do Not Overmix the Dough
The number one scone mistake is overmixing. Once the liquid goes in, stir only until the dough holds together. A few floury patches are fine. A perfectly smooth dough may look nice, but it often bakes into something closer to a doorstop with currants.
Chill the Shaped Scones
Chilling is optional in theory but very helpful in real life. It helps the butter stay cold, improves shape, and gives the baking powder a better environment to do its job. Think of it as a quick spa break for your dough.
Measure Flour Correctly
Too much flour makes dry scones. For best results, spoon flour into the measuring cup and level it with a knife. Do not scoop directly from the bag, because packed flour can sneak extra weight into the recipe. Flour is quiet, but it has tricks.
Flavor Variations
This dried currant scone recipe is flexible. Once you master the basic method, you can easily adjust the flavor without changing the structure of the dough.
- Lemon currant scones: Add 1 tablespoon lemon zest and finish with a lemon glaze.
- Orange currant scones: Use orange zest instead of lemon for a warmer citrus flavor.
- Spiced currant scones: Add 1/2 teaspoon cinnamon and a pinch of nutmeg.
- Nutty currant scones: Fold in 1/3 cup chopped toasted walnuts or pecans.
- Vanilla glaze: Mix powdered sugar, milk, and vanilla until smooth, then drizzle over cooled scones.
What to Serve With Currant Scones
Warm currant scones are excellent with salted butter, clotted cream, berry jam, marmalade, honey, or lemon curd. For drinks, pair them with black tea, Earl Grey, coffee, café au lait, or a cold glass of milk. They also work beautifully on a brunch board with fruit, yogurt, soft scrambled eggs, and crisp bacon.
If you want to keep things simple, serve them plain while still slightly warm. A good scone does not need a lot of decoration. It already knows who it is.
How to Store and Reheat Scones
Store cooled scones in an airtight container at room temperature for up to 2 days. For longer storage, freeze them. Wrap each scone tightly, place them in a freezer-safe bag, and freeze for up to 2 months.
To reheat room-temperature scones, place them in a 350°F oven for about 8 to 10 minutes. To reheat frozen scones, bake at 350°F for 12 to 15 minutes, or until warmed through. Avoid microwaving if possible, because it can make the texture soft and rubbery. The oven brings back the crisp edges and tender center.
Common Scone Problems and How to Fix Them
Why Are My Scones Dry?
Dry scones usually come from too much flour, not enough liquid, or overbaking. Measure flour gently, add a small splash of cream if the dough will not come together, and pull the scones from the oven when they are golden but not deeply browned.
Why Didn’t My Scones Rise?
Flat scones can happen when baking powder is old, butter is too warm, or dough is rolled too thin. Use fresh baking powder, keep everything cold, and shape the dough about 1 inch thick.
Why Are My Scones Tough?
Tough scones are usually overmixed or over-kneaded. Handle the dough like it is a tiny sleeping cat: gently, briefly, and with respect.
My Experience Making Easy Scones With Dried Currants
The first time I made currant scones at home, I expected them to behave like muffins. I mixed confidently, maybe too confidently, and ended up with scones that had the personality of office furniture. They were edible, technically, but they needed a heroic amount of jam. That baking session taught me the most important scone lesson: the less you fuss with the dough, the better it behaves.
Over time, I learned that scones are not difficult; they are just honest. They reveal exactly how you treated them. If the butter was cold, the dough was handled gently, and the oven was hot, they bake up beautifully. If you overmix, overwork, and overthink, they let you know. Loudly. In crumb form.
Dried currants became my favorite add-in because they distribute so evenly. Larger dried fruits can sometimes create big sweet pockets, but currants are small enough to appear in almost every bite. They bring a gentle tartness that balances the buttery richness of the dough. A plain cream scone is lovely, but a currant scone feels like it has put on a nice sweater and made weekend plans.
One experience that changed my scone game was chilling the shaped dough before baking. It seemed like a small step, and honestly, I used to skip it because patience and warm pastries are natural enemies. But that 15-minute chill made the scones taller, neater, and flakier. The butter stayed colder, the edges held their shape, and the tops browned more evenly. It is the kind of step that feels optional until you try it, then suddenly you become the person telling everyone, “Actually, you should chill the dough.” Congratulations, you are now that baker.
I also learned not to chase perfect-looking dough. Good scone dough looks a little rough. It should not be glossy, stretchy, or smooth like bread dough. When it looks slightly shaggy and barely together, that is usually a good sign. Press it into shape, cut it cleanly, and stop touching it. The oven will handle the rest. This is both baking advice and, strangely, decent life advice.
For serving, my favorite combination is a warm currant scone with salted butter and a spoonful of orange marmalade. The citrus plays beautifully with the currants, and the salt wakes up the buttery flavor. For a sweeter brunch version, a thin vanilla glaze works well, especially if you add lemon zest to the dough. But most of the time, I keep them simple. Fresh scones do not need much help. They are already doing the most in the best possible way.
The best part about this easy scones recipe is that it fits real life. You can make the dough before guests arrive, chill the wedges, and bake them when everyone starts hovering near the coffee. You can freeze unbaked scones for future breakfasts. You can bake a batch on a quiet morning and feel like you have accomplished something elegant before 10 a.m. That is powerful energy from flour, butter, and tiny dried fruit.
If you have been avoiding homemade scones because you worry they will turn out dry, start with this recipe. Keep the butter cold, be gentle with the dough, and trust the process. You do not need a bakery case, a rolling pin collection, or a dramatic apron. You just need a bowl, a baking sheet, and the confidence to stop mixing before your instincts tell you to. That is where the magic happens.
Conclusion
This easy scones recipe with dried currants proves that homemade scones can be simple, tender, and full of flavor. With cold butter, fresh baking powder, a gentle hand, and a short chill before baking, you can make bakery-style currant scones in your own kitchen. They are perfect for breakfast, brunch, afternoon tea, holidays, or any day when toast feels emotionally insufficient.
Dried currants add classic charm and a bright, fruity bite without overpowering the buttery dough. Serve the scones warm with butter, jam, marmalade, or lemon curd, and you have a treat that feels special without being fussy. In other words, these scones are easy enough for a weekday and impressive enough for guests who think you casually run a bed-and-breakfast.
