Beauty Tools & Accessories
How to Remove Efflorescence from Pavers: 8 Steps
May
If your beautiful patio, walkway, driveway, or pool deck suddenly looks like someone dusted it with powdered sugar, do not panic. Your pavers have not joined a baking competition. That white, chalky film is usually efflorescence, a common mineral deposit that appears when water moves through concrete, brick, stone, or masonry materials and brings salts to the surface.
The good news? Efflorescence on pavers is often cosmetic, not a structural disaster. The less-good news? If you attack it with the wrong cleaner, a steel brush, or a pressure washer set to “launch patio into orbit,” you can make the surface look worse. The trick is to remove the white haze carefully, solve moisture issues where possible, and avoid sealing the problem into the pavers forever like a tiny outdoor time capsule.
This guide explains how to remove efflorescence from pavers in 8 steps, what causes it, what not to do, and how to keep your hardscape looking clean without turning a simple weekend project into a backyard soap opera.
What Is Efflorescence on Pavers?
Efflorescence is a white or grayish powdery residue caused by soluble salts. These salts can come from the paver itself, the bedding sand, base materials, soil, or nearby masonry. When moisture travels through the material, it dissolves salts and carries them upward. Once the water evaporates, the salt stays behind on the surface, creating that cloudy, chalky appearance.
On concrete pavers, efflorescence is especially common in newer installations. The pavers are still “breathing,” weather is changing, and moisture may be moving through the base. In many cases, the haze fades naturally with time and rain. But if you want the surface ready for sealing, selling a home, hosting a barbecue, or simply not sighing every time you look outside, cleaning may be the better option.
Common Signs You Are Dealing with Efflorescence
Before you grab a cleaner, make sure the white marks are actually efflorescence. Other issues can look similar, including polymeric sand haze, hard-water deposits, sealer blush, lime runoff, mortar residue, or faded paver color.
Efflorescence usually looks like this:
- A white, gray, or chalky film on the surface of pavers
- Powdery residue that may brush off when dry
- Cloudy patches that often look less visible when wet
- More noticeable areas after rain, irrigation, or humid weather
- White buildup around joints, edges, or low-drainage spots
If the residue is sticky, shiny, plastic-like, or concentrated around sand joints, it may be polymeric sand haze instead. If it looks trapped under a glossy coating, you may be dealing with sealer issues. When in doubt, test a small hidden area first or ask a professional hardscape contractor. Guessing is fine for game night, not for chemistry on your patio.
Tools and Materials You May Need
You do not need a truck full of equipment to remove efflorescence from pavers, but you do need the right basics. Gather everything before starting so you are not wandering around mid-project with wet shoes and a confused garden hose.
- Stiff nylon brush or push broom
- Soft broom or leaf blower
- Garden hose with spray nozzle
- Paver-safe efflorescence cleaner
- Plastic watering can, pump sprayer, or low-pressure applicator
- Bucket for mixing, if the product label allows dilution
- Protective gloves and eye protection
- Old clothes and closed-toe shoes
- Plastic sheeting or water for protecting nearby plants
Avoid wire brushes because they can scratch pavers and leave metal particles that may rust. Also avoid random internet “recipes” that mix household chemicals. Pavers are tough, but they are not asking to star in a science fair volcano.
How to Remove Efflorescence from Pavers: 8 Steps
Step 1: Let New Pavers Cure and Breathe
If your pavers were installed recently, give them time. New concrete pavers often release salts during the early weathering period. Many hardscape professionals recommend waiting several weeks before using a dedicated efflorescence cleaner, unless the manufacturer says otherwise. This allows more salts to migrate out before you clean.
If you clean too early, the surface may look better for a moment, then the haze may return as more moisture draws salts upward. Think of it like wiping fog off a mirror while the hot shower is still running. You can do it, but the fog may say, “I’m back.”
Step 2: Choose a Dry, Mild Day
Timing matters. Clean pavers when the surface is dry, rain is not expected, and temperatures are moderate. A very hot surface can cause cleaners to dry too quickly, leaving streaks. A rainy day can dilute the product before it has a chance to work. A freezing day is simply your patio telling you to go back inside.
Early morning or late afternoon often works well, as long as the pavers are dry enough for the cleaner to reach the residue. Avoid windy conditions that may blow cleaner onto plants, windows, painted surfaces, or your neighbor’s prized lawn flamingo.
Step 3: Dry Brush the Surface First
Start with the least aggressive method: dry brushing. Use a stiff nylon brush or push broom to scrub the white powder from the paver surface. Sweep or blow away the loose residue afterward.
This step is important because some efflorescence can be removed mechanically before adding water. Since water is part of the process that brings salts to the surface, soaking the pavers immediately is not always the smartest first move. Dry brushing is simple, cheap, and surprisingly effective for light haze.
If the white film disappears after brushing, you may not need a cleaner at all. That is the best kind of home improvement project: the kind where your wallet remains calm.
Step 4: Rinse Lightly and Check the Result
After dry brushing, rinse the pavers gently with a garden hose. Use enough water to remove loose dust, but avoid blasting the joints. A pressure washer can remove joint sand, scar the paver surface, and push more water into the base if used carelessly.
Once rinsed, allow the pavers to dry. Efflorescence is often easier to evaluate when the surface is completely dry. Wet pavers may look clean because the water temporarily darkens the surface and hides the haze. Do not celebrate too early. Wait until the patio dries, then inspect it in natural light.
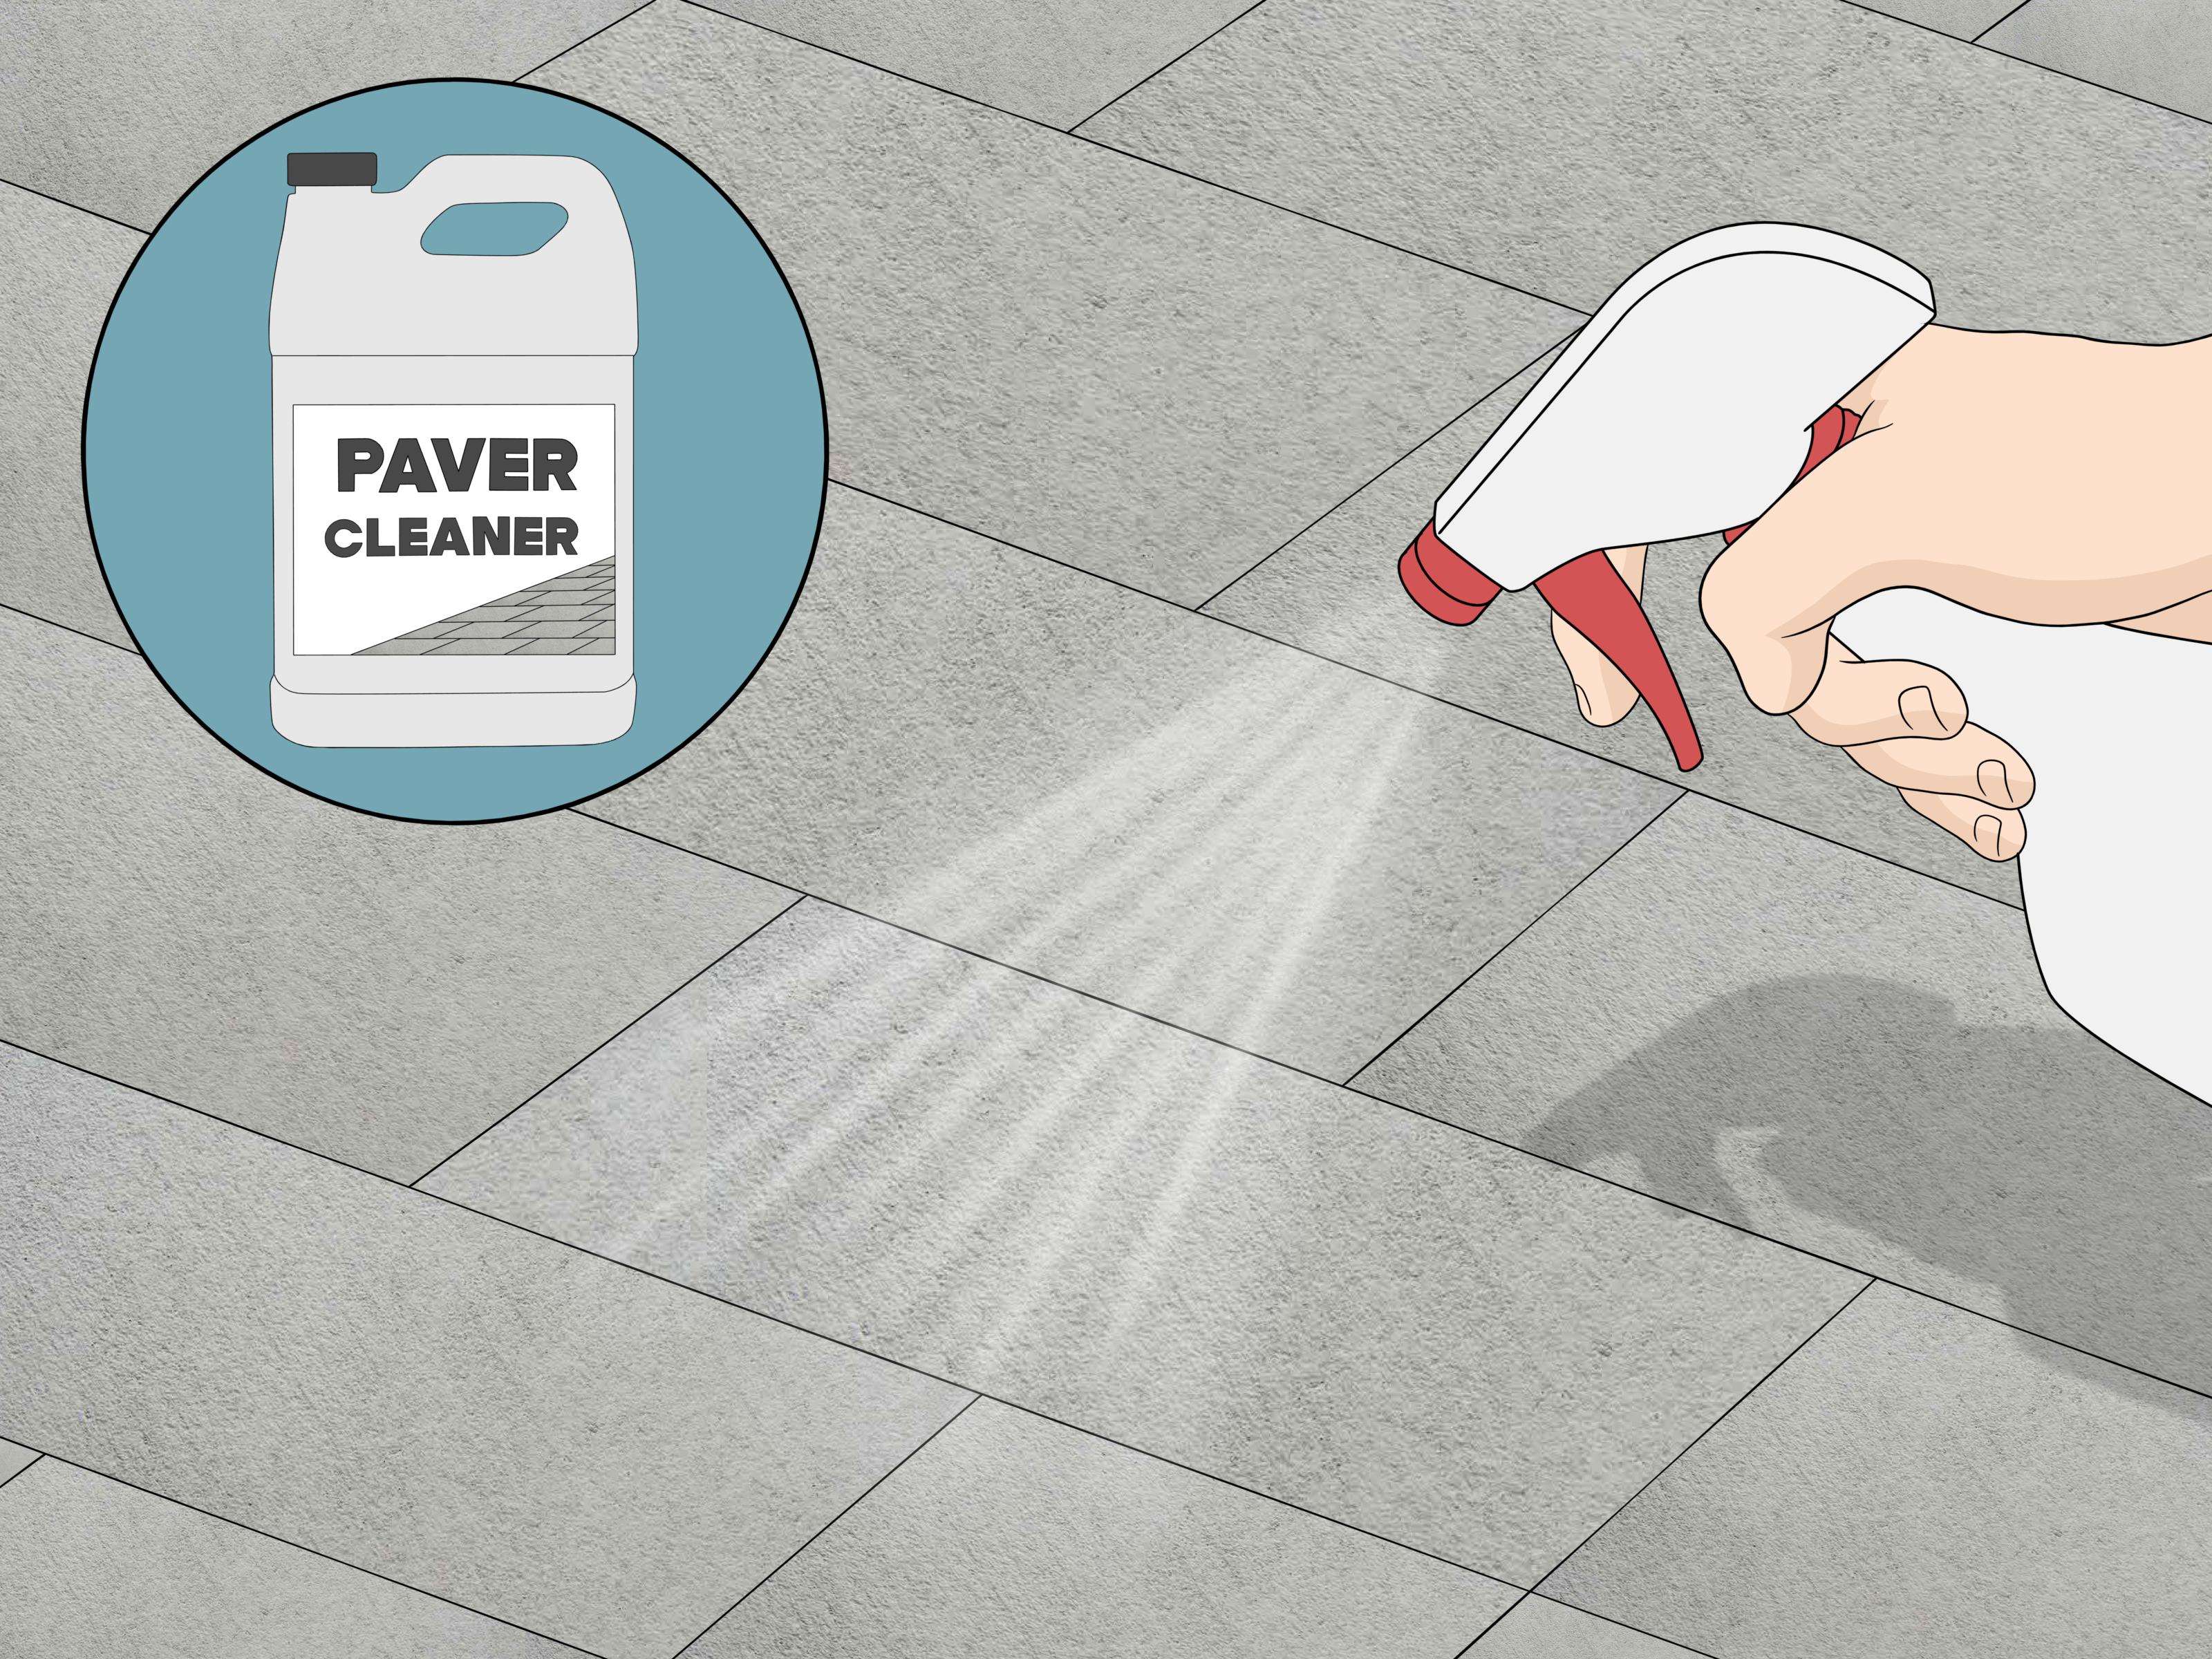
Step 5: Test a Paver-Safe Efflorescence Cleaner
If brushing and rinsing do not remove the haze, use a cleaner designed specifically for efflorescence on pavers, concrete, brick, or masonry. Choose a product made for your paver type, and read the label carefully. Some cleaners are mild acids, some are buffered formulas, and some are designed for pre-seal preparation. The correct product matters.
Always test the cleaner in a small, inconspicuous area first. This is especially important for dark pavers, wet-cast pavers, textured surfaces, natural stone, or colored concrete. Wait for the test spot to dry fully before deciding whether the cleaner is safe for the entire area.
Do not assume stronger is better. Overly aggressive cleaners can etch the surface, change the color, or leave an uneven haze. Your goal is to remove mineral deposits, not give your patio a chemical haircut.
Step 6: Apply the Cleaner and Scrub Gently
Follow the cleaner label exactly. If dilution is required, use the recommended ratio. If the label says to pre-wet surrounding areas, do it. If it says to keep the product off plants, glass, metal, or painted surfaces, take that seriously.
Apply the cleaner evenly using a low-pressure sprayer, watering can, or brush. Work in small sections so the product does not dry on the surface. Let it dwell only for the time recommended by the manufacturer, then scrub with a nylon brush. You may see light foaming or fizzing depending on the cleaner. That usually means the product is reacting with mineral deposits.
For stubborn spots, repeat the process rather than using a harsh tool or random chemical. Multiple careful passes are usually safer than one dramatic attack. Outdoor cleaning should not require a soundtrack from an action movie.
Step 7: Rinse Thoroughly Until No Cleaner Remains
Rinsing is not the boring part. It is the part that prevents streaks, residue, and future complaints from your pavers. Use a garden hose to rinse the section completely. Push rinse water away from the cleaned area, nearby grass, garden beds, and storm drains whenever possible.
Continue rinsing until the cleaner is fully removed and there is no foaming action left. If cleaner residue dries on the pavers, it may create a new film or discoloration. Let the area dry completely, then inspect the results.
Do not seal pavers immediately after cleaning unless the cleaner label and sealer instructions allow it. Many sealers require the surface to be fully clean and dry. Trapping moisture or residue under sealer can cause cloudy patches, whitening, peeling, or blotchy color.
Step 8: Prevent Efflorescence from Coming Back
Cleaning removes visible efflorescence, but prevention is about controlling moisture. If water keeps moving through the pavers, the white haze may return. Check the area for drainage problems, sprinklers hitting the surface, downspouts dumping water near the patio, low spots, or soil washing into the joints.
Make sure the paver surface slopes away from structures. Redirect irrigation heads. Keep joints filled with appropriate jointing sand. Remove leaves and debris that hold moisture. After the pavers are clean, dry, and stable, consider applying a breathable paver sealer recommended for your material. A good sealer can help reduce water absorption and staining, but it should never be used to hide active efflorescence.
What Not to Do When Removing Efflorescence
Efflorescence removal sounds simple, but a few wrong moves can turn a white haze into a permanent headache. Avoid these common mistakes.
Do Not Seal Over Efflorescence
Sealing over white residue can trap it beneath the coating. Once that happens, the fix may require stripping the sealer before cleaning the pavers. That is more work, more money, and more muttering under your breath.
Do Not Use a Wire Brush
Wire brushes can scratch pavers and leave metal fragments behind. Those fragments may rust later, creating orange stains. Congratulations, now you have two problems. Use nylon instead.
Do Not Overuse Pressure Washing
Pressure washers can be helpful in professional hands, but too much pressure can remove joint sand, roughen the paver face, and force extra moisture into the system. If you use one, keep pressure low, use a wide fan tip, and avoid blasting the joints.
Do Not Mix Cleaners
Never mix cleaning products. Combining chemicals can create unsafe reactions or damage surfaces. Use one product at a time, follow the label, and rinse thoroughly before trying anything else.
Why Efflorescence Returns After Cleaning
If efflorescence comes back after you clean it, the cleaning probably did not fail. More salts may still be migrating to the surface. This is common on newer pavers, shaded patios, damp areas, or installations with drainage issues.
Recurring efflorescence usually means moisture is still active. Look for causes such as poor slope, standing water, overwatering, clogged drains, soil contact, or downspouts. The cleaner handles the symptom; drainage fixes handle the source. It is a bit like cleaning muddy shoes while still standing in the mud. Eventually, you have to step somewhere dry.
Can Efflorescence Damage Pavers?
Most efflorescence on pavers is cosmetic. It affects appearance more than performance. However, recurring heavy deposits may be a clue that water is moving through the system more than it should. Moisture problems can contribute to joint erosion, weed growth, freeze-thaw stress in cold climates, and sealer failure.
So while a little white haze is usually not an emergency, it is worth paying attention to the pattern. A small patch on new pavers may fade naturally. A thick deposit that returns in the same wet corner every month deserves a closer look at drainage.
When to Call a Professional
Call a hardscape contractor or professional paver cleaning company if the pavers are sealed and cloudy, the surface is expensive natural stone, the haze may be polymeric sand residue, or the stains remain after careful cleaning. Professionals can identify whether the issue is efflorescence, sealer blush, hard-water staining, mortar residue, lime runoff, or another condition.
Professional help is also smart if the patio has drainage problems, sunken areas, loose edge restraints, or washed-out joints. Cleaning the surface will not fix structural movement underneath. A good contractor can correct the base or drainage issue before you spend money cleaning the same white patch again and again.
Best Practices for Long-Term Paver Care
Once the efflorescence is gone, keep your pavers on a simple maintenance routine. Sweep regularly, rinse off dirt, remove leaves before they stain, clean spills quickly, and avoid harsh deicing salts when possible. Keep sprinklers aimed at plants, not the patio. Check that water drains away after storms.
If you decide to seal the pavers, wait until they are clean and fully dry. Choose a breathable sealer made for your paver type, and follow the manufacturer’s instructions. Sealing can improve stain resistance and color appearance, but it is not magic armor. Moisture management still matters.
Experience Notes: What Actually Happens When Homeowners Clean Efflorescence
In real life, removing efflorescence from pavers rarely feels as neat as a product label. The surface may look perfect when wet, then dry with a faint haze. One section may clean beautifully while another patch refuses to cooperate like it has a personal grudge. This is normal. Pavers are exposed to rain, soil, sun, shade, irrigation, foot traffic, and whatever mysterious substance dripped from the grill last summer.
One common experience is the “new patio surprise.” A homeowner installs dark gray or charcoal pavers, loves the crisp modern look, and then a few weeks later notices white dusting across the surface. Dark pavers make efflorescence more visible, just like black shirts make lint more dramatic. The best response is patience first, then gentle cleaning. Many new installations release salts over time, so cleaning too aggressively in the first month can lead to repeat work.
Another common situation is the “almost ready to seal” panic. The patio looks good, the sealer is purchased, and then white haze appears around the joints. This is exactly when homeowners should slow down. Sealing over efflorescence can lock the haze under the coating. The better move is to clean, rinse, let the pavers dry completely, and inspect again before applying any sealer.
People also underestimate rinsing. They scrub carefully, use the right cleaner, and then give the area a quick splash with the hose. Later, streaks appear. The cleaner did its job, but leftover residue dried on the surface. A thorough rinse is not optional. Work from high areas to low areas and move rinse water away from cleaned sections.
Homeowners with sprinklers often discover that efflorescence is worse where irrigation hits the pavers every morning. That constant moisture keeps feeding the cycle. Adjusting sprinkler heads can make a bigger difference than buying a stronger cleaner. The same is true for downspouts. If roof water empties onto the walkway, the pavers may keep producing deposits no matter how often they are cleaned.
Another lesson: not every white haze is efflorescence. Polymeric sand haze can cling differently and may require a different product. Sealer blush can look cloudy and may need sealer-specific repair. Hard-water deposits near pools or fountains can resemble efflorescence but come from mineral-heavy water. Testing and identification save time.
The best results usually come from a calm, staged approach: dry brush, rinse, test cleaner, clean small sections, rinse thoroughly, dry fully, inspect, and repeat only if needed. It is not glamorous, but neither is explaining to guests why your patio looks like it fought a bag of flour and lost.
Conclusion
Efflorescence on pavers is common, frustrating, and usually fixable. The key is understanding that the white film comes from mineral salts carried by moisture. Start gently with dry brushing and light rinsing. If the haze remains, use a paver-safe efflorescence cleaner, test it first, scrub with a nylon brush, and rinse thoroughly. After cleaning, focus on drainage, irrigation, and proper sealing practices to reduce the chance of recurrence.
Most importantly, do not rush to seal, do not use harsh tools, and do not treat every white mark the same way. With the right method, your pavers can go from chalky and tired to clean, colorful, and ready for backyard compliments again.
