
Beauty Unlocked
Easy Ways to Install Track Lighting: 14 Steps
Jul
Track lighting is the Swiss Army knife of home lighting. It can brighten a kitchen island, spotlight artwork, rescue a gloomy hallway, or make a home office look less like a cave where Wi-Fi goes to retire. Even better, many track lighting kits are designed to connect to an existing ceiling electrical box, which makes the project more approachable than cutting half the ceiling open and whispering apologies to your drywall.
That said, installing track lighting is still electrical work. The fun part is choosing sleek fixtures and aiming the heads like a movie director. The serious part is turning off the power, following local electrical code, using compatible parts, and knowing when to call a licensed electrician. If your wiring is old, damaged, ungrounded, confusing, or powered by what appears to be pure mystery, stop and get professional help. No light fixture is worth turning yourself into a cautionary tale.
This guide explains easy ways to install track lighting in 14 practical steps, from planning your layout to adjusting the light heads after installation. It is written for homeowners who want a clear, friendly overview of the process using an existing switch-controlled ceiling box. Always follow the manufacturer’s instructions for your specific kit and your local permit requirements.
Why Track Lighting Is a Smart Upgrade
Track lighting gives you flexibility that a single flush-mount fixture cannot. Instead of one bulb shining heroically in all directions, a track system lets you place multiple heads along a rail and point them where light is actually needed. That means you can create task lighting over a counter, accent lighting on a gallery wall, or general lighting across a living room without installing several separate fixtures.
Modern LED track lighting is especially popular because it can provide strong light while using less energy than older incandescent or halogen options. Many systems also allow you to swap or reposition heads later, which is helpful when your furniture arrangement changes for the fifth time because “the sofa just feels better over there.”
Before You Start: Safety, Tools, and Planning
Understand What This Project Involves
Most DIY-friendly track lighting installations use an existing ceiling electrical box that is already controlled by a wall switch. The track attaches to the ceiling, a feed connector brings power from the box to the track, and the light heads twist or lock into place. If your project requires running new cable, adding a wall switch, relocating wiring, or working inside the electrical panel, hire a licensed electrician.
Tools and Materials You May Need
Common tools include a ladder, screwdriver, drill, measuring tape, pencil, voltage tester, wire stripper, pliers, safety glasses, and possibly a hacksaw if the track can be cut to size. Materials may include the track lighting kit, compatible track heads, bulbs or integrated LED heads, wire connectors, mounting screws, toggle bolts or anchors, and a ceiling canopy or floating feed connector. Do not mix random track parts unless the manufacturer confirms they are compatible. Track lighting systems often use specific track types, and “close enough” is not a wiring strategy.
Easy Ways to Install Track Lighting: 14 Steps
1. Choose the Right Location
Start by deciding what the track lighting should do. In a kitchen, you may want light over prep zones, the sink, or a breakfast bar. In a living room, you might aim the lights toward art, bookshelves, plants, or architectural details. In a hallway, you may want even illumination without glare. Track lighting is usually strongest as task or accent lighting, so place it where adjustable beams will be useful.
A good rule of thumb for many standard rooms is to keep the track roughly 18 to 36 inches from the wall when highlighting artwork or wall features. Higher ceilings may require the track to sit farther out. The goal is to wash the subject with light, not blast it like an interrogation scene in a detective show.
2. Check the Existing Electrical Box
Look at the ceiling box where the old fixture is installed. The box should be secure, accessible, and suitable for a light fixture. If it is loose, cracked, overloaded with wires, missing a grounding path, or buried in a way that makes access difficult, pause the project and call an electrician. The electrical box is not just a convenient hole in the ceiling; it is part of the safety system.
3. Select a Compatible Track Lighting Kit
Choose a kit that fits your room size, style, and lighting needs. Straight track kits are simple and clean. Flexible track can curve around design features. Connector kits can create L-shapes, T-shapes, or longer runs. Make sure all heads, connectors, feeds, and accessories are designed for the same system. Also check whether the kit is line-voltage or low-voltage, whether it uses replaceable bulbs or integrated LEDs, and whether it is dimmer compatible if you plan to use a dimmer switch.
4. Read the Manufacturer’s Instructions
Yes, this is the step everyone wants to skip. Do not skip it. Track lighting systems can vary in how the feed connector mounts, how the heads lock into the rail, what anchors are required, and whether the track can be cut. The instructions also list bulb wattage limits, compatible dimmers, grounding requirements, and installation warnings. Consider this the part where the fixture tells you how not to annoy it.
5. Turn Off Power at the Breaker
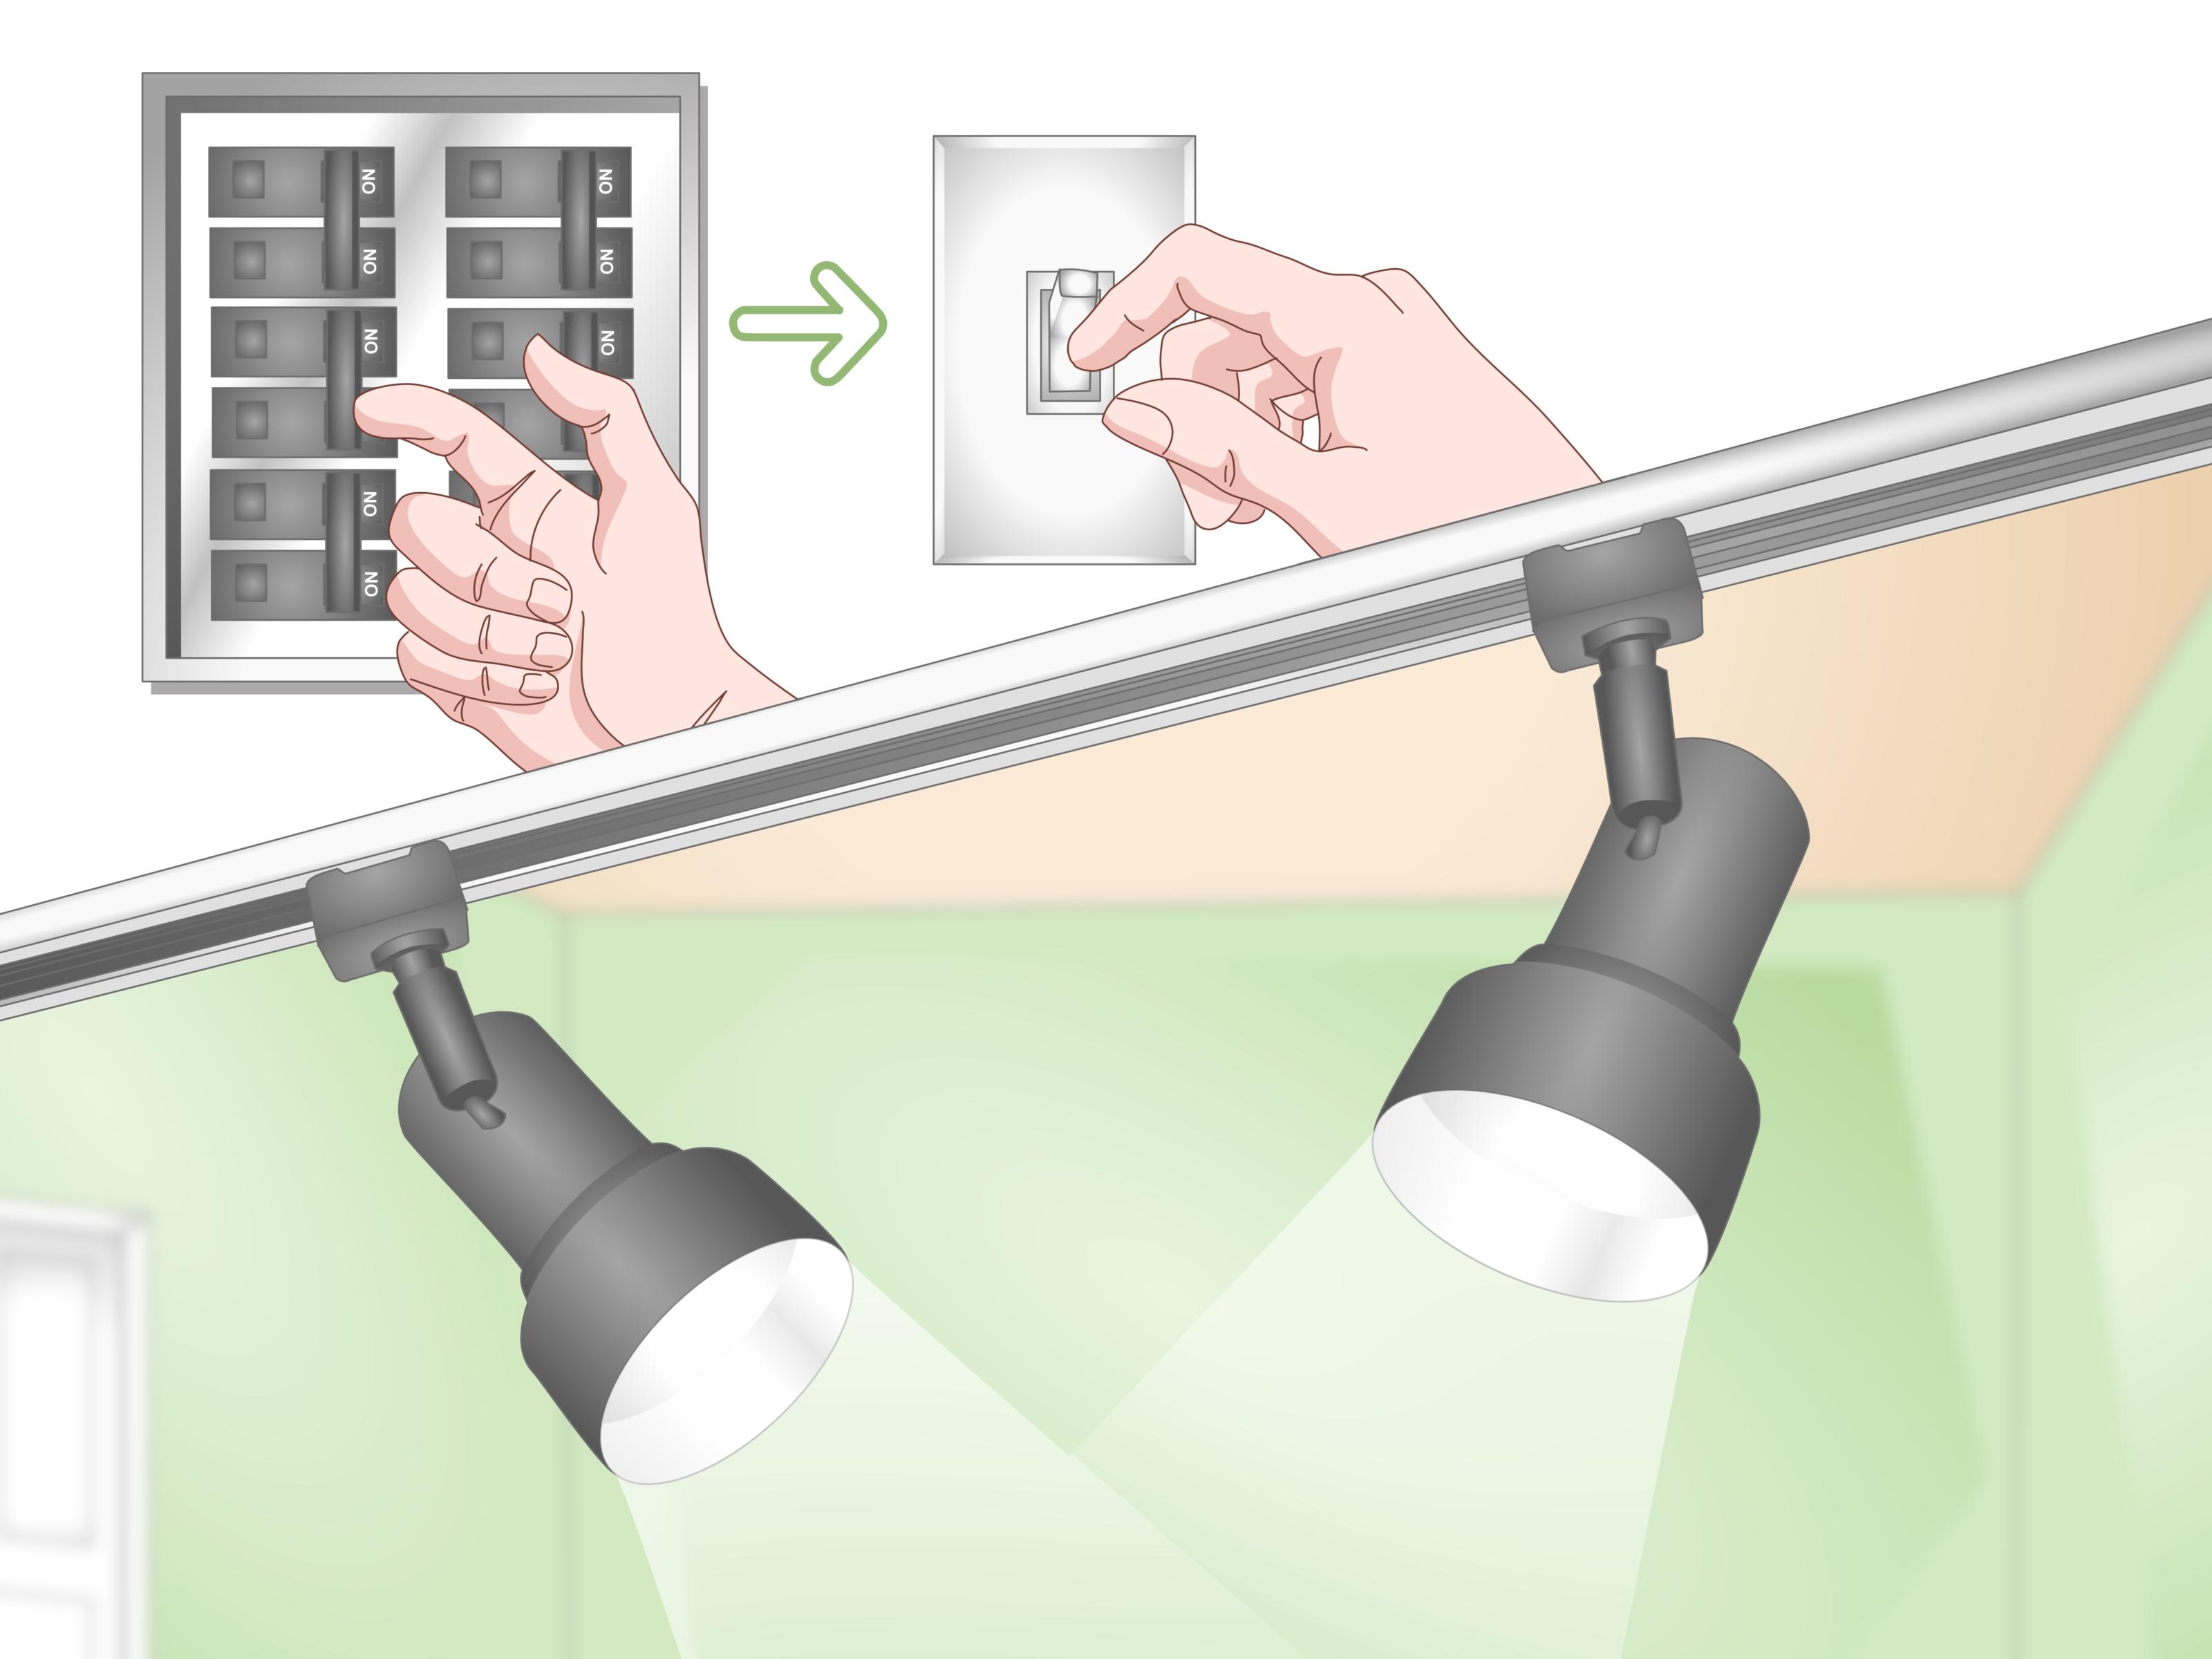
Before touching the old fixture, turn off power at the circuit breaker. Do not rely only on the wall switch, because switches can be miswired or accidentally flipped on while you work. Place a note on the panel if other people are home. Something simple like “Do not turn onlighting work in progress” is better than yelling through the house while standing on a ladder.
6. Confirm the Power Is Off
Use a voltage tester to confirm there is no power at the fixture wires before you handle them. Test the voltage tester on a known live source first so you know it is working, then test the wires in the ceiling box. If anything still reads live, stop. Electrical work should never become a guessing game.
7. Remove the Old Fixture
Carefully remove the existing light fixture according to its design. Usually, this means removing the shade or cover, unscrewing the fixture base, and lowering it enough to access the wire connections. Support the fixture while disconnecting it so it does not hang by the wires. Remove wire connectors and separate the fixture wires from the house wires. If the wiring looks brittle, scorched, damaged, or confusing, bring in a professional.
8. Lay Out the Track on the Ceiling
Hold the track or a paper template against the ceiling and mark the position lightly with a pencil. Make sure the feed end aligns properly with the electrical box or feed connector. Use a measuring tape to keep the track straight and balanced in the room. Step back and look at the layout from different angles. Track lighting that is slightly crooked may still work, but it will quietly bother you every time you sit down with coffee.
9. Mark Mounting Holes
Mark the mounting holes through the track. Some holes may line up with ceiling joists, which is ideal because screws can bite into solid framing. Other holes may require toggle bolts or suitable anchors. Follow the kit instructions for spacing and hardware. Track lighting needs firm support along its length, especially if you plan to use several heads or pendant adapters.
10. Install Anchors or Toggle Bolts
Drill pilot holes where needed and install the proper anchors. If using toggle bolts, insert them through the track mounting holes as directed before placing the track against the ceiling. Use care when drilling so you do not damage hidden wiring or other materials above the ceiling. If you are unsure what is above the ceiling surface, stop and investigate safely.
11. Attach the Feed Connector
The feed connector is the part that transfers power from the electrical box to the track. Depending on the system, this may be a canopy feed, floating feed, or end feed. Position it according to the manufacturer’s instructions. Make sure the connector is seated correctly and that the track orientation matches the system design. Some track heads only fit one way because the track includes a hot side, neutral side, and grounding path.
12. Make the Electrical Connections Safely
Connect the track lighting wires to the house wires exactly as instructed by the manufacturer and according to local code. Typically, this involves connecting matching conductors and ensuring the ground connection is secure. Use approved wire connectors and keep all splices inside the electrical box or approved canopy area. Do not leave bare copper exposed outside connectors. Do not crowd the box. Do not improvise with tape and optimism.
If the home has older wiring without a clear grounding conductor, or if wire colors do not match modern expectations, call an electrician. Track lighting fixtures are often metal, and proper grounding is an important safety feature.
13. Fasten the Track to the Ceiling
Lift the track into place and tighten the mounting screws or toggle bolts gradually. Keep the rail straight as you work. Avoid overtightening, which can damage drywall, deform the track, or make the fixture sit unevenly. Once mounted, gently tug the track to confirm it feels secure. It should not wobble, sag, or behave like it is considering a dramatic exit.
14. Install the Heads, Restore Power, and Test
Attach the track heads according to the kit instructions. Many heads twist, slide, or lock into place. Install compatible bulbs if the heads are not integrated LED units, staying within the fixture’s wattage rating. Restore power at the breaker and turn on the wall switch. If the lights work, adjust each head to aim the light where you need it. If the breaker trips, the lights flicker, the fixture feels hot, or something smells unusual, turn the power off immediately and contact an electrician.
Track Lighting Placement Tips for Better Results
Use Layers, Not Just Brightness
The best lighting plans use layers: ambient light for general visibility, task light for work areas, and accent light for visual interest. Track lighting can help with all three, but it shines brightestpun fully intendedas task and accent lighting. For example, in a kitchen, use track heads to brighten counters while under-cabinet lighting handles close-up prep work. In a living room, combine track lighting with lamps so the space feels warm instead of showroom-bright.
Avoid Glare
Adjustable heads are wonderful until one points directly into your eyes while you are trying to watch TV. Aim track heads toward surfaces, art, counters, or walls rather than directly at seating areas. If glare is a problem, try wider beam spreads, frosted bulbs, lower lumen output, or a dimmer that is compatible with your lighting system.
Choose the Right Color Temperature
Warm white light, often around 2700K to 3000K, works well in living rooms, dining rooms, and bedrooms because it feels cozy. Neutral white, often around 3500K to 4000K, can work nicely in kitchens, offices, and workspaces. Very cool light may feel crisp, but in a home it can also make the room feel like a dentist’s lobby. Choose based on the mood and purpose of the room.
Pay Attention to Lumens
Lumens measure brightness. A small hallway may need only a few modest heads, while a kitchen or studio may require stronger output. Instead of buying the brightest bulbs available, think about the surfaces you want to illuminate. More light is not always better. Sometimes it is just louder.
Common Mistakes to Avoid
Mixing Incompatible Track Parts
Track lighting systems are not universally interchangeable. A head from one system may not fit or function safely on another. Stick with the same brand and track type unless the manufacturer specifically says otherwise.
Skipping the Voltage Test
Turning off the breaker is essential, but testing the wires is the confirmation. Never assume a circuit is dead just because the room got darker.
Overloading the Track
Every track system has electrical and physical limits. Too many heads, the wrong bulbs, or excessive wattage can create heat and safety problems. Follow the stated rating for the track, heads, bulbs, and circuit.
Using the Wrong Dimmer
Not every LED track light works with every dimmer. If you want dimming, choose dimmable LED heads or bulbs and a compatible LED-rated dimmer. Otherwise, you may get flickering, buzzing, or lights that behave like they are haunted.
Ignoring the Room’s Actual Use
A track that looks centered on the ceiling may not light the areas where people cook, read, work, or gather. Plan around real activities, not just geometry. Your ceiling does not need encouragement; your countertop does.
When to Call a Licensed Electrician
Call a licensed electrician if there is no existing ceiling box, if the wiring is old or ungrounded, if you need a new switch, if the breaker trips, if you see signs of overheating, or if your local code requires a permit and inspection. Also call a pro if you simply feel unsure. Confidence is useful in DIY. Overconfidence is how ceiling holes get named.
Extra Experience: Real-World Lessons for Installing Track Lighting
One of the most useful experiences with track lighting is learning that the layout matters more than the fixture style. A beautiful matte black track can still disappoint if every head points at the floor in random little circles. Before installing anything, stand in the room at different times of day and notice where shadows fall. In kitchens, people often install lighting too far behind the counter, which means their own body creates a shadow while chopping vegetables. Place the track so the light reaches the work surface from a helpful angle.
Another practical lesson is to test the look before making permanent marks. You can use painter’s tape on the ceiling to represent the track. Then place sticky notes on the walls or counters where you want light to land. This low-tech preview can prevent a high-effort mistake. It may look silly for ten minutes, but silly is cheaper than patching drywall.
Homeowners also discover that fewer, better-aimed heads often look nicer than a track crowded with fixtures. Too many heads can make the ceiling feel busy and create overlapping glare. Start with the number included in the kit, then add more only if the room truly needs them. Think of each head as having a job. One can wash the bookcase, one can light the reading chair, one can highlight a plant, and one can brighten a work zone. If a head has no job, it is just hanging around collecting dust and judging your design decisions.
Bulb choice makes a big difference. A narrow beam can create dramatic accent lighting on art or textured walls, while a wider beam is better for general coverage. In a kitchen, a medium beam often works well because it gives useful brightness without creating harsh spotlight circles. If your track heads accept replaceable bulbs, buy one or two test bulbs first before filling the entire system. Color temperature and beam angle can look very different in your room than they do on a store shelf.
Another experience-based tip is to think about cleaning and maintenance. Track heads near kitchens may collect a light film of cooking residue over time. In living rooms, dust can settle on top of the rail. Choose heads that are easy to wipe and avoid overly complicated shapes if the track is mounted high. Future you, standing on a ladder with a microfiber cloth, will appreciate this small act of kindness.
Finally, take your time with aiming after installation. Many people turn the lights on, see that they work, and call the job done. But the final adjustment is where track lighting becomes impressive. Turn on the lights at night, dim other lamps, and aim each head carefully. Move one light at a time. Watch how the beam lands. Bounce light off a wall for softness. Highlight vertical surfaces to make the room feel larger. Keep direct beams away from faces, screens, and shiny countertops. This is the moment when a basic installation becomes a lighting plan.
Installing track lighting is not only about attaching a rail to the ceiling. It is about giving a room better focus, better function, and a little visual drama. Done thoughtfully, it can make an ordinary room feel designed instead of merely illuminated. And honestly, any project that makes your home look better while letting you aim tiny spotlights at your favorite objects deserves a small round of applause.
Conclusion
Track lighting is one of the easiest ways to upgrade a room’s lighting without installing several separate fixtures. With the right kit, a safe existing electrical box, careful planning, and patient aiming, you can create flexible light for cooking, reading, working, displaying art, or simply making the room feel more polished. The key is to respect the electrical side of the project: turn off power at the breaker, verify the wires are not live, use compatible parts, follow the manufacturer’s directions, and call a licensed electrician when the job moves beyond your comfort level.
Once installed, track lighting becomes surprisingly adaptable. You can adjust heads, change beam angles, swap bulbs, and refine the mood of the room over time. It is practical, stylish, and just dramatic enough to make your bookshelf feel like it has its own publicist.

