Skincare
How to Adjust a Toilet Tank Handle: Expert DIY Tips
Jun
A toilet tank handle is one of those tiny household parts that gets absolutely no applause until it stops working. Then suddenly everyone in the house becomes a plumbing philosopher, standing over the tank and asking, “Why won’t this thing flush?” The good news: learning how to adjust a toilet tank handle is usually simple, inexpensive, and totally doable without calling a plumber, putting on a tool belt, or pretending you understand every pipe in the bathroom.
Most toilet handle problems come down to a few humble parts: the handle, the tank lever arm, the lift chain, the flapper, and sometimes the mounting nut. When these parts are too loose, too tight, tangled, corroded, or misaligned, your toilet may flush weakly, run constantly, require you to hold the handle down, or make you jiggle the handle like you are trying to win a carnival game.
This guide explains how to diagnose, adjust, tighten, and fine-tune a toilet flush handle using expert DIY methods. We will cover chain slack, handle alignment, loose nuts, sticky levers, weak flushes, running toilets, and when it is smarter to replace the handle instead of arguing with it for another Saturday.
How a Toilet Tank Handle Works
Before adjusting anything, it helps to know what actually happens inside the tank. When you press the toilet handle, the handle turns a lever arm inside the tank. That lever pulls up a lift chain, and the chain lifts the flapper. Once the flapper opens, water rushes from the tank into the bowl, creating the flush. After enough water leaves the tank, the flapper drops back into place and seals the opening so the tank can refill.
Simple, right? It is basically a tiny water-powered trapdoor system. The problem is that every part depends on the others being in the right position. If the toilet chain has too much slack, the flapper may not lift high enough. If the chain is too tight, the flapper may not seal completely. If the handle nut is loose, the lever may wobble. If the lever arm is bent or rubbing the tank wall, the handle can stick.
Signs Your Toilet Tank Handle Needs Adjustment
A toilet handle rarely fails in a dramatic, movie-trailer kind of way. Usually, it gives small hints first. You may need to adjust the toilet tank handle if you notice any of these symptoms:
- The handle feels loose, wobbly, or floppy.
- You have to hold the handle down for a full flush.
- The toilet flushes weakly or incompletely.
- The toilet keeps running after flushing.
- The handle sticks in the down position.
- The chain falls off the lever arm.
- The flapper does not lift or close correctly.
- You hear water trickling long after the tank should be full.
These issues often look more serious than they are. A running toilet can feel like a major plumbing emergency, but the cause may be as basic as a chain that is one link too short. Plumbing, like life, sometimes gets weird over tiny details.
Tools and Materials You May Need
For a basic toilet handle adjustment, you probably need very little. In many cases, your hands are enough. Still, having a few simple tools nearby makes the job easier:
- Adjustable wrench or slip-joint pliers
- Small screwdriver
- Replacement toilet handle, if needed
- Replacement lift chain, if the old one is rusty or broken
- Replacement flapper, if the seal is worn
- Towel or sponge
- Rubber gloves, if you prefer a more civilized experience
Most toilet handle parts are inexpensive and widely available at hardware stores. Universal tank levers fit many toilets, but not all. Some toilets need front-mount, side-mount, angle-mount, or model-specific handles, so check the position of your existing handle before buying a replacement.
Step-by-Step: How to Adjust a Toilet Tank Handle
1. Remove the Tank Lid Carefully
Start by lifting the toilet tank lid and setting it somewhere safe. Tank lids are heavier and more fragile than they look. Place it flat on a towel, not upright against the wall where it can slide, fall, and turn your quick DIY job into a ceramic crime scene.
2. Watch the Handle While You Flush
Press the handle and observe what happens inside the tank. Does the lever arm move smoothly? Does the chain lift the flapper right away? Does the flapper open fully? Does the handle pop back up after you release it? This quick test tells you where the problem is.
If the lever moves but the chain barely lifts, the chain is probably too loose. If the flapper is slightly lifted even when the handle is untouched, the chain is too tight. If the handle wobbles, the mounting nut may be loose. If the lever scrapes against the tank wall or other parts, it needs repositioning.
3. Adjust the Toilet Chain Slack
The lift chain should have a small amount of slack when the flapper is closed. A good rule of thumb is about half an inch of slack or roughly one to two chain links, depending on the toilet design. The chain should not hang like a necklace in a drawer, and it should not be tight like a guitar string.
To adjust the chain, unhook it from the lever arm and reconnect it using a different link. If the toilet requires you to hold the handle down, shorten the chain slightly. If the toilet runs because the flapper cannot close, lengthen the chain slightly. After each adjustment, flush the toilet and watch the flapper. You want the flapper to lift cleanly, stay open long enough for a good flush, and then close completely.
4. Make Sure the Chain Pulls Straight Up
The chain should pull the flapper upward as straight as possible. If it pulls sideways, the flapper can twist, seal poorly, or close too quickly. Move the chain clip to the hole on the lever arm that sits most directly above the flapper. Many lever arms have several holes for this exact reason.
If there is a long tail of extra chain, it can slip under the flapper and cause a leak. Trim the extra links with pliers or secure the excess so it cannot interfere. A toilet chain is small, but when it sneaks under the flapper, it can waste water like it has a personal vendetta against your utility bill.
5. Tighten a Loose Toilet Handle
If the handle wiggles, check the nut inside the tank that holds the handle in place. Here is the part that surprises many DIYers: most toilet handle nuts are reverse-threaded. That means you usually turn the nut clockwise to loosen it and counterclockwise to tighten it. In other words, the toilet handle nut looked at normal rules and said, “No, thank you.”
Tighten the nut by hand first. If needed, use pliers or an adjustable wrench very gently. Do not overtighten. Toilet tanks can crack, and a cracked tank is not a repair; it is a shopping trip with regret in the passenger seat.
6. Reposition the Tank Lever Arm
The lever arm inside the tank should move freely without hitting the tank wall, overflow tube, fill valve, or lid. If the arm rubs or catches, loosen the handle nut slightly, reposition the handle, and tighten it again. Some metal lever arms can be bent slightly for better alignment, but do this carefully. Plastic arms should not be forced because they may snap.
The handle should return to its normal position after every flush. If it stays down, the lever may be binding, the chain may be too short, or mineral buildup may be causing friction around the handle opening.
7. Test the Flush Several Times
One successful flush is nice. Three successful flushes are proof. Press the handle normally, then lightly, then quickly. Make sure the toilet flushes fully without requiring you to hold the handle. Confirm that the flapper closes and the tank stops refilling. Listen for trickling water after the tank fills. Silence is the sweet sound of plumbing victory.
Common Toilet Handle Problems and Smart Fixes
The Handle Is Loose
A loose toilet handle usually means the inside mounting nut has backed off. Tighten it gently, remembering the reverse-thread rule. If the nut is stripped, cracked, or unable to stay tight, replace the handle assembly.
You Have to Hold the Handle Down
This usually means the chain is too long or the flapper is closing too quickly. Shorten the chain by one or two links. If the flapper still drops immediately, check whether the flapper is old, waterlogged, or the wrong type for your toilet.
The Toilet Keeps Running
A running toilet after handle adjustment often means the chain is too tight, tangled, or caught under the flapper. The flapper must sit flat against the flush valve opening. If the chain looks fine, inspect the flapper for warping, mineral buildup, or deterioration. A worn flapper is one of the most common causes of toilet leaks.
The Handle Sticks Down
A sticking toilet handle may be caused by a tight mounting nut, a lever arm rubbing another tank part, corrosion, or mineral buildup around the handle hole. Loosen the nut slightly, clean the area, and confirm that the lever swings freely. If the handle still sticks, replacement is usually faster than continuing the wrestling match.
The Chain Keeps Falling Off
If the chain clip is bent, rusty, or too loose, replace the chain or clip. Make sure the chain is attached to the proper lever hole and has enough slack to move naturally without jumping off during a flush.
When to Replace the Toilet Tank Handle
Adjustment works beautifully when the handle and lever are still in decent shape. However, replacement is the better choice if the handle is cracked, the lever arm is broken, the nut is stripped, the metal is badly corroded, or the handle keeps sticking even after cleaning and adjustment.
To replace a toilet handle, shut off the water if you want extra control, remove the tank lid, disconnect the chain, loosen the reverse-threaded nut, slide out the old handle, insert the new handle, tighten the nut gently, reconnect the chain, and test the flush. The whole job often takes less than 15 minutes, unless you spend 12 of those minutes looking for where you left the pliers.
Expert DIY Tips for a Better Flush
First, adjust in small steps. Moving the chain by one link can make a noticeable difference. Second, keep the chain vertical. A straight pull helps the flapper open evenly and seal properly. Third, avoid using harsh in-tank cleaning tablets that sit in the tank water for long periods. They may speed up wear on rubber parts like the flapper and seals. Fourth, do not ignore a running toilet. Even a quiet leak can waste a surprising amount of water over time.
Finally, take a quick picture of the tank before you remove anything. This is the DIY equivalent of leaving breadcrumbs in the forest. If the chain, clip, lever, or flapper gets moved around, the photo helps you put everything back where it belongs.
Mistakes to Avoid When Adjusting a Toilet Flush Handle
Do not overtighten the handle nut. Snug is good; “I am conquering this nut with the strength of a thousand suns” is bad. Do not leave extra chain dangling near the flapper. Do not force a plastic lever arm into position. Do not assume every toilet handle turns the same direction. And do not replace the entire toilet because the handle is loose. That is like buying a new car because the cup holder squeaks.
Also, avoid adjusting the handle without checking the flapper. The handle, chain, and flapper work as a team. If the handle feels perfect but the flapper is warped, the toilet may still run. If the flapper is fine but the chain is wrong, the flush may still be weak. Look at the whole flush mechanism before declaring the job finished.
Safety and Maintenance Notes
Toilet tank water is generally clean supply water, but wearing gloves is still a good idea. Always place the tank lid somewhere secure. If you see cracks in the tank, water on the floor, a leaking supply line, or damaged porcelain, stop and consider calling a plumber. A handle adjustment is simple; a cracked tank is not the time to channel your inner experimental engineer.
As routine maintenance, remove the tank lid every few months and watch one flush. Check for a rusty chain, slow flapper movement, mineral buildup, and water continuing to run after the tank fills. Catching these small issues early keeps your toilet reliable and your bathroom peaceful.
Real-World Experiences: What Toilet Handle Problems Look Like in Everyday Life
One of the most common real-life toilet handle problems is the “hold it down” flush. The handle works, sort of, but you have to stand there pressing it until the bowl clears. In many homes, this becomes an unofficial bathroom rule: “Hold the handle down or it will betray you.” The usual fix is shortening the lift chain slightly. When the chain is too long, the flapper barely opens, so the tank releases only part of its water. Once the chain is adjusted by a link or two, the flapper lifts higher and the toilet flushes normally again.
Another common experience is the mysterious running toilet. Someone flushes, walks away, and ten minutes later the bathroom still sounds like a tiny indoor creek. People often blame the fill valve right away, but the handle and chain deserve attention first. If the chain is too tight, it can hold the flapper slightly open. If extra chain gets trapped under the flapper, water slips through the gap. In both cases, the tank keeps refilling because water keeps escaping into the bowl. A simple chain adjustment can stop the noise and save water.
Then there is the floppy handle, which feels broken even when the toilet still flushes. This usually happens when the mounting nut inside the tank loosens. Many homeowners try to tighten it the normal way and accidentally loosen it more because the nut is often reverse-threaded. Once you know the trick, the repair becomes almost funny: turn the nut the “wrong” way, tighten it gently, and the handle suddenly feels solid again. It is a small victory, but home maintenance is built on small victories.
A sticking handle is a little more annoying. The handle goes down, the toilet flushes, but the handle does not spring back up. Sometimes the chain is too short. Sometimes the lever arm is rubbing the inside of the tank. Sometimes mineral deposits have built up around the handle opening. In one typical DIY scenario, the handle only sticks when the tank lid is on. That means the lever arm may be touching the underside of the lid. Repositioning the lever or adjusting the chain solves the problem without replacing anything.
Side-mounted toilet handles create their own mini-adventures. Because the lever angle is different from a front-mounted handle, the chain can pull sideways if attached to the wrong hole. The result may be a weak flush or a flapper that closes unevenly. Moving the chain clip to a better position on the lever arm often creates a straighter lift and a cleaner flush. This is why watching the mechanism while flushing is so useful. The toilet basically shows you what is wrong, as long as you are willing to stare into the tank like a bathroom detective.
Older toilets may have corroded metal handles, stretched chains, or stiff flappers. In those cases, adjustment may help temporarily, but replacement is usually more reliable. A new handle, chain, and flapper can make an old toilet feel surprisingly refreshed. It is not glamorous, but neither is explaining to guests that the toilet has “a special technique.”
The biggest lesson from real-world toilet handle repairs is this: start with the easiest fix first. Watch the flush, adjust the chain, tighten the nut, check for rubbing, and test again. Most problems do not require advanced plumbing knowledge. They require patience, a little observation, and the courage to touch the inside of a toilet tank without making dramatic faces.
Conclusion
Adjusting a toilet tank handle is one of the most beginner-friendly DIY plumbing tasks you can learn. The handle may be small, but it controls the entire flush sequence. When the lever, chain, and flapper are aligned correctly, the toilet flushes smoothly, stops running, and behaves like a respectable bathroom fixture instead of a needy household appliance.
Start by observing the flush. Adjust the chain so it has slight slack, make sure it pulls straight up, tighten the handle nut gently, and confirm that the lever arm moves freely. Replace worn parts when needed, especially cracked handles, rusty chains, and warped flappers. With a few careful adjustments, you can fix a weak flush, loose toilet handle, sticking lever, or running toilet without spending much money or sacrificing your weekend to plumbing drama.
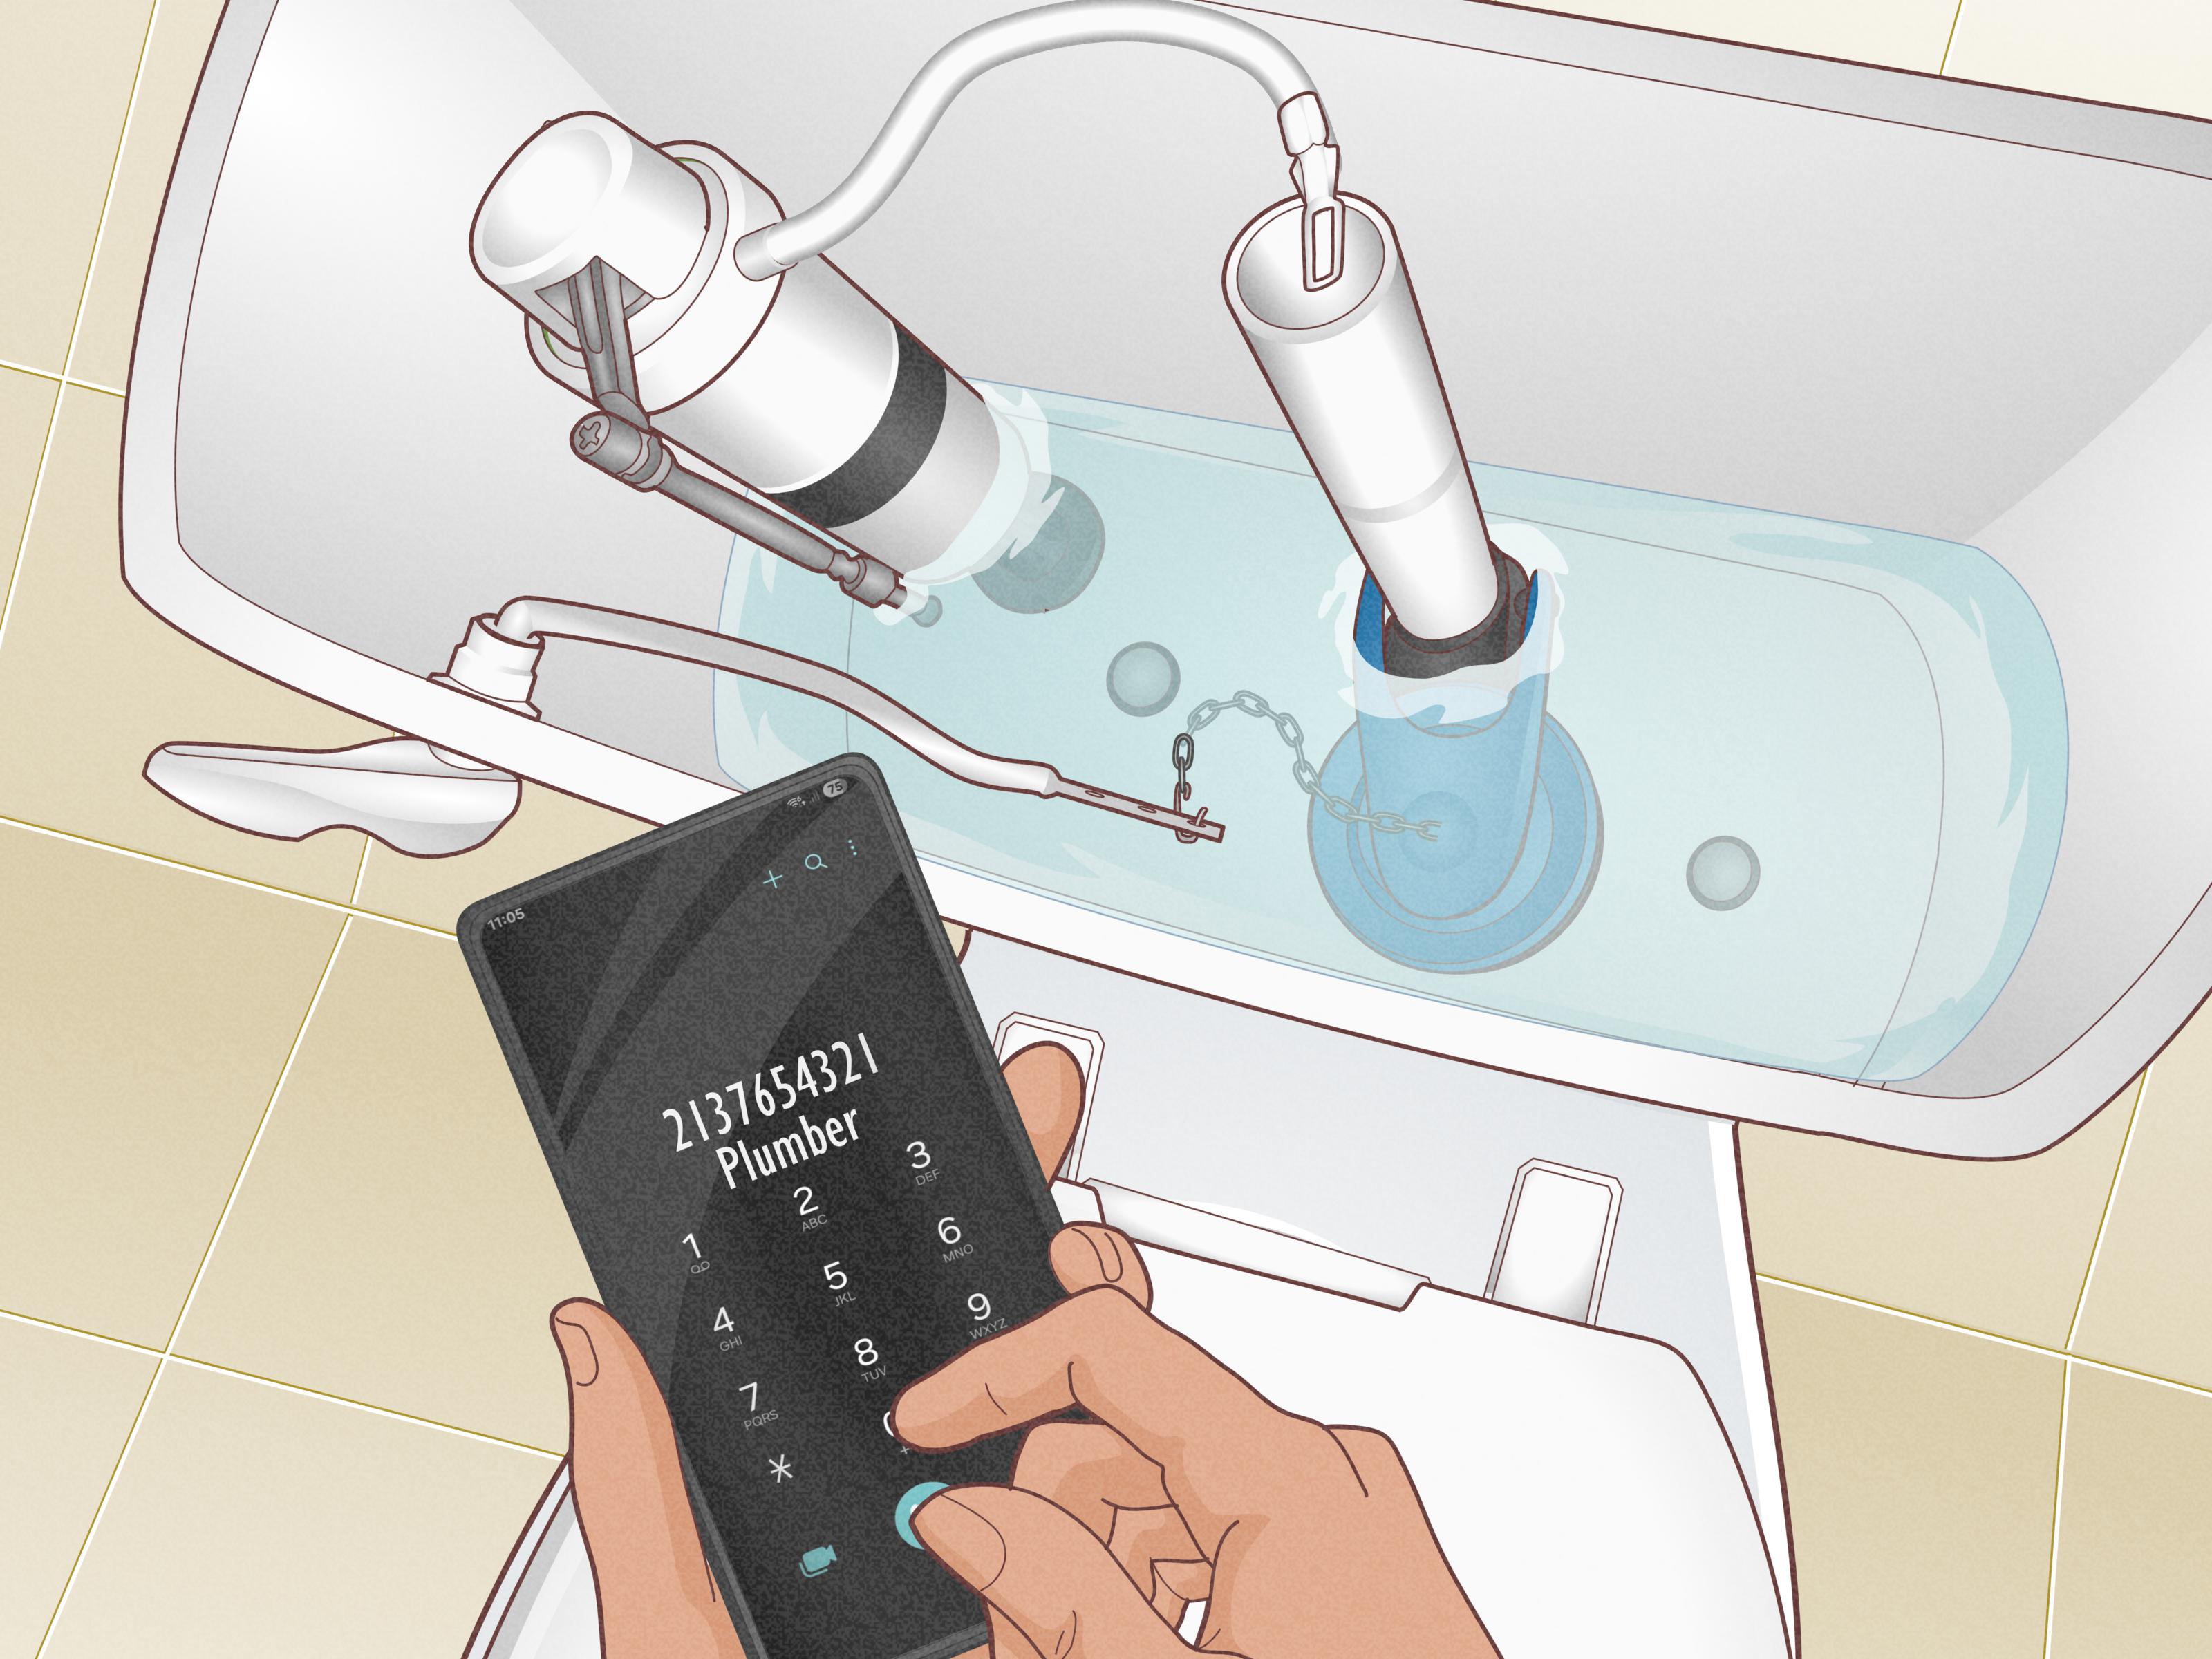
Note: Toilet designs vary by brand and model. These DIY tips apply to most gravity-flush toilets, but if you see cracked porcelain, leaking water outside the tank, damaged supply lines, or persistent flushing problems after basic adjustment, contact a qualified plumber.
