Hair Care
How to Back Up and Restore OneNote on a Mac: Complete Guide
Jun
OneNote is one of those apps that quietly becomes the junk drawer, filing cabinet, meeting notebook, recipe book, class binder, research folder, and “I swear I saved that somewhere” zone of your digital life. That is exactly why learning how to back up and restore OneNote on a Mac matters. Losing a notebook is not like losing one sticky note. It is more like watching your second brain leave town without forwarding its mail.
The good news: OneNote for Mac is designed around cloud syncing, mainly through OneDrive or SharePoint. That gives you several recovery paths, including OneNote’s Deleted Notes, OneDrive Recycle Bin, OneDrive version recovery, notebook export, PDF snapshots, and macOS Time Machine. The not-so-funny news: OneNote on Mac does not behave exactly like OneNote on Windows, so the backup process can feel like trying to find the “any” key on a keyboard.
This complete guide explains how OneNote stores notes on a Mac, how to back up your notebooks safely, how to restore deleted or missing notes, and how to build a practical backup routine that will not require a PhD in cloud storage.
How OneNote Works on a Mac
Before backing anything up, you need to understand one important idea: OneNote for Mac is cloud-first. In most modern setups, your notebooks are stored in OneDrive, OneDrive for Business, or SharePoint, while the Mac app keeps a local working cache so you can open and edit notes smoothly.
That means dragging around random OneNote files in Finder is usually not the best backup method. A OneNote notebook is not always a simple single file like a Word document. It is more like a small organized village of sections, pages, sync data, and cloud references. If you copy the wrong local cache folder, you may end up with a backup that looks impressive but restores about as well as a chocolate teapot.
The safest backup mindset
Think in layers:
- Sync layer: Make sure OneNote is fully synced to OneDrive or SharePoint.
- Export layer: Export notebooks or save important pages as PDF when possible.
- Recovery layer: Use Deleted Notes, OneDrive Recycle Bin, version history, and OneDrive restore.
- Mac layer: Use Time Machine to protect local files and app data.
The best OneNote backup strategy is not one magic button. It is a small safety net with several ropes. If one rope snaps, the others still keep your notes from falling into the digital canyon.
Step 1: Confirm Your OneNote Notebooks Are Synced
A backup is only useful if your latest notes are included. Before exporting, restoring, switching Macs, deleting notebooks, or signing out of accounts, confirm that OneNote has finished syncing.
How to check sync status on OneNote for Mac
- Open OneNote on your Mac.
- Open the notebook you want to protect.
- Look for sync indicators, warning icons, or error messages.
- If available, use the notebook sync option to force a manual sync.
- Open the same notebook at OneNote for the web to confirm the latest pages appear online.
If the web version shows your newest notes, your cloud copy is probably current. If your Mac shows pages that the web version does not, stop and fix sync before doing anything dramatic. Do not delete, rename, or move notebooks while sync is confused. That is the OneNote equivalent of changing lanes during a fog storm.
Common sync warning signs
- Pages appear on your Mac but not on your iPhone, iPad, or browser.
- OneNote displays sync errors or asks you to sign in again.
- Sections show as misplaced or unsynced.
- A notebook opens in the app but cannot be found in OneDrive.
When sync problems appear, try signing in again, checking your internet connection, updating OneNote, and opening the notebook in OneNote for the web. For work or school accounts, also check whether your organization has storage, permission, or SharePoint restrictions.
Step 2: Back Up OneNote on Mac Using OneDrive
For most Mac users, OneDrive is the main backup foundation. If your notebook lives in OneDrive, Microsoft stores the cloud copy, syncs it across devices, and gives you access to recovery tools such as Recycle Bin and version history.
How to locate your notebook in OneDrive
- Go to OneDrive in a browser.
- Sign in with the same Microsoft account used in OneNote.
- Open common folders such as Documents or Notebooks.
- Look for your notebook name.
- Open it in OneNote for the web to verify the content.
If you use a work or school account, your notebook may live in OneDrive for Business, SharePoint, or Microsoft Teams. In that case, the notebook may not appear in the exact same folder as a personal notebook. Search by notebook name and check shared libraries if needed.
Important warning about the OneDrive sync folder
Do not assume that copying a visible OneNote shortcut from the OneDrive folder in Finder creates a complete backup. In many setups, the notebook item you see in Finder may be a cloud reference rather than a full portable notebook package. For a real backup, use OneNote’s export tools, OneNote’s backup tools if available, PDF exports, or account-to-account section copying.
Step 3: Export a OneNote Notebook from OneNote for the Web
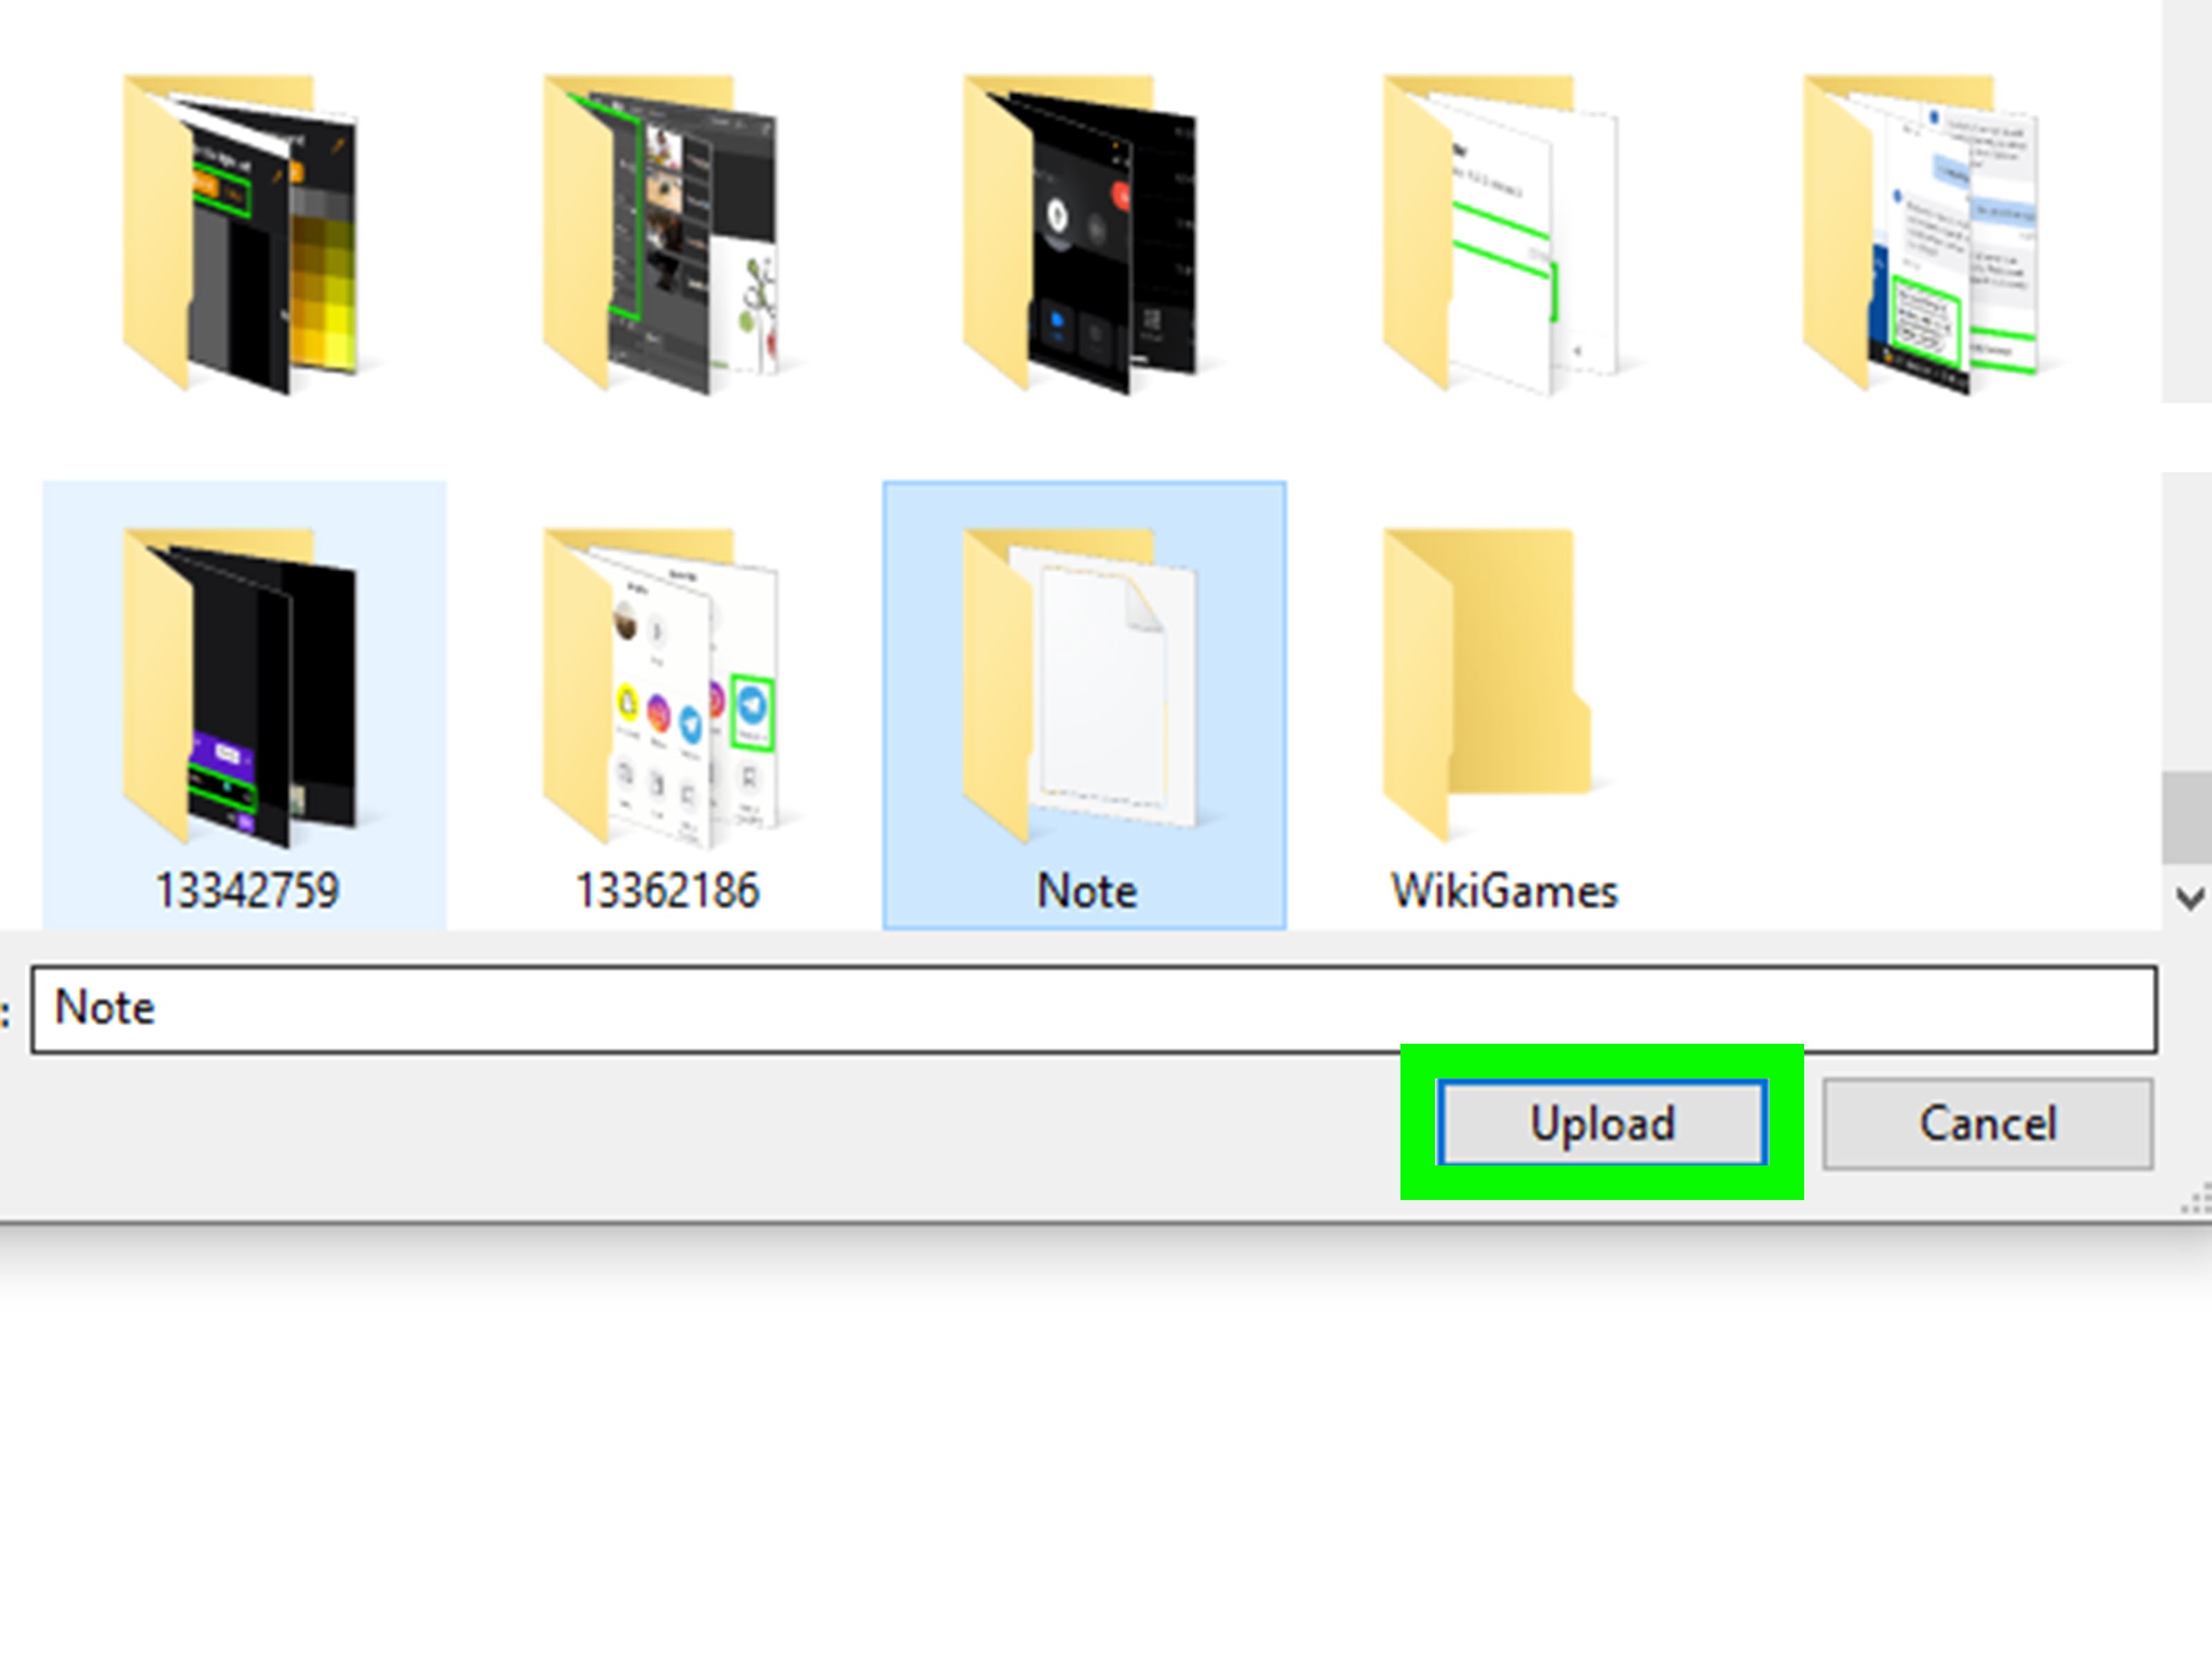
One of the cleanest backup methods is exporting a notebook from OneNote for the web. This creates a downloadable copy that can be stored on an external drive, another cloud service, or a secure archive folder.
However, there is a key limitation: notebook export through OneNote for the web is generally available for notebooks stored in personal OneDrive accounts. It may not work for notebooks stored in OneDrive for work or school, SharePoint, or organization-managed locations.
How to export a personal OneNote notebook
- Open OneNote for the web in your browser.
- Sign in with your personal Microsoft account.
- Find the notebook you want to back up.
- Right-click the notebook.
- Select Export notebook, if the option is available.
- Download the exported file and store it somewhere safe.
After downloading, rename the file clearly. A name like Biology-Notes-Backup-June-2026 is much better than Untitled backup final final really final. Future you deserves kindness.
Where to store exported backups
- An external SSD or hard drive.
- A second cloud storage account.
- A secure folder included in Time Machine backups.
- A password-protected archive if the notebook contains private information.
For important notebooks, keep at least two copies: one cloud copy and one local or external copy. The old backup rule still works: if it exists in only one place, it is not really backed up; it is merely waiting to test your emotional stability.
Step 4: Save Important OneNote Pages as PDF
If you cannot export an entire notebook, or if you only need a reliable snapshot of key pages, use PDF export. OneNote for Mac allows you to save individual pages as PDF files. This is perfect for class notes, meeting minutes, project plans, research summaries, client details, travel plans, or anything you would panic-search for at 1:00 a.m.
How to save a OneNote page as PDF on Mac
- Open the page in OneNote for Mac.
- Click File in the menu bar.
- Select Save as PDF.
- Choose a folder.
- Name the PDF clearly.
- Save it.
PDFs are not the same as full editable OneNote backups. They preserve a readable snapshot, not the entire notebook structure. Still, PDFs are excellent for records, sharing, printing, archiving, and protecting the final version of important notes.
Best use cases for PDF backups
- Monthly study notes.
- Important meeting notes.
- Legal, financial, or project records.
- Research summaries.
- Travel itineraries.
- Checklists you cannot afford to lose.
If your notebook is huge, export the most important pages or sections as PDFs first. A partial backup of mission-critical notes beats a perfect backup plan you never actually start.
Step 5: Use OneNote Backups If Your Mac Version Supports Them
Some OneNote for Mac setups include backup options under OneNote > Preferences > Backups. If you see this feature, use it. It can create local backups of notebooks and allow you to open backup sections later.
How to create a manual backup if the option appears
- Open OneNote on your Mac.
- Go to OneNote > Preferences.
- Open the Backups section.
- Select Back Up All Notebooks Now.
- Wait until the backup finishes.
- Use Open Backups to confirm that the backup is readable.
If you do not see this option, do not panic. Microsoft’s OneNote features can vary by version, account type, and deployment method. In that case, rely on OneDrive sync, notebook export, PDF snapshots, section copying, and Time Machine.
Step 6: Back Up Your Mac with Time Machine
Time Machine is Apple’s built-in backup system for Mac. It can back up your apps, documents, settings, and user data to an external storage device. While Time Machine should not be your only OneNote backup method, it is an excellent extra layer.
How to set up Time Machine
- Connect an external drive to your Mac.
- Open System Settings.
- Go to General > Time Machine.
- Add your backup disk.
- Let Time Machine complete the first backup.
- Keep the drive connected regularly so future backups stay current.
Time Machine is especially useful before major changes, such as replacing your Mac, reinstalling macOS, removing Microsoft Office, deleting a Microsoft account, or cleaning storage. It gives you a way to recover older local files and app-related data, even if a cloud sync mistake creates chaos.
How to Restore OneNote on a Mac
Restoring OneNote depends on what happened. Did you delete a page? Lose a section? Delete a whole notebook? Switch accounts? Replace your Mac? Each situation has a different recovery path.
Restore Recently Deleted Notes in OneNote for Mac
If you deleted a page or section recently, start inside OneNote. OneNote for Mac includes a Deleted Notes area where recently deleted pages and sections may be recoverable for a limited time.
How to restore deleted notes
- Open the notebook where the notes were deleted.
- Go to the Deleted Notes view.
- Find the page or section you want to restore.
- Control-click the item.
- Select Restore To.
- Choose the destination notebook or section.
Deleted notes are usually retained for a limited period, commonly 60 days, unless they are permanently deleted earlier. That means speed matters. If you notice missing notes, recover first and investigate later. This is not the time to make coffee, reorganize your desktop, and question your life choices.
Restore a Deleted Notebook from OneDrive
If an entire notebook was deleted from OneDrive, check the OneDrive Recycle Bin. This is often the best place to recover deleted notebooks, folders, or related files.
How to restore from OneDrive Recycle Bin
- Open OneDrive in your browser.
- Sign in with the account that owned the notebook.
- Select Recycle bin.
- Find the deleted notebook or folder.
- Select it.
- Click Restore.
- Open OneNote and sync again.
For work or school accounts, your organization may have different retention rules. If the notebook is not in the visible Recycle Bin, contact your IT administrator quickly. In business environments, there may be additional recovery tools behind the scenes, but they are not useful if you wait until the next ice age.
Restore OneDrive to an Earlier Time
If many OneNote-related files were deleted, changed, corrupted, or affected at once, Microsoft 365 subscribers may be able to use the Restore your OneDrive feature. This can roll back OneDrive activity to an earlier point within the supported recovery window.
When to use OneDrive restore
- Multiple notebooks or files disappeared.
- A sync mistake affected many items.
- Files were overwritten or corrupted.
- You need to undo a large batch of changes.
Use this carefully. Restoring an entire OneDrive can affect more than OneNote. Review the timeline, check what changed, and make sure you understand what will be rolled back. When in doubt, download copies of current important files before restoring.
Restore from an Exported OneNote Notebook
If you exported a notebook from OneNote for the web, you can import it later into OneNote. This is useful when moving to a new account, recovering an archived notebook, or rebuilding your note system after a device change.
General restore process
- Find your exported notebook backup file.
- Open OneNote for the web.
- Use the import option if available for your account.
- Upload the notebook backup.
- Open the restored notebook in OneNote for Mac.
- Wait for sync to finish before editing heavily.
After restoring, check section names, page order, attachments, images, and handwritten notes. Most restores are straightforward, but large notebooks deserve a careful inspection. Think of it like moving apartments: the couch may arrive, but you still need to check whether the coffee mugs survived.
Restore PDF Backups
PDF backups cannot rebuild a fully editable OneNote notebook by themselves, but they are still extremely useful. You can open the PDF, copy text from it, attach it to a new OneNote page, or use it as a permanent reference.
How to use PDF backups after data loss
- Create a new OneNote page with the same title.
- Attach the PDF to the page.
- Copy important text back into editable notes.
- Use screenshots or printouts for visual notes.
- Label the restored page as recovered from PDF.
This method is not glamorous, but it works. When the alternative is losing everything, a PDF is a very handsome little hero.
Restore OneNote Data with Time Machine
If you used Time Machine, you may be able to recover older files, exported backups, PDFs, or local OneNote-related data. This works best when you saved backups to normal folders such as Documents, Desktop, or an external drive included in Time Machine.
How to restore files with Time Machine
- Open the folder where the missing backup or PDF used to be.
- Open Time Machine.
- Browse back to a date before the file disappeared.
- Select the item.
- Click Restore.
For a full Mac migration, you can also use Migration Assistant with a Time Machine backup. After restoring your Mac or user account, install or update OneNote, sign in with the correct Microsoft account, and let notebooks sync again.
How to Move OneNote Notes Between Accounts on Mac
Sometimes backup and restore is really account migration in disguise. For example, you may be leaving a school account, changing jobs, or moving notes from a work account to a personal Microsoft account.
Recommended method: copy sections
- Sign in to both Microsoft accounts in OneNote for Mac.
- Open the source notebook.
- Create or open a destination notebook in the new account.
- Copy sections from the old notebook to the new notebook.
- Wait for sync to finish.
- Verify the copied notes in OneNote for the web.
This method is often safer than trying to move hidden notebook files manually. It also lets you organize while you migrate. Just do not delete the old notebook until you have checked the new copy on another device or in a browser.
Best Practices for OneNote Backup on Mac
Use the 3-2-1 backup rule
The classic 3-2-1 rule means keeping three copies of important data, on two different types of storage, with one copy off-site or in the cloud. For OneNote, that might look like this:
- Your active notebook in OneDrive.
- An exported notebook or PDF copy on an external drive.
- A second cloud copy or Time Machine backup.
Back up before big changes
Create a backup before deleting notebooks, changing accounts, leaving a school or workplace, reinstalling Office, resetting your Mac, or cleaning OneDrive folders. Most data disasters begin with the sentence, “This should only take a second.”
Name backups clearly
Use names that include the notebook title and date. For example:
- Marketing-Notebook-Backup-2026-06-06
- College-Chemistry-PDF-Archive-Spring-2026
- Client-Research-OneNote-Export-June-2026
Test your backups
A backup you have never opened is a promise, not proof. After exporting or saving PDFs, open them. Check the pages. Make sure attachments, images, tables, handwriting, and important formatting are present.
Keep OneNote updated
Use the Mac App Store or Microsoft AutoUpdate, depending on how you installed OneNote. Updates can fix sync issues, account problems, and compatibility bugs. A fully updated OneNote app is less likely to turn your notebook into a mystery novel.
Troubleshooting: What If Your OneNote Notes Are Missing?
Check the right account
Many missing notebook problems are actually wrong-account problems. If you use personal, school, and work Microsoft accounts, sign in to each one and check OneNote for the web.
Search OneDrive directly
Open OneDrive in a browser and search for the notebook name. Look in Documents, Notebooks, shared folders, SharePoint locations, and Teams-connected libraries.
Check Deleted Notes
If a page or section disappeared, check OneNote’s Deleted Notes before digging through deeper recovery tools.
Check OneDrive Recycle Bin
If the entire notebook is gone, check the Recycle Bin for the account where the notebook was stored.
Look for misplaced sections
Sync problems can sometimes create misplaced sections. If you find one, copy or move it into the correct notebook after sync is working again.
Do not clear caches too early
If notes exist only on your Mac and have not synced, do not uninstall OneNote, clear caches, or unlink accounts without first trying to copy the visible content elsewhere. Unsynced local changes may be your only copy.
Real-World Experience: A Practical Backup Routine That Actually Works
Here is the honest truth from real-world OneNote use: the best backup system is the one boring enough that you will actually follow it. A complicated backup routine with sixteen folders, three encrypted drives, and a spreadsheet named “Backup Matrix” may look impressive, but if you abandon it after two weeks, it is just digital theater.
A practical routine starts with weekly review. Every Friday, open OneNote on your Mac and let it sit for a minute while connected to a stable internet connection. Check your most important notebooks and confirm that recent pages also appear in OneNote for the web. This simple habit catches sync failures early. It is much easier to fix one unsynced meeting note from yesterday than to reconstruct three months of notes from memory, screenshots, and mild despair.
Next, create monthly PDF snapshots of critical pages. You do not need to export every grocery list or random idea titled “App concept???” Focus on pages with lasting value: school notes, project plans, client records, research outlines, business ideas, meeting decisions, and personal reference materials. Save them into a folder named OneNote PDF Backups, then organize by year and month. This gives you a readable archive even if your notebook structure later changes.
For major notebooks, schedule a quarterly export if your account supports it. Personal OneDrive notebooks are usually the best candidates for this. Download the exported notebook, store one copy on an external drive, and keep another in a separate cloud location. After exporting, open the file or test the import process when practical. Do not wait until a disaster to discover that your “backup” is actually an empty folder wearing a fake mustache.
If you use OneNote for school or work, be extra careful before graduation, job changes, account closures, or device returns. Organization accounts can disappear or lose access when your status changes. Before that happens, copy important sections into a personal notebook that you control, export what you can, and save important pages as PDFs. Treat account transitions like moving day: pack first, throw things away later.
Time Machine should run quietly in the background as your Mac safety net. It is not a perfect OneNote-only backup tool, but it is excellent for recovering exported files, PDFs, screenshots, and other supporting documents. Keep an external drive connected regularly, especially before macOS upgrades or Microsoft Office changes.
Finally, write down your recovery map. A tiny text file called How I Back Up OneNote can save you a lot of confusion later. Include where notebooks are stored, which Microsoft account owns them, where exported backups live, where PDF snapshots are saved, and how often Time Machine runs. It may feel unnecessary now, but during a data scare, your brain will be busy making alarm noises. A simple map helps you act calmly.
The best OneNote backup routine is not dramatic. It is sync, verify, export, snapshot, and repeat. Not exciting, maybe. But neither is brushing your teeth, and look how useful that turned out to be.
Conclusion
Backing up and restoring OneNote on a Mac is not about finding one perfect button. It is about understanding how OneNote, OneDrive, and macOS work together. Start by confirming that notebooks sync properly. Use OneDrive as your main cloud layer. Export personal notebooks when possible. Save important pages as PDFs. Use OneNote backup options if your version includes them. Keep Time Machine running for extra protection. And when something goes missing, recover in the right order: Deleted Notes, OneDrive Recycle Bin, OneDrive restore, exported backups, PDFs, and Time Machine.
Your notes are valuable because they contain decisions, ideas, plans, lessons, and tiny scraps of genius you may not be able to recreate later. Back them up before you need them, and your future self will be very impressed with your suspiciously responsible behavior.
