
Makeup
40 Handy Hints for Cleaning Every Nook and Cranny of Your House
Aug
A clean house does not happen by accident. It happens because somebody finally notices the dust colony living on the ceiling fan, the crumbs auditioning for a role under the toaster, and the mysterious sticky spot on the kitchen floor that no one in the family has ever seen before. Convenient, isn’t it?
The good news is that cleaning every nook and cranny of your house does not require a hazmat suit, a professional crew, or an entire Saturday sacrificed to the mop gods. With the right cleaning tips, a few clever tools, and a realistic routine, you can make your home feel fresher, brighter, and far less chaotic without turning the job into a dramatic lifestyle documentary.
This guide brings together 40 handy house cleaning hints for kitchens, bathrooms, bedrooms, living spaces, floors, storage zones, appliances, and the forgotten little corners that quietly collect dust like it pays rent. Use these ideas as a deep cleaning checklist, a weekend reset plan, or a rescue mission before guests arrive.
Start Smart: Cleaning Basics That Save Time
1. Declutter Before You Clean
Cleaning around clutter is like mowing the lawn with patio furniture still everywhere. Before you spray, scrub, vacuum, or mop, remove loose items from counters, floors, tables, and shelves. Put trash in a bag, dishes in the sink or dishwasher, laundry in a basket, and random objects back where they belong. A clear surface cleans faster and looks better instantly.
2. Build a Portable Cleaning Caddy
Keep an all-purpose cleaner, glass cleaner, microfiber cloths, scrub brush, sponge, gloves, disinfectant wipes, and trash bags in one carryable caddy. This prevents the classic cleaning cardio workout: walking room to room looking for the one spray bottle that somehow migrated to the laundry room.
3. Clean From Top to Bottom
Dust falls. Crumbs fall. Pet hair falls. Your motivation occasionally falls too, but that is a separate issue. Start with ceiling fans, shelves, cabinets, and counters before moving to floors. This way, you are not vacuuming twice because your bookshelf decided to snow dust all over the carpet.
4. Use Microfiber Cloths for Dust
Microfiber cloths trap dust better than old cotton rags and paper towels. Keep separate cloths for bathrooms, kitchens, glass, and general dusting. Wash them regularly, and avoid fabric softener because it can reduce their grabby cleaning power.
5. Let Cleaners Sit Before Scrubbing
Spray the sink, tub, cooktop, or grimy counter and give the cleaner a few minutes to work. This small pause softens residue and saves elbow grease. Think of it as letting the product do its job while you do something glamorous, like emptying the trash.
Kitchen Cleaning Hints for Grease, Crumbs, and Mystery Splashes
6. Wipe Kitchen Counters After Every Meal
Daily counter wiping prevents sticky buildup, grease film, and dried food spots. Use warm water and dish soap for everyday messes, then use a disinfectant only when needed, such as after handling raw meat or cleaning up after illness.
7. Degrease Cabinet Fronts
Kitchen cabinets quietly collect oil from cooking, especially near the stove. Mix warm water with a few drops of dish soap, dampen a microfiber cloth, and wipe cabinet doors from top to bottom. Dry immediately so wood or painted finishes do not stay wet.
8. Clean the Range Hood Filter
If your range hood looks like it has been through a tiny fried-chicken hurricane, remove the metal filter and soak it in hot water with grease-cutting dish soap. Scrub gently, rinse well, and dry completely before reinstalling.
9. Detail Around Appliance Handles
Refrigerator, microwave, oven, and dishwasher handles are high-touch zones. Wipe them often with a damp cloth and appropriate cleaner. For seams and grooves, use a soft toothbrush or cotton swab. The gunk hiding there has had a long enough vacation.
10. Freshen the Garbage Disposal
Run cold water, turn on the disposal, and feed in small citrus peels to reduce odors. For deeper cleaning, use a disposal-safe cleaning product. Never put your hand inside the disposal, even if a spoon “looks easy to grab.” That is how kitchens become horror movies.
11. Vacuum Crumbs Before Mopping
Always sweep or vacuum kitchen floors before mopping. Otherwise, you are not mopping; you are making crumb soup. Use a crevice tool along cabinet toe-kicks and under appliances where crumbs gather for secret meetings.
12. Clean the Inside of the Microwave With Steam
Place a microwave-safe bowl of water with a few lemon slices inside, heat it until steamy, and let it sit for a few minutes. The steam loosens splatters, making them easier to wipe away. Your microwave should not look like spaghetti exploded in zero gravity.
13. Give the Sink a Nightly Reset
Rinse the sink, scrub it lightly, wipe the faucet, and dry the basin. A clean sink makes the entire kitchen feel calmer, even if one cabinet still contains a chaotic plastic-container avalanche.
Bathroom Cleaning Hints for Shine and Sanity
14. Keep Bathroom Surfaces Dry
Moisture helps soap scum, mildew, and odors settle in. After showers, run the fan, open the door, and use a squeegee on glass or tile. A 30-second squeegee habit can prevent a much longer scrubbing session later.
15. Clean Grout With a Small Brush
Use a grout-safe cleaner and a small brush to scrub tile lines. Work in sections so the job feels less like scrubbing a football field with a toothbrush. Rinse and dry afterward to prevent cleaner residue.
16. Wash Shower Curtains and Liners
Many fabric shower curtains and some liners can be washed according to their care labels. Add towels to help scrub gently during the cycle. Hang them back up to dry so they do not wrinkle into a sad bathroom burrito.
17. Detail the Toilet Base
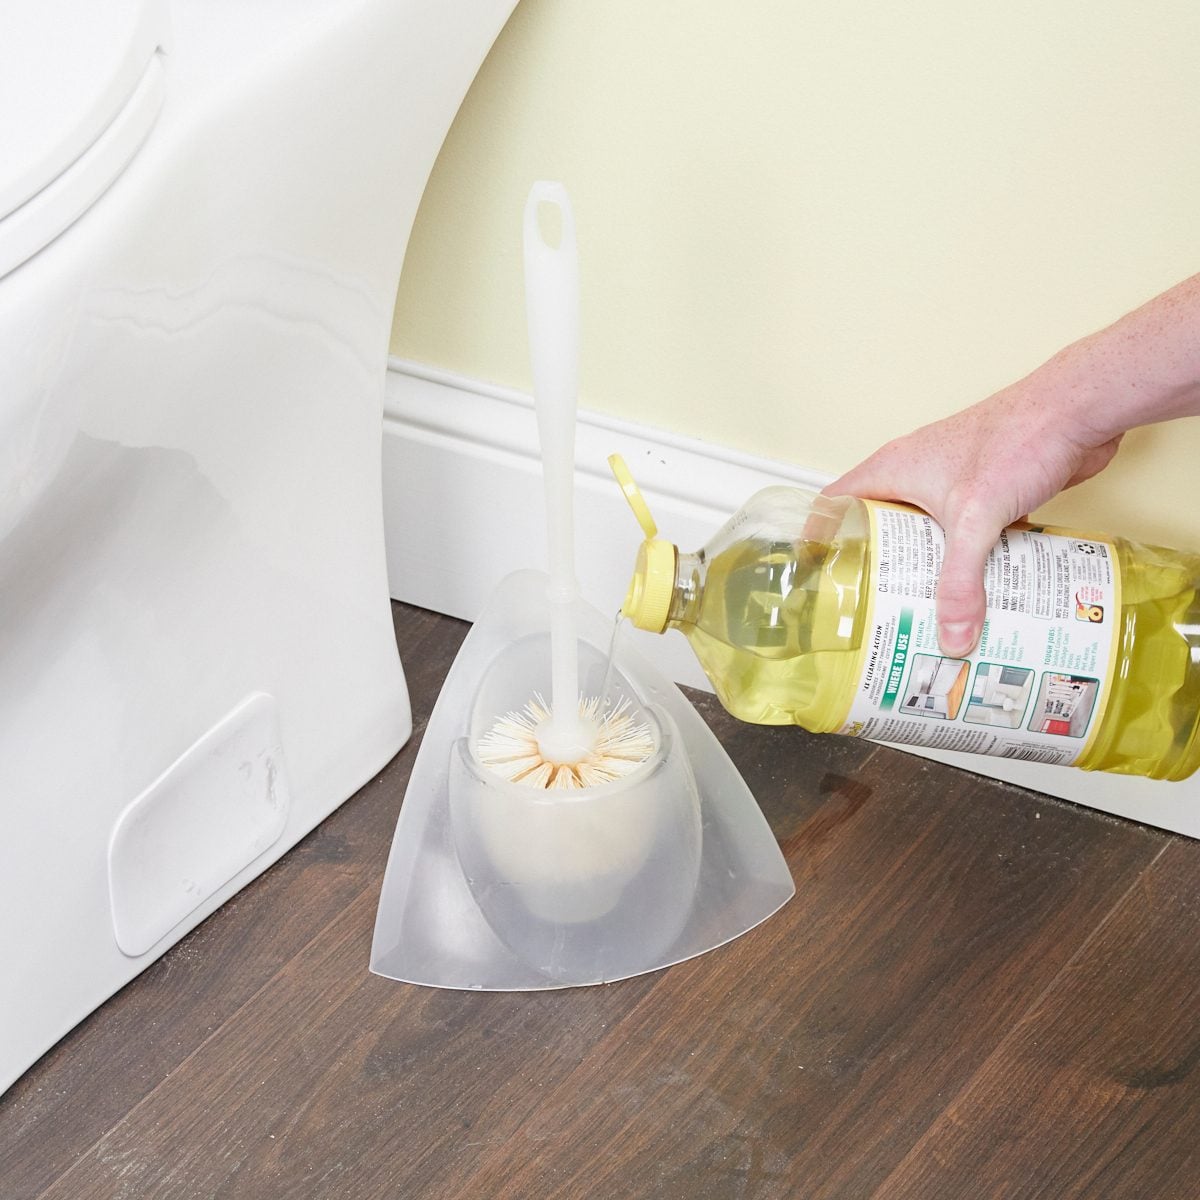
The toilet bowl gets attention, but the base, hinges, handle, and floor behind it often get ignored. Use bathroom cleaner or disinfectant as appropriate, and use paper towels or washable cloths reserved only for bathroom use.
18. Polish Mirrors Last
Clean mirrors after spraying sinks and counters so mist does not land on your freshly polished glass. Use a glass cleaner and a clean microfiber cloth, wiping in an S-pattern to reduce streaks.
19. Clear the Vanity Weekly
Remove old cosmetics, empty bottles, expired products, and hair tools you never use. Wipe inside drawers and organizers. Bathroom clutter multiplies quietly, like it took a class in advanced mathematics.
20. Clean the Exhaust Fan Cover
Bathroom fan covers collect dust that limits airflow. Turn the fan off, remove the cover if the design allows, and vacuum or wash it according to the manufacturer’s instructions. Better ventilation means less moisture drama.
Living Room and Bedroom Cleaning Hints
21. Dust Ceiling Fans With a Pillowcase
Slide an old pillowcase over each fan blade, then pull it back slowly to trap dust inside. This keeps debris from raining onto your furniture and your face. It is cleaning, not a weather event.
22. Vacuum Upholstery Crevices
Use the crevice tool between sofa cushions, chair seams, and recliner folds. You may find coins, popcorn, pet hair, and possibly evidence of snacks from a movie night no one remembers.
23. Rotate and Vacuum Mattresses
Remove bedding, vacuum the mattress surface, and rotate it according to the manufacturer’s guidance. Wash sheets weekly and launder mattress protectors regularly. A fresh bed makes the whole bedroom feel more peaceful.
24. Wipe Light Switches and Door Handles
These high-touch spots deserve regular cleaning. Use a cloth lightly dampened with cleaner rather than spraying directly onto switches. Electricity and enthusiasm should stay in separate lanes.
25. Dust Lampshades With a Lint Roller
A lint roller quickly lifts dust and pet hair from fabric lampshades. For pleated shades, work slowly along the folds. Suddenly the lamp looks intentional again, not like it survived a dust storm.
26. Clean Remote Controls
Remove batteries if needed, then wipe the remote with a slightly damp disinfecting cloth or alcohol wipe suitable for electronics. Use a cotton swab around buttons. The remote touches everyone’s hands and somehow also every snack.
27. Refresh Throw Blankets and Pillows
Check care labels and wash or air out throws, pillow covers, and cushion covers. Soft furnishings hold odors, dust, and pet hair. Fresh textiles can make a room smell cleaner without heavy fragrance.
Floors, Baseboards, Corners, and Hidden Dust Zones
28. Clean Baseboards With a Vacuum First
Use a brush attachment to remove dry dust from baseboards, then wipe with warm water and a small amount of dish soap. For corners and grooves, use a cotton swab. Baseboards are small, but clean ones make rooms look surprisingly polished.
29. Use the Crevice Tool Around Room Edges
Before vacuuming the center of a room, run the crevice tool along wall edges, under radiators, beside furniture legs, and around thresholds. Corners collect dust because corners are sneaky.
30. Match the Mop to the Floor
Use a damp mop, not a soaking wet one, for most hard floors. Too much water can harm wood, laminate, and some tile grout. Follow the flooring manufacturer’s instructions so your cleaning routine does not become a repair bill.
31. Shake or Vacuum Rugs Regularly
Small rugs trap grit that can scratch floors and dull fibers. Shake washable rugs outside or vacuum both sides when possible. For larger rugs, vacuum slowly and overlap passes for better pickup.
32. Dust Air Vents and Returns
Use a vacuum brush attachment on air vents, return grilles, and nearby walls. Dust buildup around vents can spread particles through the room and leave dark smudges on paint.
33. Clean Window Tracks With a Brush
Loosen dirt in window tracks with a small brush, vacuum it out, then wipe with a damp cloth. Cotton swabs work well in corners. Window tracks may be tiny, but they can hold an entire outdoor documentary of pollen, dust, and dead bugs.
Smart Deep Cleaning Hints for Forgotten Areas
34. Wipe the Tops of Doors and Frames
Door tops, picture frames, and crown molding gather dust because they live above eye level. Use an extendable duster or microfiber cloth. The rule is simple: if you never look at it, dust probably loves it.
35. Clean Behind and Under Furniture
Move lightweight furniture when safe, or use a flat duster under sofas, beds, and cabinets. Dust bunnies under furniture are not pets, no matter how fluffy they become.
36. Sanitize Trash Cans
Empty trash cans, rinse them outside or in a utility sink, scrub with soapy water, and let them dry fully. For kitchen bins, clean the lid and pedal too. Odors often come from the container, not just the bag.
37. Clean Laundry Machines
Wipe the washer gasket, leave the door open after loads when appropriate, and run a washer-cleaning cycle as recommended by the manufacturer. Clean the dryer lint trap after every load and vacuum around the dryer vent area periodically.
38. Organize Under-Sink Areas
Remove everything under kitchen and bathroom sinks. Toss empty bottles, wipe the cabinet floor, check for leaks, and group supplies in bins. A clean under-sink zone prevents products from becoming a leaning tower of sprays.
39. Label Cleaning Tools by Area
Keep separate sponges, brushes, and cloths for bathrooms, kitchen surfaces, floors, and general dusting. Color-coding helps prevent cross-contamination and avoids the terrifying question, “Was this the toilet sponge?”
40. Never Mix Cleaning Products
More product does not mean more clean. Read labels, use cleaners as directed, ventilate when needed, and never mix bleach with ammonia, vinegar, or other cleaners. Cleaning should improve the house, not create indoor chemistry class chaos.
A Simple Room-by-Room Cleaning Plan
If 40 tips feel like a lot, turn them into a simple weekly rhythm. On Monday, reset the kitchen. On Tuesday, clean bathrooms. On Wednesday, dust bedrooms and wash bedding. On Thursday, vacuum upholstery and living areas. On Friday, mop floors and clean entryways. On Saturday, tackle one deep cleaning project, such as window tracks, baseboards, cabinet fronts, or the laundry machines. On Sunday, do a quick reset and enjoy living in the house instead of chasing it with a sponge.
The trick is to stop treating cleaning like one giant emergency. Small, repeated actions beat occasional cleaning marathons. Five minutes wiping counters, two minutes cleaning the sink, and ten minutes vacuuming high-traffic areas can prevent grime from getting comfortable.
Extra Experience: What Cleaning Every Nook and Cranny Teaches You
After years of helping people think through practical home routines, one lesson stands out: the hardest part of cleaning is rarely the dirt. It is the decision fatigue. Where do you start? Which cleaner do you use? Should you organize first or scrub first? Why is there glitter in the hallway when no one remembers owning glitter? A house can overwhelm you before you even pick up a cloth.
The best experience-based advice is to begin with visible wins. Clear the kitchen counter. Make the bed. Empty the trash. Wipe the bathroom sink. These small tasks change how the room feels quickly, and that emotional boost matters. When a space starts looking better, you are more likely to keep going. Cleaning motivation is like a shy cat: it often appears only after you stop chasing it.
Another useful lesson is that tools matter more than people admit. A vacuum with attachments, a good microfiber cloth, a sturdy scrub brush, and a small detail brush can turn annoying jobs into manageable ones. Many “impossible” cleaning tasks are simply tool mismatches. A big rag will not clean a window track well. A soaking mop is not ideal for many floors. A weak sponge is no match for baked-on stovetop residue. The right tool makes you feel oddly powerful, like a domestic superhero with a very specific origin story.
It also helps to clean by category rather than emotion. Emotional cleaning sounds like this: “Everything is terrible, so I must clean the entire house immediately.” Category cleaning sounds like this: “Today I will clean glass, mirrors, and handles.” One approach ends in burnout; the other ends with shiny mirrors and enough energy left to eat dinner like a functioning human.
For busy households, the best routine is the one people will actually follow. A perfect cleaning schedule that no one uses is just wall art. Put wipes near bathroom sinks, keep a small broom near the kitchen, store laundry baskets where clothes actually land, and place donation bins in closets. Make the clean choice easy. Your home should not require a strategy meeting every time someone takes off a hoodie.
Finally, remember that clean does not mean museum-level perfection. A lived-in house will have mail on the counter, shoes by the door, and maybe one chair that collects clothes with suspicious efficiency. The goal is not to erase every sign of life. The goal is to keep surfaces safe, rooms comfortable, air fresher, and chores from piling up until they look personally offended.
Cleaning every nook and cranny is less about scrubbing harder and more about noticing smarter. Look up at fan blades. Look down at baseboards. Look behind appliances, under cushions, and around handles. These are the small details that make a home feel truly cared for. And once those forgotten spots are handled, the entire house seems to exhale.
Conclusion
Keeping your home clean from top to bottom does not require fancy tricks or endless free time. It requires a practical system: declutter first, work from high to low, clean before disinfecting, choose products carefully, and pay attention to overlooked areas like baseboards, vents, handles, appliance edges, and window tracks. Use these 40 handy hints as a flexible house cleaning checklist, and your home will feel fresher, healthier, and easier to maintain.
The secret is consistency. A few minutes today can save an hour later. Dust does not become powerful overnight; it becomes powerful when ignored. So grab a cloth, pick one corner, and start there. Your house does not need perfection. It just needs a little regular attentionand maybe someone brave enough to look behind the couch.

