
Beauty Tools & Accessories
4 Ways to Restore Furniture Veneer
Aug
Furniture veneer gets a bad reputation, mostly because people hear the word “veneer” and immediately picture flimsy, fake, doomed-for-all-eternity furniture. But good veneer is not a scam in a trench coat. It has been used on quality furniture for centuries, and when it starts bubbling, lifting, chipping, or looking tired, you can often restore it beautifully without turning the piece into firewood.
If you have a dresser with curling edges, a side table with a bubble on top, or a cabinet that looks like it lost an argument with a houseplant, this guide is for you. Below are four practical ways to restore furniture veneer, plus the prep work, finishing steps, and real-world lessons that make the difference between “restored” and “well, now it’s rustic.”
Before You Start: Figure Out What Kind of Damage You Have
Veneer is a thin layer of real wood attached to a base material. The fix depends on what failed. Is the veneer still there but loose? Is it blistered? Has a chunk gone missing? Or is the wood fine but the finish looks cloudy, scratched, or faded?
Start by cleaning the surface with a soft cloth and a mild cleaner suitable for finished wood. Dirt, wax, polish buildup, and grease can disguise the real problem. Once the surface is clean, inspect it in raking light from the side. That angle reveals raised bubbles, chipped edges, dents, and worn finish better than staring at it straight on like you are trying to intimidate the furniture.
Ask these questions first
- Is the veneer lifting at an edge or seam?
- Is there a blister or bubble in the middle of the panel?
- Is the substrate underneath solid, or is it swollen and crumbling from water damage?
- Are you dealing with missing veneer, scratches, white rings, or finish failure?
If the core material is severely swollen particleboard or MDF, restoration may not be worth the effort. Veneer repairs work best when the substrate is still structurally sound. If the base is mushy, puffed up, or breaking apart, you may be looking at replacement rather than repair.
Way #1: Reglue Loose or Lifting Veneer
This is the most common veneer repair, and thankfully it is also one of the most satisfying. You lift a flap, work glue underneath, clamp it flat, and suddenly your furniture looks less like it has peeling sunburn.
Best for
- Lifting corners
- Loose edges
- Small sections pulling away from the substrate
- Delamination caused by age, dryness, or light moisture exposure
How to do it
- Gently lift the loose veneer just enough to access underneath. Do not force it wider than necessary.
- Remove crumbs of old glue, dirt, or loose debris from the substrate. A thin blade, folded sandpaper, or a narrow scraper can help.
- Apply a small amount of wood glue or veneer adhesive beneath the loose section. Use a syringe, toothpick, or small palette knife to spread it evenly.
- Press the veneer down and wipe away squeeze-out immediately with a slightly damp cloth.
- Cover the area with wax paper so it does not stick to your clamp block.
- Clamp with a flat wood block or use heavy weight over a caul until fully dry.
The goal is even pressure, not brute force. Too much clamping pressure can squeeze out too much adhesive and starve the joint. Too little pressure leaves a weak bond. Think “firm handshake,” not “medieval interrogation.”
If the veneer is old and slightly cupped, a little controlled moisture can sometimes help make it flexible enough to lie flat again. Go easy. Veneer likes a little persuasion, not a soaking.
Way #2: Flatten Bubbles and Blisters
A blister is usually caused by veneer separating from the surface underneath. Sometimes heat, age, or moisture weakens the bond, and the veneer rises into a little dome. It is not dramatic enough for reality TV, but it is dramatic enough to catch your eye every time you walk by.
Best for
- Raised bubbles in the middle of a tabletop or cabinet side
- Blisters where the veneer is still intact
- Localized lifting that has not yet cracked or broken away
How to do it
- Use a sharp razor to make a very small slit along the grain if you cannot otherwise get adhesive underneath.
- Inject a small amount of glue under the blister using a syringe or toothpick.
- Press down lightly to spread the glue.
- Cover with wax paper, then a flat wood block.
- Clamp or weight it until dry.
If the blister is caused mostly by trapped moisture in the finish rather than full adhesive failure, you may sometimes improve the look with gentle heat over a cloth. But do not go rogue with high heat. Veneer is thin, finishes vary, and an iron used carelessly can trade one bubble for a much larger disaster. Low heat, a barrier cloth, brief contact, and testing in an inconspicuous spot are the grown-up way to do it.
For older furniture, especially antiques, the original adhesive may have been hide glue. Those pieces can behave differently, and careful cleaning of old glue residue may be necessary before you reglue. If the piece is valuable, slow down and consider consulting a pro before improvising with modern products.
Way #3: Patch Chips, Gouges, and Missing Veneer
This is where veneer restoration starts feeling like detective work. You are matching species, grain direction, shape, thickness, and color while pretending that nothing ever happened. The best patch is the one nobody notices.
Best for
- Missing corners
- Chipped edges
- Torn-out sections
- Damage too large for simple filler alone
How to do it
- Trim the damaged area into a clean, manageable shape. Straight or gently tapered edges are easier to patch than ragged ones.
- Make a template from thin cardboard or paper.
- Cut a matching patch from replacement veneer with the grain running in the same direction as the surrounding surface.
- Dry-fit the patch until it sits snugly without forcing.
- Glue it in place and clamp it flat with a caul.
- Once dry, level the patch very carefully with light scraping or very fine sanding.
Color matching is often harder than the patch itself. New veneer can look lighter, cleaner, or just annoyingly more alive than the surrounding aged surface. Stain, toner, or dye may be needed to blend the repair. Work slowly, test first, and sneak up on the color. It is much easier to darken a patch than to un-darken one you turned into a walnut-shaped regret.
For tiny edge chips or hairline losses, a stainable wood filler may be enough. Use it only where appropriate. Filler is excellent for small imperfections, but it cannot mimic beautiful long grain in a prominent spot the way a real veneer patch can.
Way #4: Restore the Finish After the Structural Repair
Once the veneer is flat and secure, the piece may still look rough because the finish is scratched, cloudy, stained, or worn thin. This final stage is what turns a competent repair into a piece you actually want to show off.
Best for
- White water rings
- Light heat haze
- Scuffed or uneven sheen
- Minor scratches and dull finish
How to do it
- Start with the gentlest approach: cleaning and polishing.
- For white rings or light moisture haze in the finish, try a conservative remedy first, such as a gentle polishing method, a soft abrasive, or carefully applied low heat over a cloth.
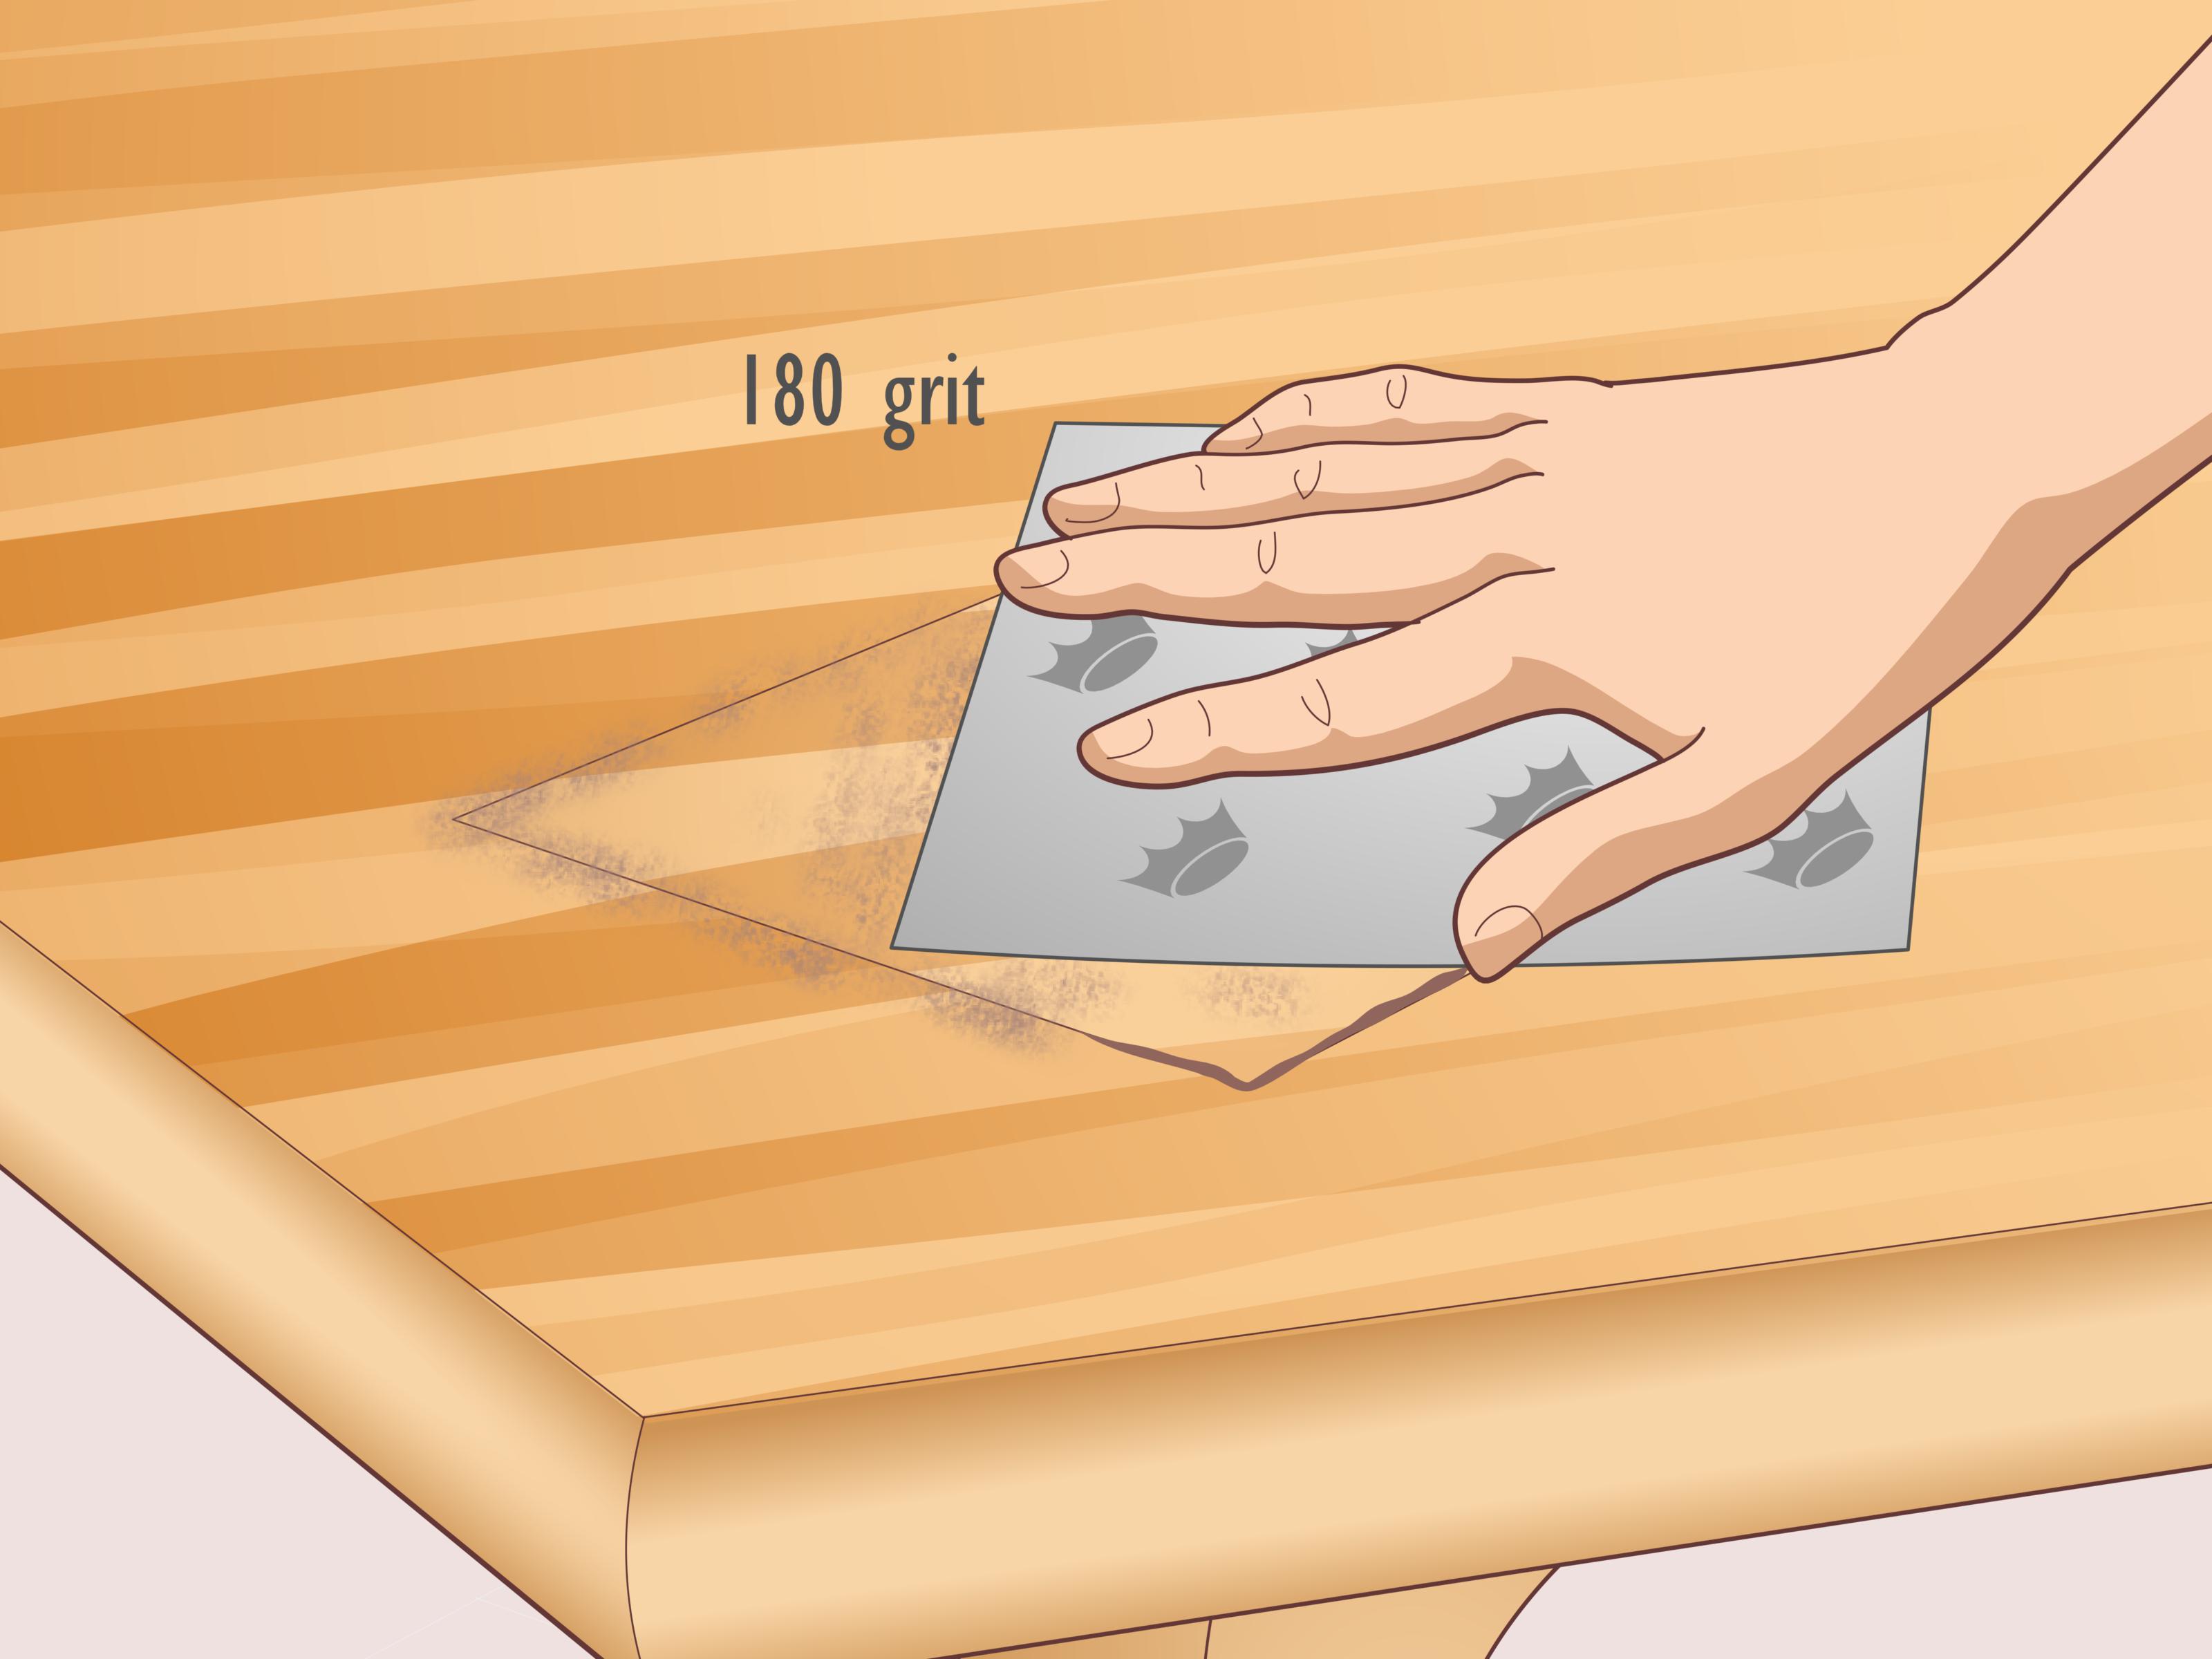
- If the finish is scratched or peeling, lightly sand only as much as needed to smooth the surface.
- Apply stain if needed to unify color.
- Seal with a compatible topcoat such as polyurethane, lacquer, shellac, or an oil-based finish depending on the piece and existing finish.
This is where people make the biggest mistake: sanding veneer like it is solid lumber. It is not. Veneer is thin, and aggressive sanding can go through it shockingly fast. Avoid heavy-handed belt sander heroics unless you truly know what you are doing. Light sanding with fine grit, patient handwork, and checking often are the safer path.
If the piece only has finish-level issues and no loose veneer, you may not need a full refinishing job. Sometimes removing a ring, evening out sheen, and adding a fresh protective coat is enough to make the furniture look revived rather than replaced.
Common Mistakes to Avoid
- Using too much glue: Excess glue can make cleanup harder and interfere with finish touch-ups.
- Skipping surface prep: Dust, wax, and old debris weaken repairs.
- Ignoring grain direction: A patch cut the wrong way will stand out immediately.
- Oversanding: The fastest route to sanding through veneer is assuming you have more thickness than you do.
- Repairing over a failed substrate: If the base underneath is swollen or unstable, the veneer repair may not last.
- Using filler for everything: Filler has its place, but missing show-surface veneer often deserves a real patch.
When Restoration Is Worth It
Restore veneer when the piece is structurally sound, visually appealing, or meaningful enough to save. That includes antique dressers, mid-century credenzas, inherited side tables, and solidly built furniture with manageable cosmetic damage. If the bones are good, veneer restoration can be a smart and satisfying project.
On the other hand, if the base material has swelled badly, multiple large sections are missing, joints are failing, and the finish is beyond rescue, a full rebuild or replacement may make more sense. There is no shame in deciding that a nightstand has completed its emotional journey.
Real-World Experiences Restoring Furniture Veneer
The first time most people restore veneer, they expect one simple repair. In reality, furniture tends to reveal its secrets one layer at a time. A little lifted corner turns into old glue underneath. A bubble turns out to be sitting over a low spot in the substrate. A tiny chip becomes a color-matching exercise that makes you question whether wood has forty-seven shades of brown. It does.
One of the most common experiences is discovering that patience matters more than fancy tools. Many beginners start out thinking they need a workshop worthy of a historical documentary. In truth, some of the best veneer repairs happen with a razor knife, a glue syringe, wax paper, scrap wood, clamps, and a calm attitude. The glamorous part is not the equipment. The glamorous part is walking by the finished piece later and forgetting where the damage used to be.
Another very real experience is learning that cleaning changes everything. A tabletop can look hopeless under old polish, grime, and water haze, but once it is cleaned properly, the actual damage may be far less severe than expected. Sometimes people are ready to strip and sand immediately, only to realize the veneer itself is fine and the finish just needs help. That is a wonderful moment because it saves time, preserves more of the original surface, and prevents the classic DIY tragedy known as “I fixed it until it broke.”
Color matching is usually the humbling chapter. A patch can fit perfectly and still look obvious because new wood has none of the age, oxidation, or finish history of the old surface. This is where many restorers learn to slow down, test stains on scraps, and build color gradually. It is also where they realize the goal is not always mathematical perfection. Sometimes the best result is a patch that blends well from normal viewing distance and honors the age of the piece rather than pretending it came out of a time machine.
Experience also teaches restraint with sanding. Nearly everyone who works on veneer long enough hears some version of the same warning: you cannot sand through what you did not mean to sand through. Veneer rewards light hands. Small strokes. Frequent checking. Respect for the fact that this is a thin decorative layer, not a slab dining table that can survive aggressive leveling. Once that lesson sinks in, the work gets better fast.
Perhaps the best experience of all is emotional rather than technical. Restoring veneer often reconnects people with furniture they almost gave up on. A dresser from a grandparent, a thrifted cabinet with good lines, a coffee table that still fits the room perfectly, these pieces gain new life through repair. You stop seeing damage as a death sentence and start seeing it as a repairable story. And yes, sometimes the story includes muttering at clamps, chasing glue squeeze-out, and waiting for finish to dry while resisting the urge to poke it. That is part of the craft too.
By the end of a veneer project, most people come away with the same conclusion: furniture restoration is less about achieving sterile perfection and more about making a piece useful, beautiful, and stable again. That is a win worth keeping.
Final Thoughts
Restoring furniture veneer is not magic, though it can feel a little magical when a bubbled, chipped, tired surface suddenly looks polished and intentional again. The trick is choosing the right repair for the damage: reglue what is lifting, flatten what is blistered, patch what is missing, and refresh the finish without destroying the thin wood you are trying to save.
Done carefully, veneer restoration preserves character, saves money, and rescues furniture that deserves another decade or three. So before you paint over that old dresser in a fit of impatience, give the veneer a fighting chance. It has probably survived more decades than your last phone charger.

