Makeup
How to Do the Splits in One Day: Quick & Easy Stretches
May
Note: This guide is for healthy beginners and casual movers who want to improve flexibility safely in one day. It is not a promise that every body can reach a full split in 24 hours. If you feel sharp pain, numbness, pinching, or joint discomfort, stop immediately. Flexibility should feel like a patient conversation with your muscles, not a wrestling match with your hamstrings.
Learning how to do the splits in one day sounds like the kind of thing a superhero does between saving the city and drinking a protein smoothie. The truth is more realistic: some people who already have a decent flexibility base may get very close to a full split after a focused day of smart stretching. Others may only gain a few inches. Both outcomes count as progress.
The goal of this article is to help you create your best possible “one-day splits” routine using quick and easy stretches that target the muscles most involved: hamstrings, hip flexors, inner thighs, glutes, calves, and the muscles around the pelvis. We will cover a safe warm-up, a structured stretching sequence, common mistakes, and practical experience-based tips for getting lower without forcing your body into a dramatic “before and after” moment.
Can You Really Do the Splits in One Day?
The honest answer is: maybe, but not always. If you are a dancer, gymnast, martial artist, cheerleader, yogi, or someone who already has flexible hips and hamstrings, one day of targeted stretching may help you slide into a cleaner front split or middle split. If you are starting from “I touch my knees and call it a forward fold,” one day can still help, but your realistic target is improved range of motion, not instant floor-level glory.
Splits require more than one stretchy muscle. A front split needs length through the front leg’s hamstring and calf, plus the back leg’s hip flexor and quadriceps. A middle split asks more from the adductors, groin, hips, and inner thighs. Your nervous system also plays a role. When your body senses danger, it tightens up like a cat near a bathtub. Gentle, consistent stretching helps signal safety.
Before You Start: The Golden Rules of Safe Splits Training
Warm Up Before Stretching
Cold muscles are not big fans of sudden stretching. Before attempting splits stretches, do five to ten minutes of light movement. Try marching in place, easy jogging, jumping jacks, brisk walking, or dancing around your room like the floor is lava but the playlist is excellent. The purpose is to increase blood flow and make your muscles more ready to lengthen.
Stretch to Tension, Not Pain
A good stretch feels like a strong but manageable pull. A bad stretch feels sharp, pinching, burning, or alarming. Pain is not a badge of honor; it is your body sending an email with the subject line “Please stop.” Back off until the stretch feels controlled.
Do Not Bounce
Bouncing in a stretch can irritate muscles and make them tighten instead of relax. Move slowly into each position, breathe steadily, and hold. Flexibility responds better to patience than panic.
Use Props Without Shame
Yoga blocks, pillows, towels, books, or a sturdy chair can make splits practice safer and more effective. Props are not cheating. They are the responsible adults in the room.
Your One-Day Splits Stretching Plan
This routine is designed as a focused flexibility session you can do in one day. For best results, repeat the main stretching circuit two or three times with rest between rounds. Keep your breathing slow, your movements controlled, and your expectations realistic.
Step 1: Dynamic Warm-Up
Start with movements that gently take your hips and legs through a comfortable range of motion.
- Marching or light jogging: 2 minutes
- Leg swings forward and back: 10 to 15 each leg
- Side-to-side leg swings: 10 to 15 each leg
- Walking lunges: 8 to 10 each side
- Hip circles: 10 circles each direction
Dynamic stretching helps wake up your joints and muscles before you settle into deeper static stretches. Think of this as knocking politely before entering the house of flexibility.
Step 2: Low Lunge for Hip Flexors
Come into a low lunge with your right foot forward and left knee on the floor. Place a towel under the back knee if needed. Keep your chest lifted, gently tuck your pelvis, and shift your hips forward until you feel a stretch in the front of the left hip.
Hold for 30 seconds, then switch sides. Repeat twice per side. This stretch is especially important for front splits because the back leg needs hip flexor length. Without it, your hips may lift and twist like they are trying to escape the assignment.
Step 3: Half Split Hamstring Stretch
From a low lunge, shift your hips back and straighten the front leg. Flex your front foot so your toes point upward. Keep your spine long and fold forward slightly from the hips.
Hold for 30 seconds on each side. This stretch targets the hamstrings of the front leg, which are key for getting into a front split. Avoid rounding your back dramatically just to reach farther. The goal is not to audition as a human paperclip.
Step 4: Lizard Lunge for Deep Hip Opening
Step your right foot outside your right hand and lower your left knee to the floor. Keep your hands on the ground, blocks, or a chair. If comfortable, lower to your forearms. Keep the front knee tracking in the same direction as the toes.
Hold for 30 to 45 seconds per side. Lizard lunge helps open the hips, groin, and hip flexors. It is intense, so approach it like a negotiation, not a hostage situation.
Step 5: Seated Forward Fold
Sit with both legs straight in front of you. Flex your feet, sit tall, and hinge forward from your hips. Reach toward your shins, ankles, or feet. If your hamstrings are tight, bend your knees slightly.
Hold for 30 seconds. Repeat two or three times. This stretch supports both front splits and general lower-body flexibility. Keep breathing. Your hamstrings may complain, but they do not get to run the meeting.
Step 6: Butterfly Stretch for Inner Thighs
Sit with the soles of your feet together and knees falling outward. Hold your ankles or feet, sit tall, and gently lean forward. You can place pillows under your knees for support.
Hold for 30 to 45 seconds. This stretch targets the groin and inner thighs, making it useful for middle splits. Do not press your knees down aggressively. Your inner thighs are not elevator buttons.
Step 7: Frog Stretch for Middle Split Mobility
Start on all fours, then slowly widen your knees. Keep your ankles in line with your knees if possible. Lower onto your forearms and shift your hips slightly back.
Hold for 20 to 30 seconds at first. Frog stretch can be powerful, so move carefully. If you feel knee discomfort, stop and choose butterfly stretch instead.
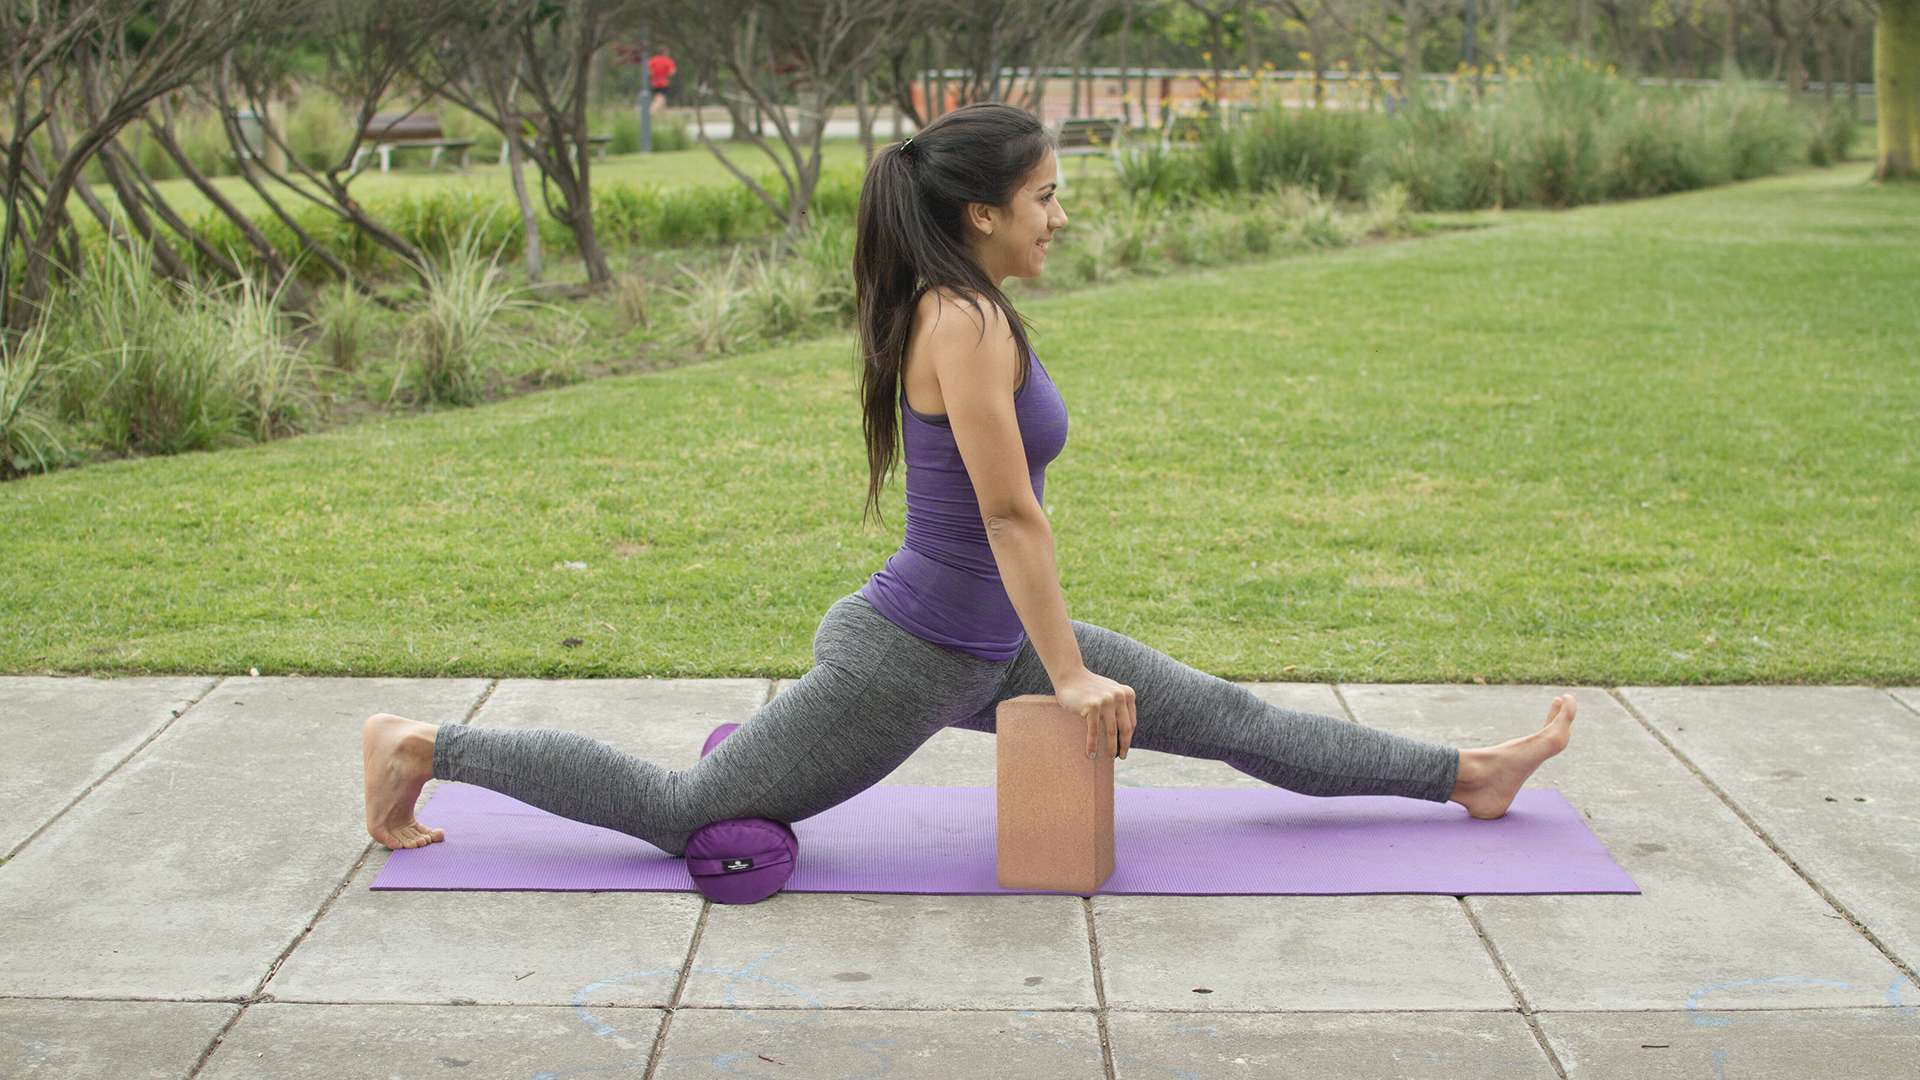
Step 8: Supported Front Split Practice
Now it is time to test your front split safely. Begin in a low lunge. Place blocks, books, or pillows on either side of your hips. Slowly slide your front foot forward and your back knee backward. Keep your hips squared toward the front, not opening sideways.
Stop when you feel a strong but safe stretch. Hold for 20 to 30 seconds. Switch sides. Repeat two or three times. If you are several inches from the floor, that is completely normal. Stay supported and focus on alignment.
Step 9: Supported Middle Split Practice
Stand with your feet wide, then slowly slide them apart. Keep your hands on the floor, blocks, or a sturdy chair. Turn your toes forward or slightly upward depending on what feels comfortable for your hips. Lower only as far as you can control.
Hold for 20 to 30 seconds. Come out slowly by shifting your weight to one side and bringing your legs back together. Never rush out of a deep stretch. Your legs deserve a graceful exit, not a plot twist.
Best Quick Stretches for Front Splits
If your main goal is a front split, prioritize these movements:
- Low lunge hip flexor stretch
- Half split hamstring stretch
- Seated forward fold
- Pigeon pose or figure-four stretch
- Supported front split hold
Front splits usually feel different on each side. One leg may glide forward like it has been practicing secretly. The other may act like it has never heard of flexibility. That is normal. Train both sides, but do not force symmetry in one day.
Best Quick Stretches for Middle Splits
If you are working toward middle splits, focus on inner-thigh and hip-opening stretches:
- Butterfly stretch
- Frog stretch
- Wide-legged forward fold
- Side lunges
- Supported middle split hold
Middle splits often take longer than front splits for many people because they demand significant hip and adductor mobility. Go slowly and respect your hip structure. Not every person’s hips are built the same way, and flexibility training should honor that.
Common Mistakes That Slow Your Progress
Skipping the Warm-Up
Going straight into deep stretches may feel efficient, but it is like trying to open a frozen jar with wet hands. Warm muscles stretch more comfortably and safely.
Forcing the Final Position
Trying to shove yourself into the splits can irritate muscles, tendons, and joints. The goal is gradual range of motion, not winning an argument with gravity.
Holding Your Breath
Breathing helps your nervous system calm down. Try inhaling through your nose and exhaling slowly as you relax deeper into the stretch.
Ignoring Strength
Flexibility and strength work best as a team. Add gentle strengthening moves such as glute bridges, lunges, side leg lifts, and core exercises throughout the week. Strong muscles help support your new range of motion.
A Simple One-Day Splits Schedule
Here is a practical schedule for someone trying to improve their splits in one day without overdoing it:
- Morning: 10-minute warm-up plus one full stretching circuit
- Afternoon: Light walk, gentle dynamic mobility, and supported split practice
- Evening: Warm shower, second full stretching circuit, and relaxed breathing
Keep the total effort moderate. More stretching is not always better. Your body adapts during recovery, not during dramatic floor-sliding moments performed with suspicious confidence.
What to Do After Your One-Day Splits Session
After stretching, drink water, move gently, and avoid intense leg workouts if your muscles feel very tired. Mild soreness can happen, but pain is not normal. The next day, do an easy mobility session rather than repeating the deepest stretches immediately.
If you want to truly master the splits, plan for consistent practice over several weeks or months. Stretch two to five days per week, depending on your body and activity level. Small improvements add up. Flexibility is not a microwave meal; it is more like slow-cooked soup, but with more yoga blocks.
Real-Life Experiences and Practical Lessons From Splits Training
Many people begin a “do the splits in one day” challenge with huge enthusiasm and a slightly dangerous amount of optimism. The first lesson usually arrives within minutes: the body has opinions. You may start the day thinking the only obstacle is motivation, then discover that your left hamstring has filed a formal complaint, your right hip flexor has hired a lawyer, and your inner thighs would like to speak to management.
One useful experience from splits training is that progress often appears in tiny, surprising ways. You may not reach the floor, but your hips may feel looser after the second round. Your front knee may straighten more easily. Your back leg may slide another inch. These little changes matter because they show your nervous system is beginning to trust the movement. Flexibility is partly physical and partly neurological. Your brain needs to believe the position is safe before it allows more range.
Another common experience is discovering that one side is dramatically different from the other. For example, your right front split may feel smooth, while your left front split feels like trying to park a shopping cart with one bad wheel. This does not mean you are broken. It may come from daily habits such as crossing one leg, playing a one-sided sport, sitting unevenly, or simply having natural asymmetry. The best response is curiosity, not frustration. Give the tighter side patient attention without punishing it.
People also learn quickly that props make everything better. A pair of yoga blocks can turn a scary stretch into a manageable one. A folded blanket under the knee can make low lunges more comfortable. A wall can help with balance. Even a stack of thick books can support your hands during split practice. The more supported you feel, the easier it is to relax. Relaxation is essential because tense muscles resist stretching like a toddler refusing bedtime.
Breathing is another underrated tool. During deep stretches, many beginners hold their breath without noticing. The body interprets that as stress. Instead, try counting four seconds in and six seconds out. On every exhale, soften your jaw, shoulders, hands, and hips. You may not drop lower immediately, but you will build the calm control needed for long-term flexibility.
Finally, the biggest lesson is that the splits are not just a pose; they are a process. A one-day routine can be fun, motivating, and surprisingly effective for improving mobility. But the real win is learning how your body responds. Maybe you discover your hamstrings need more time. Maybe your hip flexors are the main limit. Maybe your middle split needs more adductor work. That information is valuable. It turns a one-day challenge into a smart training plan.
So, if you spend one day working on the splits and do not end up perfectly flat on the floor, do not call it a failure. Call it data. Call it progress. Call it the beginning of your flexibility era. And if you do reach the splits, congratulations. Please come out of the position slowly, because nothing ruins a victory pose faster than needing help getting off the floor.
Conclusion
Learning how to do the splits in one day is really about making the most progress your body can safely handle in a short period. The best approach combines a warm-up, dynamic mobility, targeted static stretches, supported split practice, steady breathing, and realistic expectations. Some people may reach a full split quickly, while others need weeks or months. Either way, the safest path is the same: move slowly, avoid pain, use props, and practice consistently.
The splits may look like a flashy flexibility trick, but they are built from simple habits: warm muscles, patient stretching, strong hips, and a calm mind. Treat your body well, and it will usually give you more range over time. Treat it like a folding chair at a family barbecue, and it may object loudly.
