
Makeup
14 DIY Canvas Art Ideas for One-of-a-Kind Wall Designs
Jul
Blank walls have a special talent: they make you feel like your home is “almost done” while quietly judging you for
not owning a single dramatic statement piece. The good news? You don’t need a fine arts degree, a $600 “original,”
or a mysterious uncle who “knows a guy in the gallery scene.” You need a canvas, a few supplies, and the confidence
to say, “Yes, I meant to do that.”
This roundup pulls inspiration from the kinds of DIY projects you’ll see across reputable U.S. home and craft
publications (think big names in decorating, lifestyle, and how-to crafting). The ideas are approachable, budget
friendly, and designed to look genuinely intentionallike you bought them at a boutique that also sells candles
named after emotions.
Before You Start: The “Looks Expensive” Checklist
1) Pick a color story first (your future self will thank you)
If you want your art to look custom instead of “I panicked in the paint aisle,” choose a palette that already
matches your room. Try one of these foolproof combos:
- Warm neutrals: cream, tan, terracotta, espresso
- Moody modern: charcoal, olive, bone, brass (use metallic paint sparingly)
- Coastal calm: soft white, dusty blue, sea glass green
- Playful pop: off-white base + one bold accent (cobalt, coral, mustard)
2) Don’t skip prep (even if the canvas “looks fine”)
Most store-bought canvases are pre-primed, but a quick extra coat of gesso (or white acrylic paint in a pinch)
helps colors go on smoother and look more saturated. If you’re doing collage, wallpaper, or fabric, plan your
placement and trim before glue touches anything. Glue is an overachiever: it commits immediately.
3) Make it hang-ready from day one
Decide whether your piece will be lightweight (Command strips can work) or heavier (D-rings + wire, or a French
cleat for large pieces). The “how do I hang this?” phase is where many masterpieces go to rest… in a closet.
14 DIY Canvas Art Ideas for One-of-a-Kind Wall Designs
1) Wallpaper Canvas Wrap (Big Impact, Tiny Effort)
Leftover wallpaper is basically designer fabric for wallsso treat it that way. Wrap a canvas with a bold print
(florals, geometrics, grasscloth-look) and you instantly get a tailored, high-end panel.
- You’ll need: canvas, wallpaper, craft knife, smoothing tool/old gift card, adhesive or strong double-sided tape
- Do this: Cut wallpaper with 2–3 inches extra on each side, smooth from center outward, wrap edges neatly like a present, trim corners for clean folds.
- Pro tip: Hang three matching panels in a row for a “custom triptych” look.
2) Geometric Tape Painting (Crisp Lines, Instant Modern)
Painter’s tape is the cheat code for clean design. Tape off triangles, stripes, or a loose grid, paint over it,
peel, and suddenly you’re the kind of person who says words like “negative space” casually.
- You’ll need: canvas, painter’s tape, acrylic paint, foam roller or brush
- Do this: Tape your pattern, press edges firmly, paint 1–2 coats, peel tape while paint is still slightly damp.
- Pro tip: Paint a thin layer of the background color over tape edges first to prevent bleeding.
3) Watercolor Words (Simple, Sweet, Surprisingly Sophisticated)
A soft wash of color plus a short phrase looks personal without feeling like “live laugh love’s cool cousin.”
Keep the typography minimal: one or two words is plenty.
- You’ll need: watercolor paint or watered-down acrylic, fine brush/paint pen, pencil
- Do this: Paint a loose watercolor background, let dry, lightly pencil your word, then letter with paint pen or a steady brush.
- Pro tip: Try “breathe,” “gather,” “home,” or a family name in a clean script.
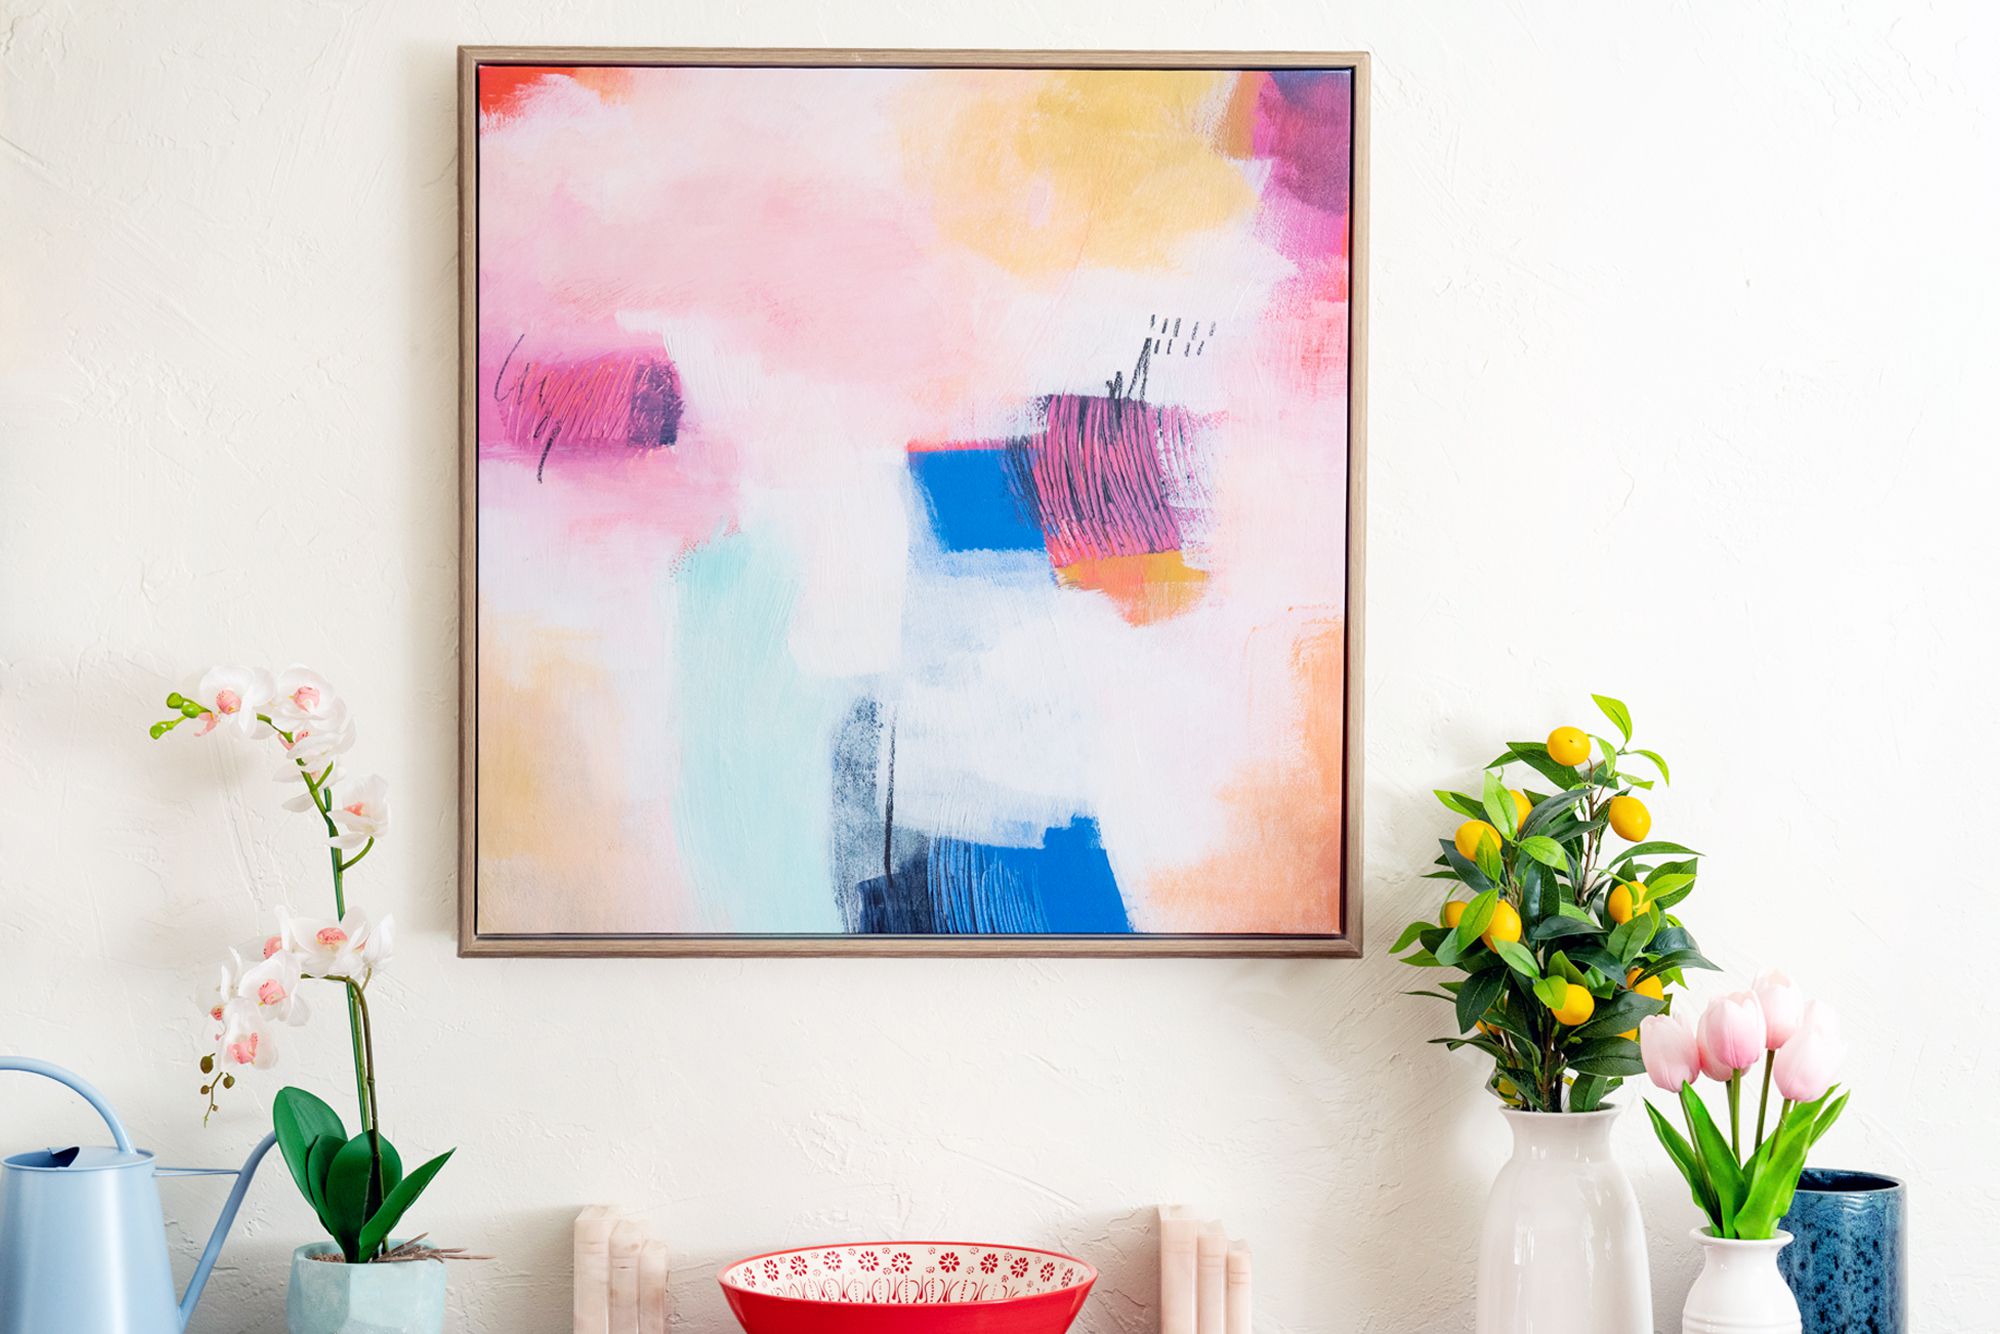
4) Abstract Watercolor Swirls (Beginner-Friendly, Forgiving)
The goal here is movement, not perfection. Think soft gradients, puddles, and blended edges. If it looks a little
dreamy? Congratulations, it’s art.
- You’ll need: watercolor or fluid acrylics, large brush, spray bottle (optional)
- Do this: Wet the surface lightly, drop in color, tilt the canvas, and let pigments mingle. Add a second layer once dry for depth.
- Pro tip: Limit yourself to 2–3 colors so it reads “intentional,” not “accidental rainbow.”
5) Textured Joint Compound Canvas (High-End Gallery Vibes)
This is the “expensive minimalist art” lookwithout the expensive part. Joint compound (drywall mud) creates
sculptural texture that looks especially good in neutrals.
- You’ll need: canvas, joint compound, putty knife/palette knife, sandpaper (optional), sealer
- Do this: Spread compound in waves, arches, or ridges. Let dry fully (hours to a day+). Sand sharp peaks if needed. Seal to reduce dust.
- Pro tip: Add a tiny bit of acrylic paint to tint it warm white or greige.
6) Acrylic Pour (The Satisfying “Whoa” Factor)
Fluid art is messy, hypnotic, and wildly customizable. You’ll mix acrylic paint with pouring medium, pour, tilt,
and let gravity do its dramatic thing.
- You’ll need: acrylic paint, pouring medium, cups, gloves, drop cloth, canvas
- Do this: Mix paint to a warm-honey consistency, layer colors in a cup (“dirty pour”), pour, tilt to cover, then let cure flat.
- Pro tip: Ventilate well and skip heat tools if you’re unsuregreat results are possible without torches.
7) Ombre Gradient (Soft, Modern, Always On Trend)
Ombre is basically the interior design equivalent of a good haircut: it looks polished without trying too hard.
Great for bedrooms, nurseries, and calm living spaces.
- You’ll need: 2–4 shades of one color (or mix your own), wide brush or sponge, canvas
- Do this: Paint horizontal bands from dark to light, then blend edges while still wet using a damp brush or sponge.
- Pro tip: Start with a white base coat so your gradient stays bright and clean.
8) Color-Blocked Minimalism (Clean Shapes, Big Style)
Big blocks of color read bold and modern, especially in earthy palettes. Think one oversized arch, a circle
floating above a line, or stacked rectangles.
- You’ll need: acrylic paint, painter’s tape, ruler, pencil
- Do this: Sketch shapes lightly, tape crisp edges, paint in flat coats, peel tape carefully.
- Pro tip: Leave some canvas showing for a chic “breathing room” effect.
9) Fabric-Covered Canvas (Texture Without Painting)
If painting feels intimidating, go textile. Linen, denim, ticking stripe, or even a vintage scarf can become wall
art with almost zero brushwork.
- You’ll need: canvas, fabric, staple gun or strong adhesive, scissors
- Do this: Pull fabric tight across the front, staple/secure on the back, fold corners neatly.
- Pro tip: Use a patterned fabric to create a set of two or three coordinating panels.
10) Photo Transfer Canvas (Custom Art That Feels Personal)
Turn a favorite photo into a textured, painterly print right on canvas. The slightly imperfect transfer effect can
look vintage and elevatedlike it came from a curated family archive (instead of your phone camera roll).
- You’ll need: photo transfer medium, printed photo, brayer/old card, sponge, canvas
- Do this: Apply medium, press image face-down, let dry thoroughly, then dampen paper and rub away to reveal the transfer.
- Pro tip: Choose images with strong contrast; fine details can soften during transfer.
11) Stenciled Pattern + Metallic Accent (The “Boutique” Look)
Stencils keep patterns clean, especially for repeating designs like Moroccan tile, scallops, or modern dots. Add
a touch of metallic paint (or foil) and it looks professionally finished.
- You’ll need: stencil, stencil brush or sponge, acrylic paint, metallic paint/foil (optional)
- Do this: Secure stencil, dab paint lightly (less paint = sharper pattern), repeat across canvas, add metallic highlights sparingly.
- Pro tip: Stick to one neutral + one accent (like gold) for a luxe result.
12) Embroidered Canvas (A Little Sewing, A Lot of Texture)
Stitching on canvas adds dimension you can’t get from paint alone. Try a simple outline (mountains, flowers,
abstract curves) or a minimalist phrase.
- You’ll need: embroidery floss, needle, awl/push pin (optional), painted or blank canvas
- Do this: Mark holes lightly, stitch through canvas, keep the back neat with small knots or tape ends down.
- Pro tip: Paint a soft background wash first, then stitch on top for a layered look.
13) Mixed Media Collage (Your Scrap Drawer’s Glorious Redemption)
Paper scraps, sheet music, maps, magazine pages, and even fabric bits can become a cohesive piece when you unify
the color scheme. Collage is also incredibly forgivingbecause layering is basically editing in real time.
- You’ll need: papers/fabric scraps, decoupage medium, brush, scissors
- Do this: Arrange pieces first, glue down from largest to smallest, seal with a top coat, and add paint washes if needed to unify.
- Pro tip: Keep a “quiet zone” with less pattern so the whole piece can breathe.
14) Paint Sample Stripe Art (Budget-Friendly and Weirdly Chic)
You know those paint swatches you grabbed “just to see”? They’re ready for their moment. Create clean stripes,
a gradient stack, or a modern checkerboard using sample cards or mixed paints.
- You’ll need: paint samples or mixed acrylics, ruler, painter’s tape, glue (if using paper)
- Do this: Tape off sections or glue sample blocks, then seal the surface so it looks finished, not “craft project.”
- Pro tip: A matte finish topcoat can make everything look more expensive.
How to Make DIY Canvas Art Look “Store-Bought” (In the Best Way)
A few finishing decisions can turn “cute DIY” into “where did you buy that?”:
- Go bigger than you think. Oversized art looks intentional and fills a wall properly.
- Repeat colors from the room. Pull from a rug, pillow, or curtains to make it feel integrated.
- Keep edges clean. Paint the sides of the canvas (or wrap materials neatly) so it looks finished from every angle.
- Seal it. A clear varnish or sealer protects paint and evens out sheen (especially helpful for mixed media).
- Add a float frame. Even a simple DIY frame instantly upgrades the look.
Extra : The Real-Life Experience of Making DIY Canvas Art
Here’s what most people discover the moment they start making canvas art at home: the “project” isn’t just the
finished piece on the wallit’s the oddly satisfying experience of building confidence with your own hands. The
first brushstroke can feel dramatic (as if the canvas is judging you personally), but that anxiety usually fades
fast once you give yourself permission to experiment. DIY canvas art is one of the rare home projects where small
imperfections often make the result better. A slightly uneven edge on a watercolor wash? That’s movement. A little
texture ridge where joint compound caught the light? That’s dimension. An unexpected drip during an acrylic pour?
That’s the entire point.
The second big “aha” is how much prep affects your mood. Covering the table, setting out supplies, and choosing a
palette before you begin creates a calm runway for creativity. Without that setup, it’s easy to spiral into
decision fatiguemixing ten colors, second-guessing all of them, and wondering why your living room now smells like
“freshly opened craft store.” The experience gets dramatically better when you set constraints: two to three colors,
one main technique, one accent detail. Limits don’t kill creativity; they keep it from running around the room with
scissors.
Many DIYers also notice that the most enjoyable projects are the ones that match their personality. If you love
neat lines and order, tape-based geometrics and color blocking feel like a warm hug. If you prefer playful chaos,
pours, collage, and abstract brushwork feel freeing. And if you’re not sure what you like yet, that’s part of the
experience too: your first few canvases are basically a style audition. You may start out trying to copy a look
you saw online and end up discovering your own versionmaybe your “minimal arch” turns into a bolder shape, or your
neutral texture art gets a subtle shadow tint that makes it feel custom. That’s growth. Also, it’s a lot cheaper
than buying art you might get tired of in six months.
There’s also a practical joy in making art that’s sized perfectly for your space. Store-bought art often lands in
that annoying middle zone: too small to anchor a wall, too large to fit anywhere else. DIY fixes that. You can
create a trio of 12×16 pieces to fill a hallway, a single oversized canvas above the sofa, or a set of matching
panels behind the bed. And when you hang something you madeespecially when it finally feels “right” in the roomit
changes how you experience the space. It feels more personal, more lived-in, more yours.
Finally, expect one universal experience: drying time will test your patience. Paint dries slower than you want,
transfer mediums need overnight cures, joint compound dries when it feels like it, and varnish should never be rushed.
The best workaround is to treat drying time as part of the process, not an interruption. Start a second small canvas,
clean your brushes properly (future-you deserves that), or plan your hanging layout. By the time your piece is ready,
you’ll have done the full DIY arc: curiosity, mess, minor panic, creative momentum, and the deeply satisfying moment
where you step back and say, “Okay… I actually love this.”
Conclusion
DIY canvas art doesn’t have to be complicated to be impressive. Pick one technique, keep your color palette tight,
and finish strong with clean edges and a protective topcoat. Whether you’re wrapping wallpaper, sculpting texture,
or pouring paint like a fearless wizard, you’ll end up with wall art that fits your space perfectlybecause it was
literally made for it.

